はじめに
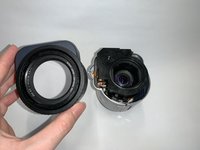
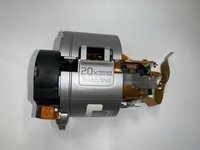
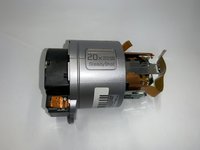
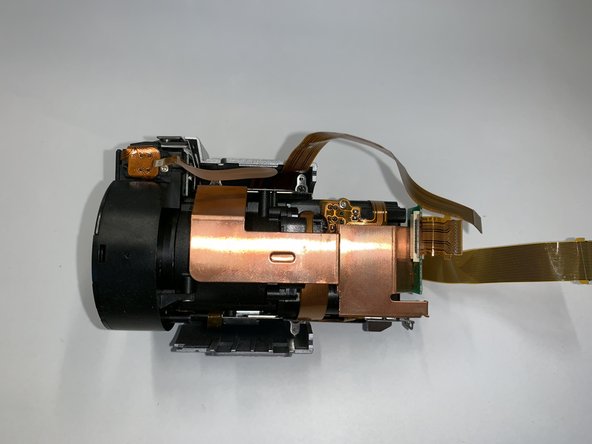
This guide will show you how to replace the lens on your device


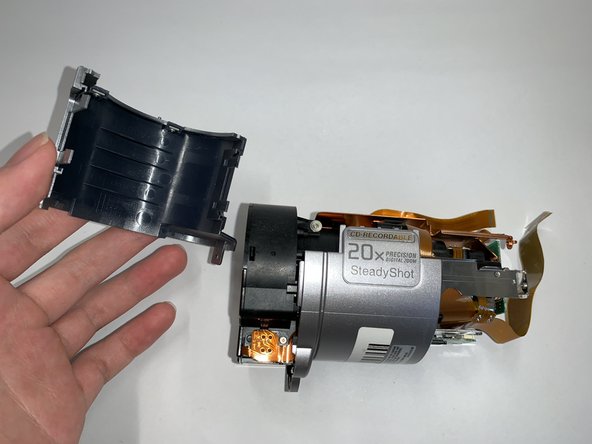

もう少しです!
When reassembling your device, follow the instructions in reverse order.
終わりに
When reassembling your device, follow the instructions in reverse order.
以下の翻訳者の皆さんにお礼を申し上げます:
zh en
100%

HelloMacOSさんは世界中で修理する私たちを助けてくれています! あなたも貢献してみませんか?
翻訳を始める ›
チーム

Duke University Pratt School of Engineering, Team S6-G3, Matos-Garner Fall 2019 Duke University Pratt School of Engineering, Team S6-G3, Matos-Garner Fall 2019人のメンバー
DUKEPSE-MATOS-GARNER-F19S6G3
4 メンバー
8のガイドは作成済み