メインコンテンツにスキップ

Sony ICF-C1T Volume Dial Replacement

必要な工具と部品

  1. Sony ICF-C1T Volume Dial Replacement, Volume Dial: 手順 1、 1の画像 1
    この手順で使用する道具:
    Phillips #0 Screwdriver
    $5.49
    購入する
    • Remove the 4 (14mm) screws from the underside of the device using the Philips #0 Screwdriver.

    • Before beginning this step, make sure the clock is unplugged and the batteries have been removed.

  2. Sony ICF-C1T Volume Dial Replacement: 手順 2、 1の画像 1
    この手順で使用する道具:
    iFixit Opening Tool
    $1.99
    購入する
    • Pry apart the edge of the top and side portions of the device using a flat-headed tool (i.e. flathead screwdriver, card, etc)

    • It is recommended to use the iFixit Opening Tools for optimal removal.

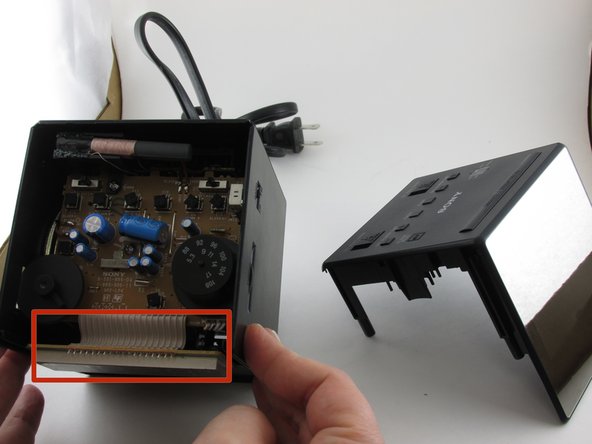
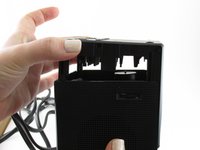
  3. Sony ICF-C1T Volume Dial Replacement: 手順 3、 2の画像 1 Sony ICF-C1T Volume Dial Replacement: 手順 3、 2の画像 2
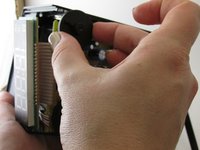
    • Carefully separate the device by gently pulling up on the top of the clock/radio.

    • Use caution when pulling the top of the clock; the clock display is located directly behind the faceplate and still connected by multiple wires.

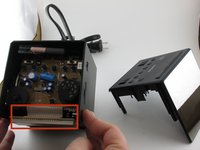
  4. Sony ICF-C1T Volume Dial Replacement: 手順 4、 2の画像 1 Sony ICF-C1T Volume Dial Replacement: 手順 4、 2の画像 2
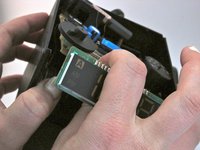
    • To remove the motherboard, gently pull apart the sides of the device.

    • Do not pull hard on the motherboard, as it is still connected by multiple wires inside the device.

    • Be careful of sharp pieces.

    • It would be helpful, although not necessary, to have someone helping out with this step.

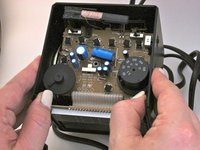
  5. Sony ICF-C1T Volume Dial Replacement: 手順 5、 2の画像 1 Sony ICF-C1T Volume Dial Replacement: 手順 5、 2の画像 2
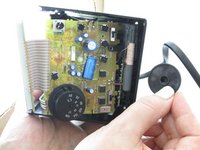
    • Remove the volume dial by pulling it off the motherboard. This can take a little force to remove.

終わりに

To reassemble your device, follow these instructions in reverse order.

作成者

6人の作成者と共同で作成されました。

amber woolery

メンバー登録日: 01/30/15

307 ポイント

2のガイドは作成済み

チーム

University of Kentucky Louisville, Team 1-5, Rountree Winter 2015 University of Kentucky Louisville, Team 1-5, Rountree Winter 2015人のメンバー

LOUISVILLE-ROUNTREE-W15S1G5

3 メンバー

5のガイドは作成済み

コメント 1 件

thanks for the great instructions. a few notes: it seems the “edit” comments were all left in above (“no edits necessary” and the stuff about highlighting parts of it). after step 3, there wasn’t instructions about removing the two screws from the motherboard, before step 4.

J Kwan - 返信

コメントを追加

統計データ:

過去 24時間: 0

過去 7 日: 0

過去 30 日: 8

今までの合計 1,259