はじめに
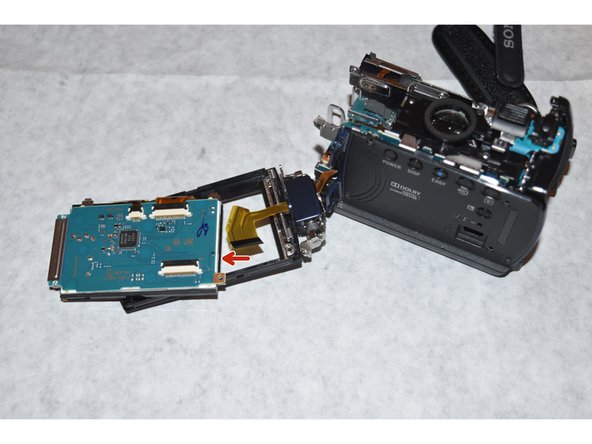
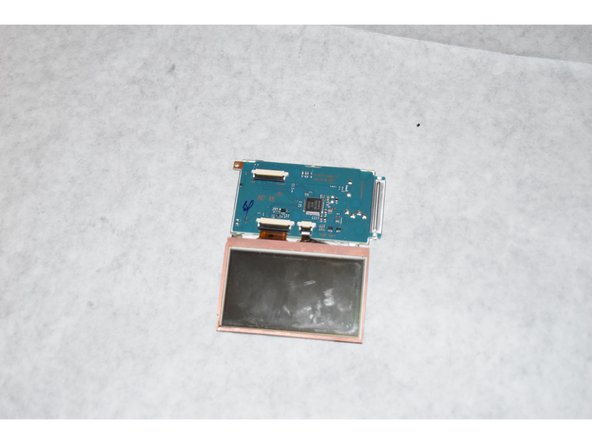
The LCD Screen is a crucial component to the playback of the camera. The camera will most likely take pictures if the LCD Screen is broken, but will be unable to show the pictures or setting options through the screen. If you wish to change the resolution settings on the camera, a broken or damaged LCD Screen must be fixed.
必要な工具と部品
-
-
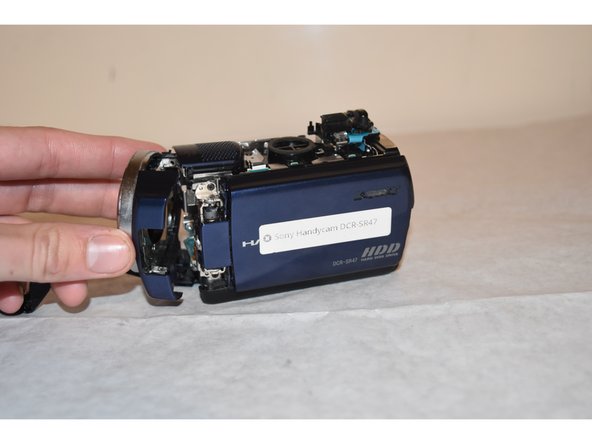
Remove the battery.
-
Use Philips #000 screwdriver to remove the 3mm screw under the battery
-
-


To reassemble your device, follow these instructions in reverse order.
To reassemble your device, follow these instructions in reverse order.
2 の人々がこのガイドを完成させました。
チーム

Western Carolina University, Team 1-2, Virtue Fall 2015 Western Carolina University, Team 1-2, Virtue Fall 2015人のメンバー
WCU-VIRTUE-F15S1G2
4 メンバー
8のガイドは作成済み