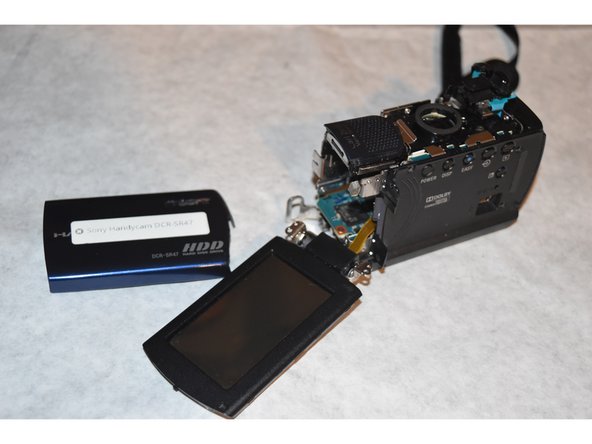
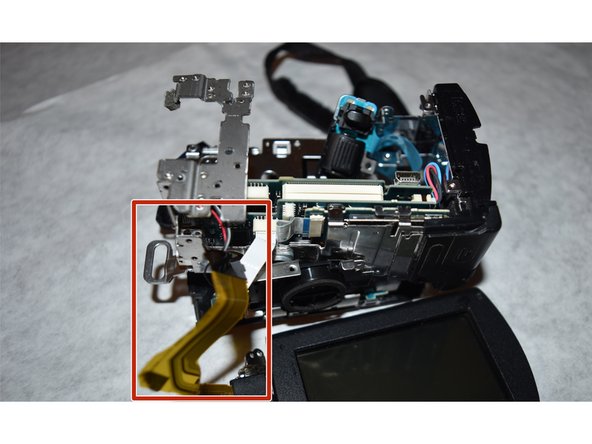
メインコンテンツにスキップ

Sony Handycam DCR-SR 47 Flex Cable Replacement

必要な工具と部品

  1. Sony Handycam DCR-SR 47 Flex Cable Replacement, Hard Drive: 手順 1、 1の画像 1
    • Remove the battery.

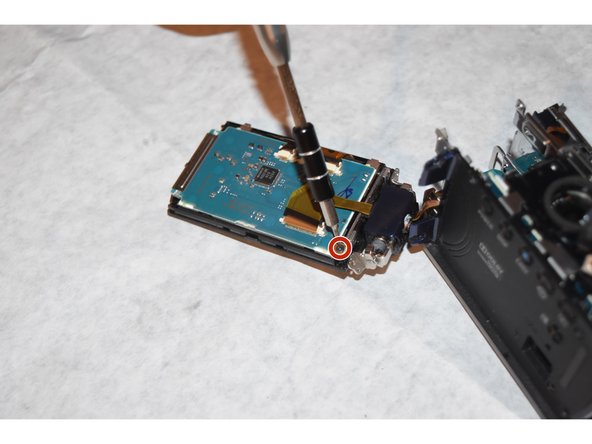
    • Use Philips #000 screwdriver to remove the 3mm screw under the battery

    • *t is recommended that you wait One Hour after removing the battery before disassembling the rest of the camera

  2. Sony Handycam DCR-SR 47 Flex Cable Replacement: 手順 2、 1の画像 1
    • Using the Phillips #000 screwdriver, remove all 6 of the 3mm screws located on the side of the camera.

    • This step seems unnecessary to initially find the Hard Drive, but will allow access to the attached flex cable

  3. Sony Handycam DCR-SR 47 Flex Cable Replacement: 手順 3、 1の画像 1
    • Using the Phillips #000 tool, remove the three 3mm screws from under the LCD screen

  4. Sony Handycam DCR-SR 47 Flex Cable Replacement: 手順 4、 2の画像 1 Sony Handycam DCR-SR 47 Flex Cable Replacement: 手順 4、 2の画像 2
    • Using the Phillips #000 screwdriver, remove the one 3mm screw on the back of the camera

    • Pull away the back shell of the camera, exposing the hard drive.

  5. Sony Handycam DCR-SR 47 Flex Cable Replacement: 手順 5、 3の画像 1 Sony Handycam DCR-SR 47 Flex Cable Replacement: 手順 5、 3の画像 2 Sony Handycam DCR-SR 47 Flex Cable Replacement: 手順 5、 3の画像 3
    • Gently pull the flex cable away from the hard drive. It should pop-off with minimal effort.

    • The black guard has been removed in the first picture. The guard does not need to be removed in order to reach hard drive and cable, but it does show the path that the cable takes

    • Once removing the flex cable, remove the plastic guard from the side of the hard drive.

  6. Sony Handycam DCR-SR 47 Flex Cable Replacement, Flex Cable: 手順 6、 2の画像 1 Sony Handycam DCR-SR 47 Flex Cable Replacement, Flex Cable: 手順 6、 2の画像 2
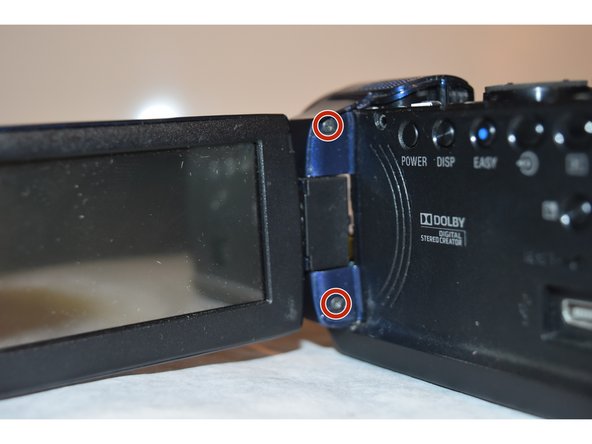
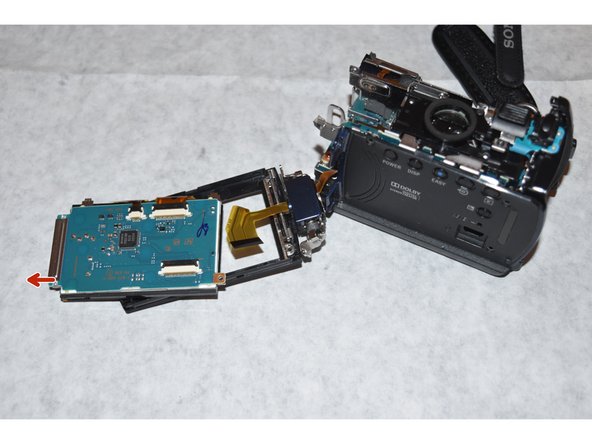
    • Using the Phillips #000 screwdriver, remove the four screws from the housing under the hard drive.

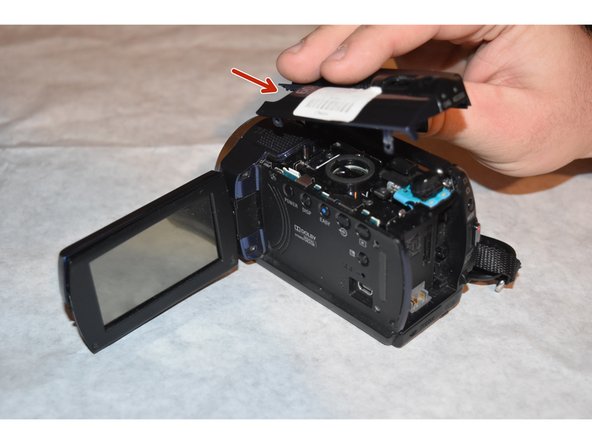
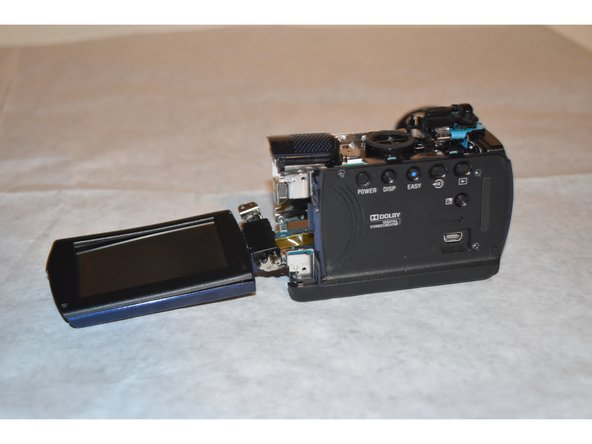
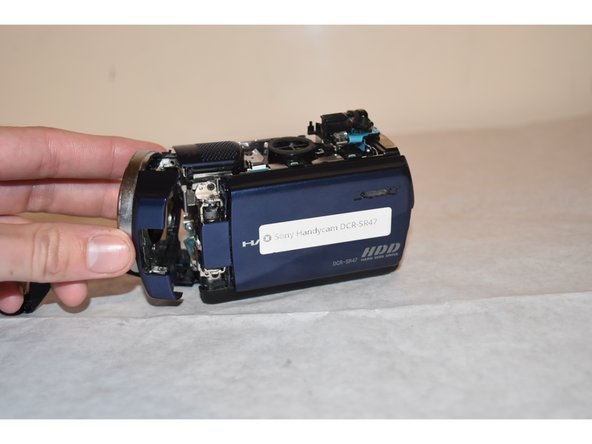
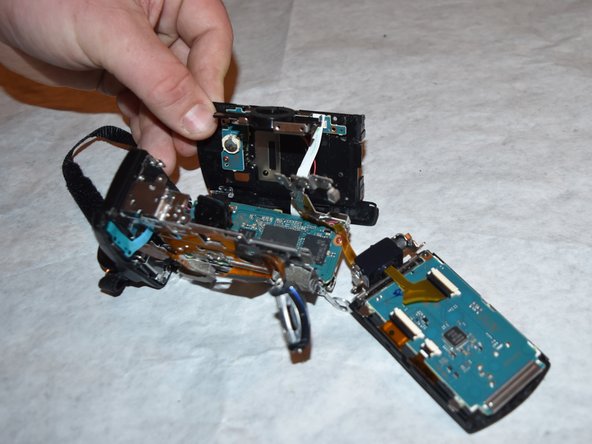
    • Remove the top plastic housing of the camera. All screws attaching the housing have previously been removed.

  7. Sony Handycam DCR-SR 47 Flex Cable Replacement: 手順 7、 3の画像 1 Sony Handycam DCR-SR 47 Flex Cable Replacement: 手順 7、 3の画像 2 Sony Handycam DCR-SR 47 Flex Cable Replacement: 手順 7、 3の画像 3
    • Using the Phillips #000 screwdriver, remove the two 3mm screws from the LCD Screen connector.

    • Remove the two 3mm screws that were exposed through the previous image

    • Carefully detach the LCD Screen from the rest of the camera.

  8. Sony Handycam DCR-SR 47 Flex Cable Replacement: 手順 8、 1の画像 1
    • Carefully remove the lens covering from the camera in order to access the internal components

  9. Sony Handycam DCR-SR 47 Flex Cable Replacement: 手順 9、 2の画像 1 Sony Handycam DCR-SR 47 Flex Cable Replacement: 手順 9、 2の画像 2
    • Using the plastic opening tool, carefully separate the LCD Screen from the back covering

  10. Sony Handycam DCR-SR 47 Flex Cable Replacement: 手順 10、 1の画像 1
    • Using the Philips #000 screwdriver, remove the single 3mm screw from the top of the camera. This removal will allow the microphone port covering to be removed

  11. Sony Handycam DCR-SR 47 Flex Cable Replacement: 手順 11、 1の画像 1
    • Using the Phillips #000 screwdriver, remove the single 2mm screw from under the microphone port covering

  12. Sony Handycam DCR-SR 47 Flex Cable Replacement: 手順 12、 3の画像 1 Sony Handycam DCR-SR 47 Flex Cable Replacement: 手順 12、 3の画像 2 Sony Handycam DCR-SR 47 Flex Cable Replacement: 手順 12、 3の画像 3
    • Using the spudger, gently remove the smaller flex cable connector from the LCD screen.

    • *You may also gently tug the flex cable using fingers if no opening tool is available*

    • Using the Phillips #000 screwdriver, remove the one 3mm screw connecting the LCD screen from the housing.

  13. Sony Handycam DCR-SR 47 Flex Cable Replacement: 手順 13、 2の画像 1 Sony Handycam DCR-SR 47 Flex Cable Replacement: 手順 13、 2の画像 2
    • Using the Phillips #000 screwdriver, remove the one 3mm screw from the speaker port

    • Detach the speaker and side of camera from the internal components

  14. Sony Handycam DCR-SR 47 Flex Cable Replacement: 手順 14、 2の画像 1 Sony Handycam DCR-SR 47 Flex Cable Replacement: 手順 14、 2の画像 2
    • Gently pull the flex cable out of the connector piece

    • *a spudger may be used if necessary*

  15. Sony Handycam DCR-SR 47 Flex Cable Replacement: 手順 15、 2の画像 1 Sony Handycam DCR-SR 47 Flex Cable Replacement: 手順 15、 2の画像 2
    • After removing the flex cable from the internal components, separate the LCD pivot arm housing from the flex cable using a spudger.

    • The old flex cable is now free and able to be switched with the new one.

終わりに

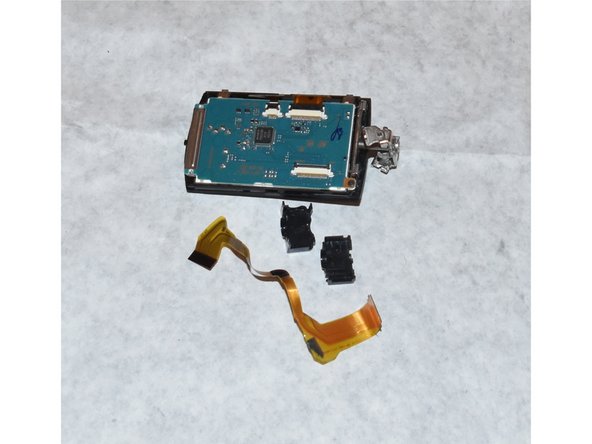
To reassemble your device, follow these instructions in reverse order.

作成者

1人の作成者と共同作成されました。

Ragan Whitlock

メンバー登録日: 08/26/15

556 ポイント

4のガイドは作成済み

チーム

Western Carolina University, Team 1-2, Virtue Fall 2015 Western Carolina University, Team 1-2, Virtue Fall 2015人のメンバー

WCU-VIRTUE-F15S1G2

4 メンバー

8のガイドは作成済み

コメント 1 件

Please where i can buy the flexible cables to Sony?

Antonio - 返信

コメントを追加

統計データ:

過去 24時間: 0

過去 7 日: 3

過去 30 日: 7

今までの合計 1,232