はじめに
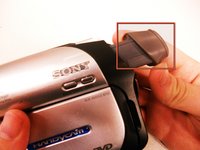
Use this repair guide to remove and replace the Sony Handycam DCR DVD103 lens.
If the Sony Handycam DCR DVD103 has a cracked or broken lens, this repair guide will help the camera perform as designed. This repair does not require special skills.
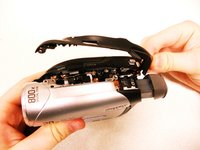
The camera featured in this repair guide does not contain a battery.
必要な工具と部品
-
-
On the back of the camera beneath the viewfinder, locate the battery pack.
-
Press the small button.
-
Slide the switch forward.
-
-
-
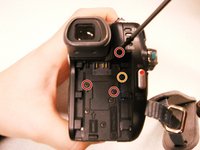
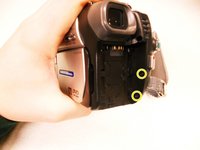
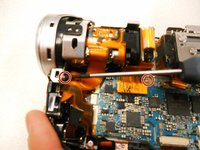
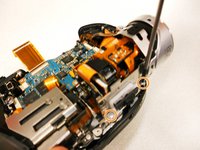
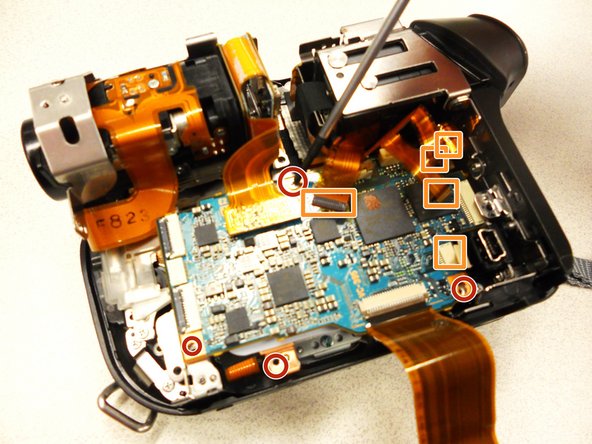
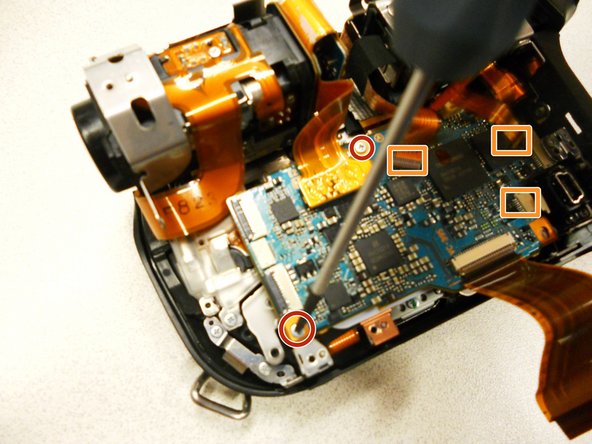
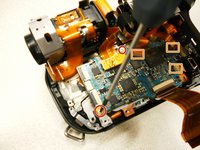
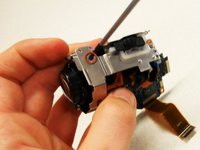
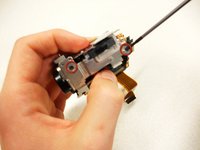
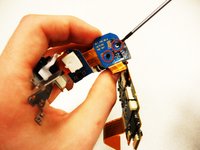
Using a #00 Phillips screwdriver, remove the six 4.5 mm screws from the camera's bottom.
-
-


To reassemble your device, follow these instructions in reverse order.
To reassemble your device, follow these instructions in reverse order.
2 の人々がこのガイドを完成させました。
チーム

Cal Poly, Team 7-44, Regan Winter 2011 Cal Poly, Team 7-44, Regan Winter 2011人のメンバー
CPSU-REGAN-W11S7G44
5 メンバー
10のガイドは作成済み