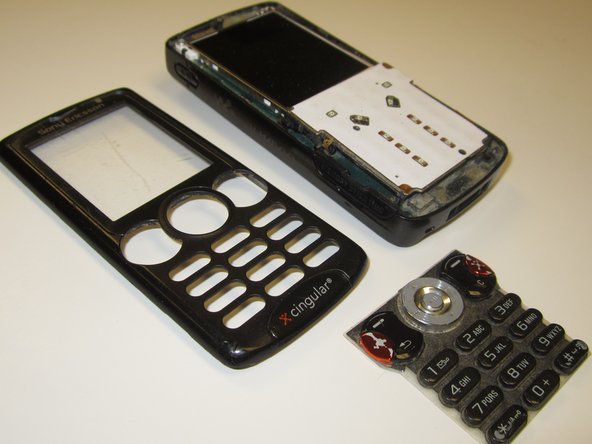
メインコンテンツにスキップ

Sony Ericsson W810I Keypad Replacement

アーカイブされたガイド
このガイドは将来的な使用のためにのみ保存されてます。ご自身の修理作業には更新バージョンをご利用ください。

必要な工具と部品

  1. Sony Ericsson W810I Keypad Replacement, Keypad: 手順 1、 1の画像 1
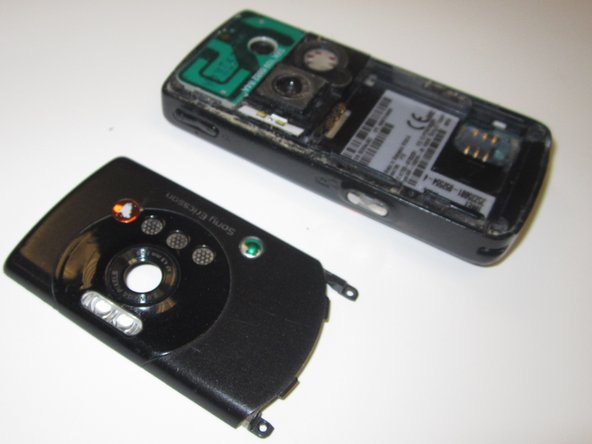
    • Make sure phone is off, and press down firmly against the Cingular icon with your thumb

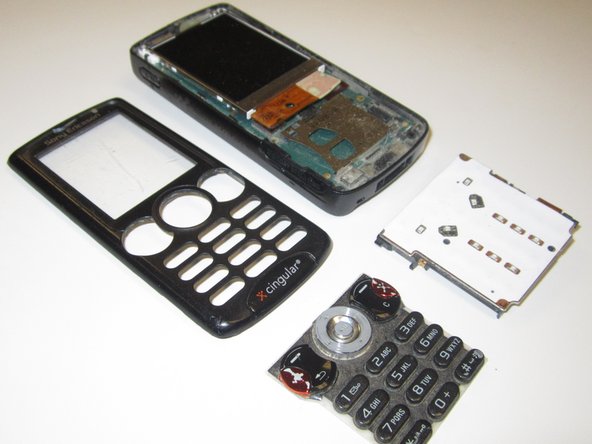
    • Slide the panel down and remove latch

  2. Sony Ericsson W810I Keypad Replacement: 手順 2、 2の画像 1 Sony Ericsson W810I Keypad Replacement: 手順 2、 2の画像 2
    • Lift and Pull battery out

    • Remove the SIM card too if you have one

  3. Sony Ericsson W810I Keypad Replacement: 手順 3、 1の画像 1
    • Remove the two outer screws using a T-7 head for a screwdriver

  4. Sony Ericsson W810I Keypad Replacement: 手順 4、 1の画像 1
    • Remove the two smaller inner screws with the Mini-Phillips screwdriver head

  5. Sony Ericsson W810I Keypad Replacement: 手順 5、 2の画像 1 Sony Ericsson W810I Keypad Replacement: 手順 5、 2の画像 2
    • Remove the Back (camera side) Faceplate with the blue hand-wedge

  6. Sony Ericsson W810I Keypad Replacement: 手順 6、 3の画像 1 Sony Ericsson W810I Keypad Replacement: 手順 6、 3の画像 2 Sony Ericsson W810I Keypad Replacement: 手順 6、 3の画像 3
    • Flip phone over and pry off the Front (Keypad side) Faceplate with multiple blue hand-wedges

    • Separate keypad from logic board by turning it upside down and allowing it to fall off

終わりに

To reassemble your device, follow these instructions in reverse order.

ある他の人がこのガイドを完成しました。

作成者

5人の作成者と共同で作成されました。

Ben Micucci

メンバー登録日: 10/14/11

186 ポイント

5のガイドは作成済み

チーム

James Madison, Team 2-2, Allen Fall 2011 James Madison, Team 2-2, Allen Fall 2011人のメンバー

JMU-ALLEN-F11S2G2

2 メンバー

10のガイドは作成済み

0 件のコメント

コメントを追加

統計データ:

過去 24時間: 0

過去 7 日: 3

過去 30 日: 5

今までの合計 1,577