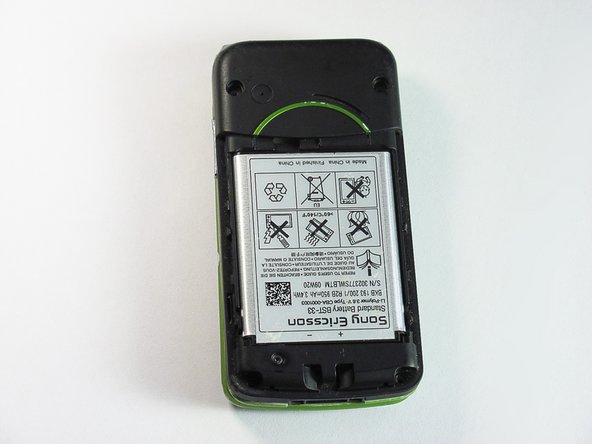
メインコンテンツにスキップ

Sony Ericsson TM506 Sim Card Replacement

必要な工具と部品

  1. Sony Ericsson TM506 Sim Card Replacement, Battery Cover: 手順 1、 3の画像 1 Sony Ericsson TM506 Sim Card Replacement, Battery Cover: 手順 1、 3の画像 2 Sony Ericsson TM506 Sim Card Replacement, Battery Cover: 手順 1、 3の画像 3
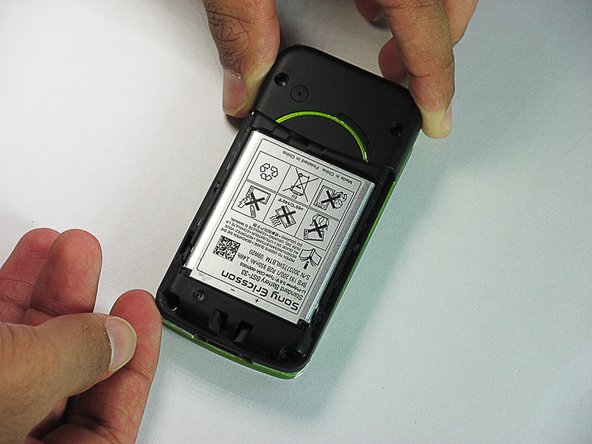
    • Firmly hold the phone between your fingers with your thumb on the battery cover.

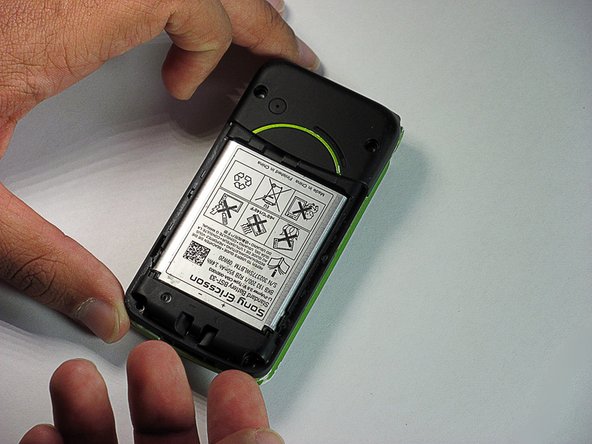
    • Push down with your thumb until the battery cover comes off.

  2. Sony Ericsson TM506 Sim Card Replacement, Back Case: 手順 2、 3の画像 1 Sony Ericsson TM506 Sim Card Replacement, Back Case: 手順 2、 3の画像 2 Sony Ericsson TM506 Sim Card Replacement, Back Case: 手順 2、 3の画像 3
    • Unscrew the bottom two 5.4mm screws with a Torx T6 screwdriver.

  3. Sony Ericsson TM506 Sim Card Replacement: 手順 3、 2の画像 1 Sony Ericsson TM506 Sim Card Replacement: 手順 3、 2の画像 2
    • Remove the two rubber casings for the top two screws with a plastic opening tool.

  4. Sony Ericsson TM506 Sim Card Replacement: 手順 4、 1の画像 1
    • Unscrew these two 5.4mm screws with a Torx T6 screwdriver.

  5. Sony Ericsson TM506 Sim Card Replacement: 手順 5、 3の画像 1 Sony Ericsson TM506 Sim Card Replacement: 手順 5、 3の画像 2 Sony Ericsson TM506 Sim Card Replacement: 手順 5、 3の画像 3
    • There are eight snap hooks located around the outer case. Carefully snap these to remove the outer case.

  6. Sony Ericsson TM506 Sim Card Replacement, Sim Card: 手順 6、 2の画像 1 Sony Ericsson TM506 Sim Card Replacement, Sim Card: 手順 6、 2の画像 2
    • The Sim card can simply be pulled out through the opening.

終わりに

To reassemble your device, follow these instructions in reverse order.

作成者

3人の作成者と共同で作成されました。

Daniel

メンバー登録日: 06/20/12

83 ポイント

7のガイドは作成済み

チーム

Cal Poly, Team 1-1, Regan SU 2012 Cal Poly, Team 1-1, Regan SU 2012人のメンバー

CPSU-REGAN-SU12S1G1

2 メンバー

16のガイドは作成済み

0 件のコメント

コメントを追加

統計データ:

過去 24時間: 0

過去 7 日: 2

過去 30 日: 2

今までの合計 1,505