はじめに
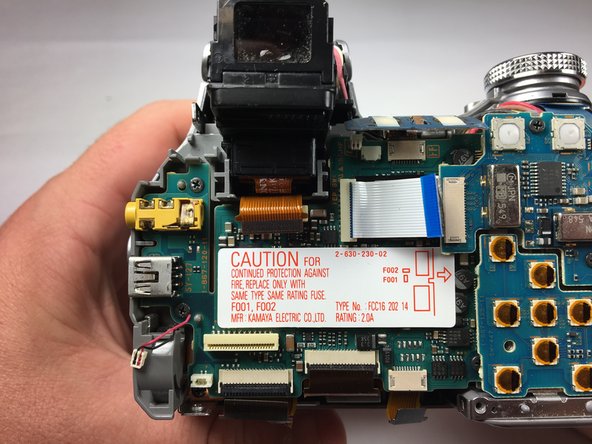
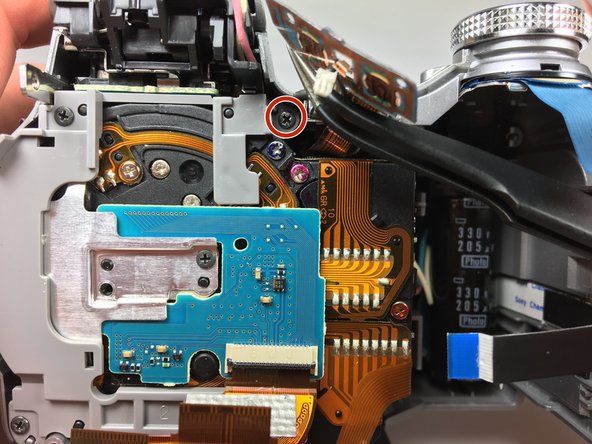
If the camera lens is unrepairable, you may just need to replace it with a brand new one. This is how you take it apart before you insert a new one.
必要な工具と部品


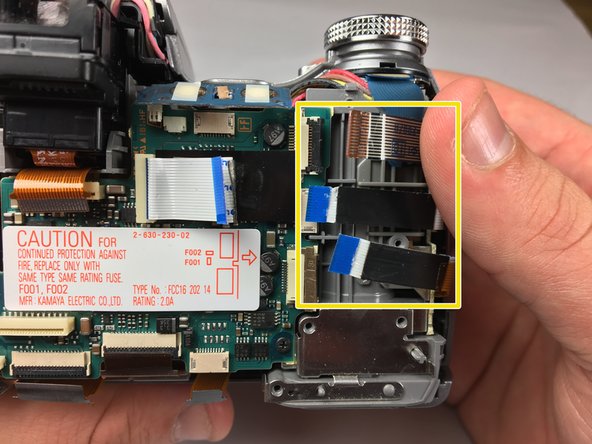


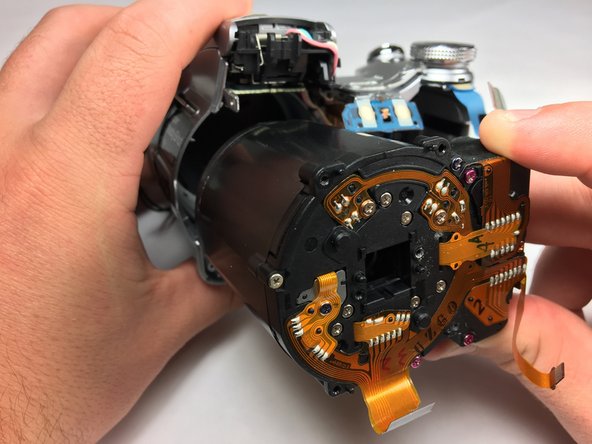
もう少しです!
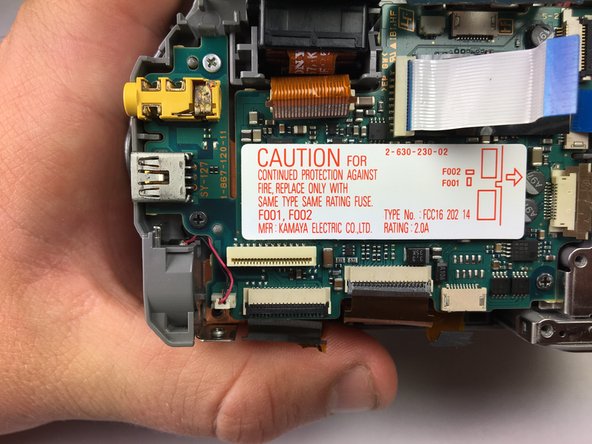
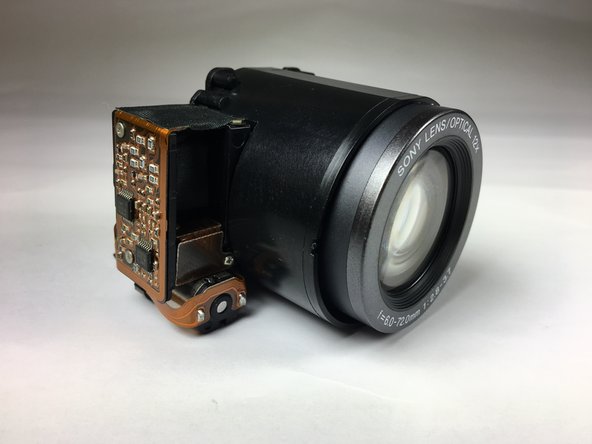
To reassemble your device, follow these instructions in reverse order.
終わりに
To reassemble your device, follow these instructions in reverse order.
3 の人々がこのガイドを完成させました。
チーム

Baylor, Team S5-G4, Williams Spring 2018 Baylor, Team S5-G4, Williams Spring 2018人のメンバー
BU-WILLIAMS-S18S5G4
3 メンバー
10のガイドは作成済み