メインコンテンツにスキップ

Sony BDP-BX620 Disk Drive Replacement

必要な工具と部品

  1. Sony BDP-BX620 Disk Drive Replacement, Outer Cover: 手順 1、 2の画像 1 Sony BDP-BX620 Disk Drive Replacement, Outer Cover: 手順 1、 2の画像 2
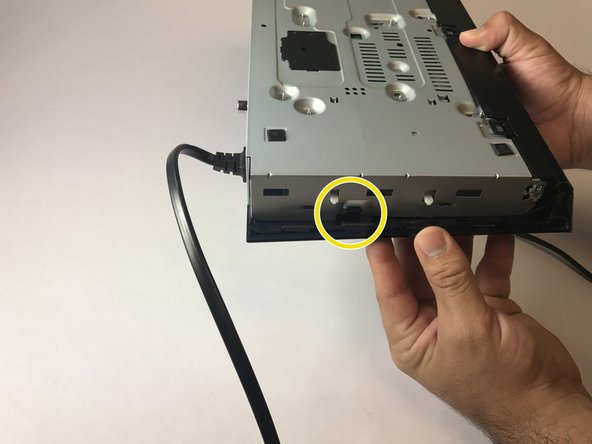
    • Power on the device, eject the disk tray, and power off the device.

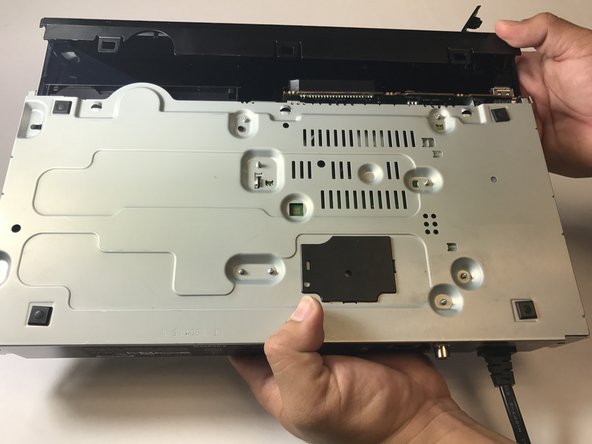
    • Turn the device over.

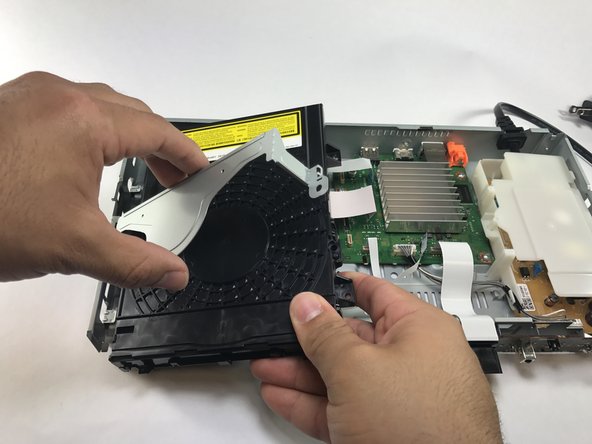
    • Lightly apply downward pressure on the black covering on the disk tray until it comes off.

    • Caution, applying too much pressure can break the black covering.

  2. Sony BDP-BX620 Disk Drive Replacement: 手順 2、 2の画像 1 Sony BDP-BX620 Disk Drive Replacement: 手順 2、 2の画像 2
    • Turn the device around.

    • Using a Phillips screw driver, remove the screws on both ends of the device circled red in the image.

    • Slide the side covers on either side towards the back of the device.

    • There is a back cover on either side of the device.

  3. Sony BDP-BX620 Disk Drive Replacement: 手順 3、 3の画像 1 Sony BDP-BX620 Disk Drive Replacement: 手順 3、 3の画像 2 Sony BDP-BX620 Disk Drive Replacement: 手順 3、 3の画像 3
    • This step might require someone to help unclasping the plastic clips.

    • Turn the device so that the bottom is facing up.

    • In the bottom, unclip the three plastic clips circled in red.

    • On either side, unclip the plastic clip circled in red

    • Slide the black covering forwards to remove.

    • All five clips have to be unclasped for the covering to be removed.

    • Careful not to break the plastic clips when putting it back on.

  4. Sony BDP-BX620 Disk Drive Replacement, Disk Drive: 手順 4、 1の画像 1
    • Remove the no-fuss ribbon cable connectors by gently pulling on them.

    • Pulling harshly may break the flat cables.

  5. Sony BDP-BX620 Disk Drive Replacement: 手順 5、 1の画像 1
    • Using the Phillips screw driver, remove the three screws.

  6. Sony BDP-BX620 Disk Drive Replacement: 手順 6、 2の画像 1 Sony BDP-BX620 Disk Drive Replacement: 手順 6、 2の画像 2
    • Turn the device over and use tweezers to push the metal clasp until it comes off.

    • Lift the metal brace located over the disk drive and remove the disk drive and the metal brace.

終わりに

To reassemble your device, follow these instructions in reverse order.

作成者

1人の作成者と共同作成されました。

Axel Cruz Jimenez

メンバー登録日: 10/05/16

207 ポイント

3のガイドは作成済み

チーム

USF Tampa, Team 1-6, Lacy Fall 2016 USF Tampa, Team 1-6, Lacy Fall 2016人のメンバー

USFT-LACY-F16S1G6

4 メンバー

6のガイドは作成済み

0 件のコメント

コメントを追加

統計データ:

過去 24時間: 0

過去 7 日: 0

過去 30 日: 0

今までの合計 329