メインコンテンツにスキップ

Sony Alpha 6000 Screen Replacement

アーカイブされたガイド
このガイドは将来的な使用のためにのみ保存されてます。ご自身の修理作業には更新バージョンをご利用ください。

必要な工具と部品

  1. Sony Alpha 6000 Screen Replacement, Battery: 手順 1、 1の画像 1
    • Make sure the camera is turned off by turning the switch to OFF.

  2. Sony Alpha 6000 Screen Replacement: 手順 2、 1の画像 1
    • Flip the camera around to access the battery compartment.

    • Slide the battery compartment lock to the left to unlock it.

  3. Sony Alpha 6000 Screen Replacement: 手順 3、 1の画像 1
    • Locate the blue latch that holds the battery in.

  4. Sony Alpha 6000 Screen Replacement: 手順 4、 1の画像 1
    • Push the latch back to release battery.

  5. Sony Alpha 6000 Screen Replacement: 手順 5、 1の画像 1
    • The battery can now be taken out of its compartment.

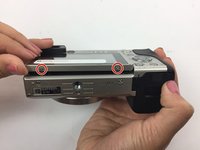
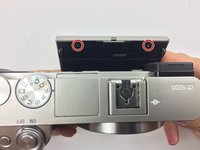
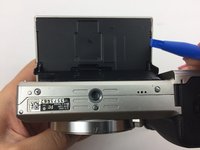
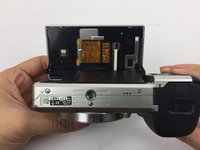
  6. Sony Alpha 6000 Screen Replacement, Screen: 手順 6、 2の画像 1 Sony Alpha 6000 Screen Replacement, Screen: 手順 6、 2の画像 2
    • Locate and unscrew the two 3 mm screws on the bottom of the screen.

    • Pull the screen out from the top to reveal the two screws behind the screen; unscrew the two 3 mm screws.

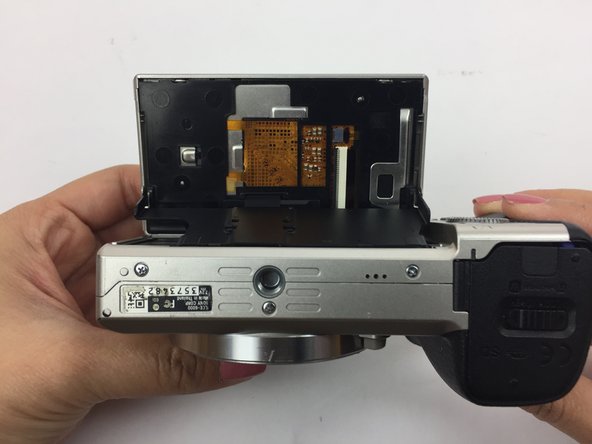
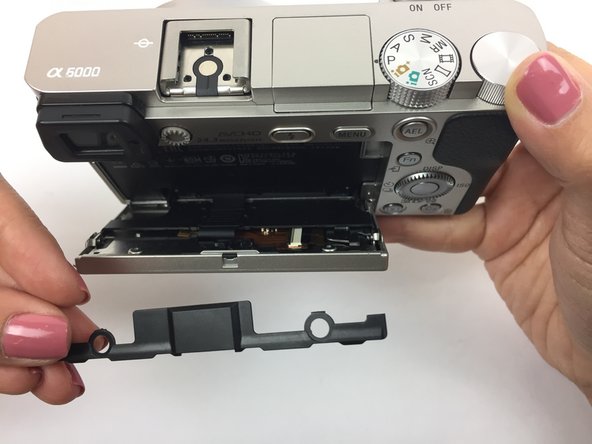
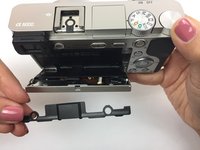
  7. Sony Alpha 6000 Screen Replacement: 手順 7、 3の画像 1 Sony Alpha 6000 Screen Replacement: 手順 7、 3の画像 2 Sony Alpha 6000 Screen Replacement: 手順 7、 3の画像 3
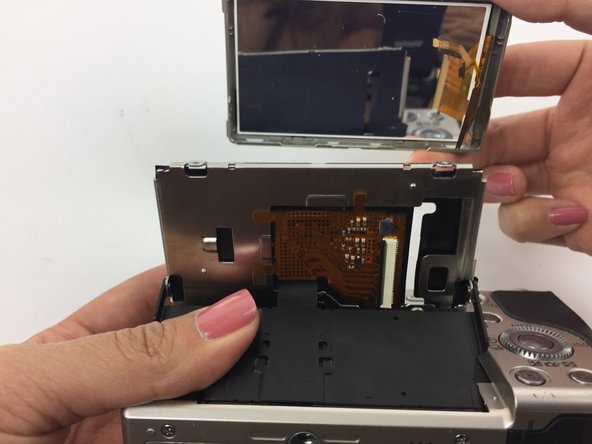
    • Flip the screen so it is facing up and then have the bottom of the camera facing yourself.

    • Using a spudger, remove the larger back panel.

    • Flip the camera right side up and pull back the screen.

    • Remove the smaller black panel on the back of the screen.

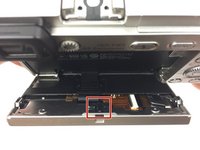
  8. Sony Alpha 6000 Screen Replacement: 手順 8、 2の画像 1 Sony Alpha 6000 Screen Replacement: 手順 8、 2の画像 2
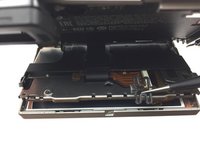
    • Locate the small "H" shaped clip on the back of the screen.

    • Remove the clip with tweezers

  9. Sony Alpha 6000 Screen Replacement: 手順 9、 3の画像 1 Sony Alpha 6000 Screen Replacement: 手順 9、 3の画像 2 Sony Alpha 6000 Screen Replacement: 手順 9、 3の画像 3
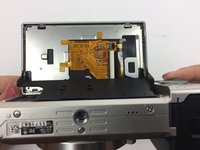
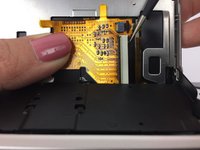
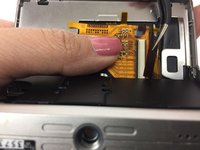
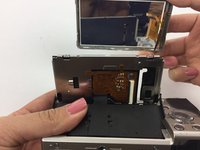
    • Flip the screen back so it is facing up and then have the bottom of the camera facing you. The yellow circuit board should now be exposed.

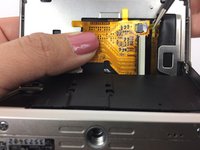
    • Hold down the yellow circuit board that the ribbon cables are attached to.

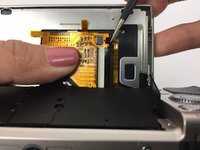
    • Using tweezers, remove the smaller ribbon cable. This may require extra force that could damage the ribbon cable.

  10. Sony Alpha 6000 Screen Replacement: 手順 10、 2の画像 1 Sony Alpha 6000 Screen Replacement: 手順 10、 2の画像 2
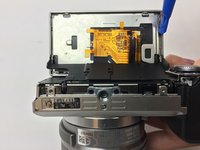
    • Remove the larger ribbon cable. This may require extra force that could damage the ribbon cable.

  11. Sony Alpha 6000 Screen Replacement: 手順 11、 2の画像 1 Sony Alpha 6000 Screen Replacement: 手順 11、 2の画像 2
    • Using a plastic opening tool, separate the silver panel from the actual screen.

    • Carefully slide the ribbon cables through the narrow opening to fully remove the screen.

終わりに

Now your screen is ready to be replaced! To reassemble your device, follow these instructions in reverse order.

ある他の人がこのガイドを完成しました。

作成者

5人の作成者と共同で作成されました。

Jennifer Vuu

メンバー登録日: 09/30/16

548 ポイント

3のガイドは作成済み

チーム

USF Tampa, Team 4-5, Passmore Fall 2016 USF Tampa, Team 4-5, Passmore Fall 2016人のメンバー

USFT-PASSMORE-F16S4G5

3 メンバー

12のガイドは作成済み

0 件のコメント

コメントを追加

統計データ:

過去 24時間: 1

過去 7 日: 2

過去 30 日: 5

今までの合計 1,341