はじめに
In this guide, we walk you through the steps of replacing a dying battery in the hub battery pack. We cover which screws to unscrew, and how to deal with the delicate circuit board inside. Finally, we show the removal of the battery from the actual hub.
必要な工具と部品
-
-
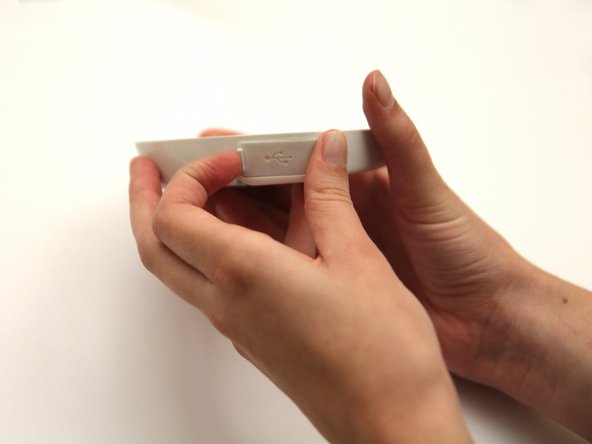
With all other devices unplugged, flip the Charger Hub over so that the grey side with the screw is face up.
-
Take out the PH000 bit from your 26 Bit Driver Kit and attach it to the screw driver.
-
-
-
-
Using the Phillips bit PH1 from the 26 Bit Driver Kit, remove the three screws keeping the orange battery cover held in place. Keep track of these screws as well; they are not the same type of screw used to secure the bottom gray panel.
-
This part will take patience, as the PH1 bit may not fit perfectly within the threads of the screws. Applying a firm amount of pressure while unscrewing makes this process easier.
-
-
-
Be careful! You are working with a delicate circuit board, so you want to make sure you do not force any movements.
-
The battery is attached to the circuit board via wires, so you must remove both at once.
-
Place the Plastic Opening Tool underneath the circuit board and lift the circuit board up so that it becomes loosened.
-
-
-
Now that the battery is removed, you can plug in your new Lithium Polymer Battery - 3.7V 2000mAh into the circuit board.
-
Follow the steps in reverse order using your new battery to put the device back together.
-


To reassemble your device, follow these instructions in reverse order.
To reassemble your device, follow these instructions in reverse order.
17 の人々がこのガイドを完成させました。
チーム

Cal Poly, Team 8-21, Regan Fall 2012 Cal Poly, Team 8-21, Regan Fall 2012人のメンバー
CPSU-REGAN-F12S8G21
1 メンバー
1のガイドは作成済み
コメント 1 件
Please note that the replacement battery is available from Solio here:
http://store.solio.com/Solio-Bolt-Hub-Re...
The battery listed in the direction above does not fit the space, has the wrong connector, and is not the high-temp rated battery required for the extreme conditions of solar charging.