メインコンテンツにスキップ

Slingbox SOLO DC Power Connector Replacement

必要な工具と部品

  1. Slingbox SOLO DC Power Connector Replacement, Motherboard: 手順 1、 1の画像 1
    • Use the plastic opening tool to remove the four rubber pads from the bottom of the device.

  2. Slingbox SOLO DC Power Connector Replacement: 手順 2、 3の画像 1 Slingbox SOLO DC Power Connector Replacement: 手順 2、 3の画像 2 Slingbox SOLO DC Power Connector Replacement: 手順 2、 3の画像 3
    • The Slingbox has four black 5mm screws, one on each corner of the case.

    • Remove the four black 5mm screws using the PH1 screwdriver.

    • Gently pull and separate the two case covers.

  3. Slingbox SOLO DC Power Connector Replacement: 手順 3、 3の画像 1 Slingbox SOLO DC Power Connector Replacement: 手順 3、 3の画像 2 Slingbox SOLO DC Power Connector Replacement: 手順 3、 3の画像 3
    • The motherboard has five silver 5.5mm screws connecting it to the base of the Slingbox.

    • Remove the five silver screws on the motherboard using the PH1 screwdriver.

    • Gently slide and separate the motherboard from the base.

  4. Slingbox SOLO DC Power Connector Replacement, DC Power Connector: 手順 4、 1の画像 1
    • Do not touch the heated tip of the soldering iron.

    • Check this guide out to learn how to use a soldering iron.

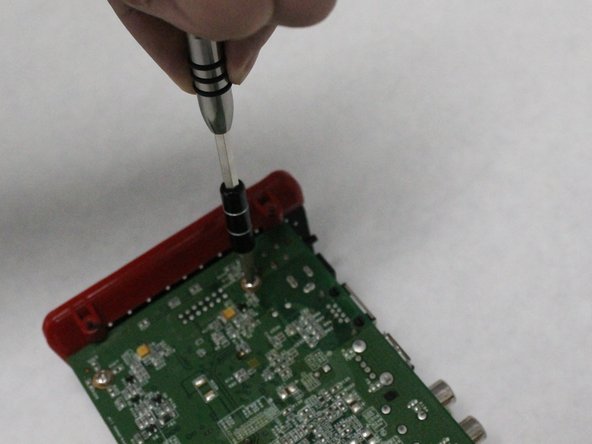
    • Desolder all three lead prongs.

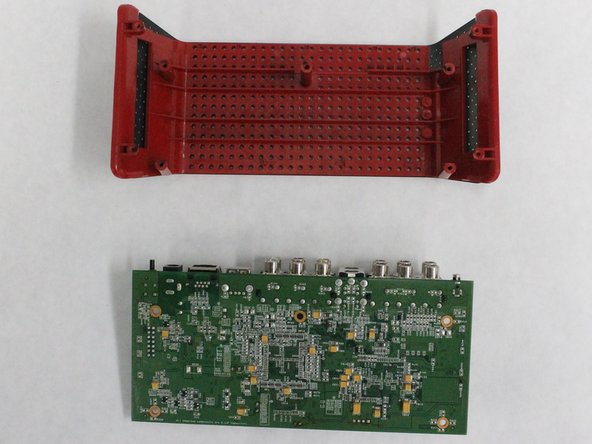
    • Gently pull the DC power connector from the motherboard.

終わりに

To reassemble your device, follow the instructions in reverse order.

作成者

2人の作成者と共同で作成されました。

Nitin Muralidhar

メンバー登録日: 07/18/16

222 ポイント

2のガイドは作成済み

チーム

IUPUI, Team 2-2, Harley SU 2016 IUPUI, Team 2-2, Harley SU 2016人のメンバー

IUPUI-HARLEY-SU16S2G2

5 メンバー

2のガイドは作成済み

0 件のコメント

コメントを追加

統計データ:

過去 24時間: 0

過去 7 日: 0

過去 30 日: 2

今までの合計 278