はじめに
Often times our headphone wires, or other wires, can be completely severed. This guide is here to show you that this does not mean the device is now useless. I am going to show you how to expose your wires, and reattach them to themselves so that the current can continue to flow and the headphones can work again.
必要な工具と部品
-
-
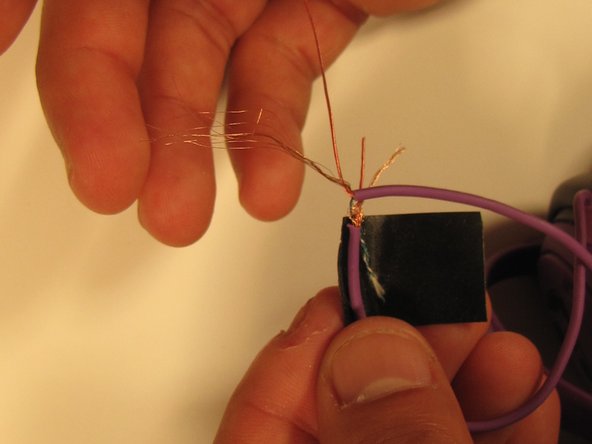
If your wire is severed, the first step is removing the rubber coating to expose both ends of the severed wire.
-
Do this by wedging it in a sharp crevice and pulling at the rubber coating. It should strip just the rubber coating. The small wedge in a spudger should suffice.
-
-


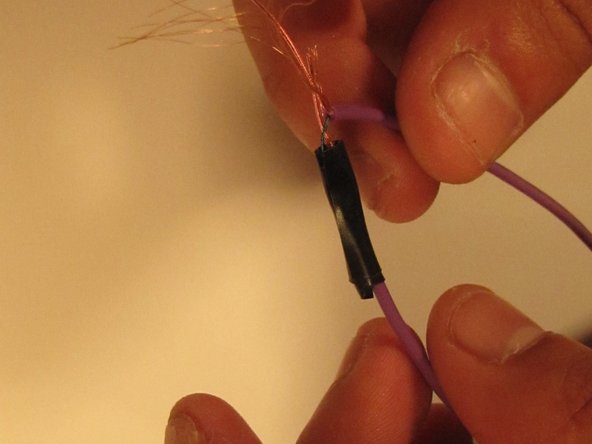

To reassemble your device, follow these instructions in reverse order.
To reassemble your device, follow these instructions in reverse order.
チーム

USF Sarasota-Manatee, Team 1-2, Stewart Winter 2015 USF Sarasota-Manatee, Team 1-2, Stewart Winter 2015人のメンバー
USFSM-STEWART-W15S1G2
4 メンバー
11のガイドは作成済み