メインコンテンツにスキップ

SiriusXM Onyx Screen Replacement

必要な工具と部品

  1. SiriusXM Onyx Screen Replacement, Motherboard: 手順 1、 1の画像 1
    • Take the iFixit opening tool and place it between the crevice as shown.

  2. SiriusXM Onyx Screen Replacement: 手順 2、 2の画像 1 SiriusXM Onyx Screen Replacement: 手順 2、 2の画像 2
    • Apply pressure to the iFixit opening tool, pushing down until the the plastic casing pops off.

  3. SiriusXM Onyx Screen Replacement: 手順 3、 2の画像 1 SiriusXM Onyx Screen Replacement: 手順 3、 2の画像 2
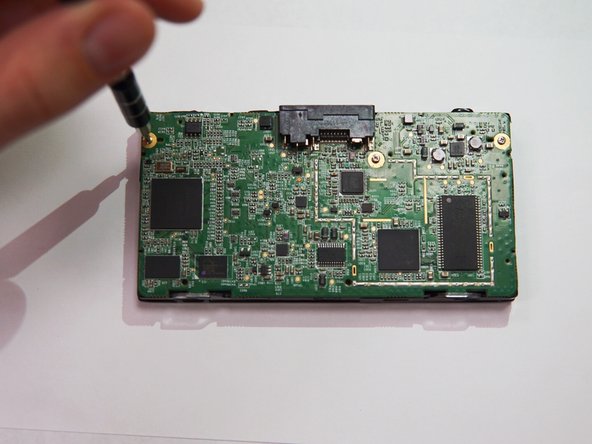
    • Use the Phillips PH00 to remove the three marked screws.

  4. SiriusXM Onyx Screen Replacement: 手順 4、 3の画像 1 SiriusXM Onyx Screen Replacement: 手順 4、 3の画像 2 SiriusXM Onyx Screen Replacement: 手順 4、 3の画像 3
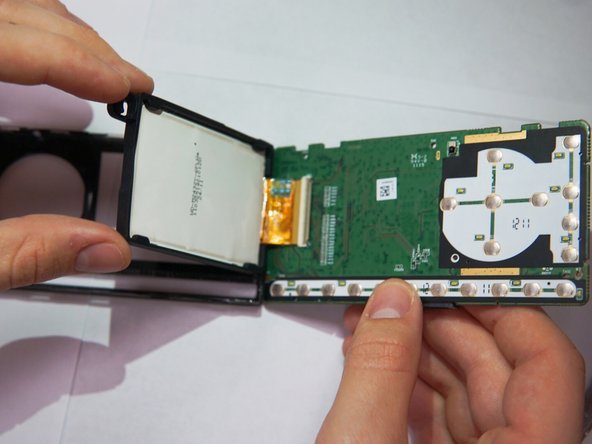
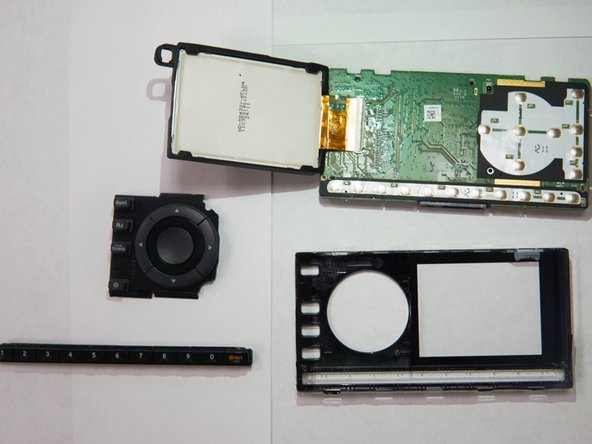
    • Once the screws have been removed, the motherboard is free to come out.

  5. SiriusXM Onyx Screen Replacement, Screen: 手順 5、 3の画像 1 SiriusXM Onyx Screen Replacement, Screen: 手順 5、 3の画像 2 SiriusXM Onyx Screen Replacement, Screen: 手順 5、 3の画像 3
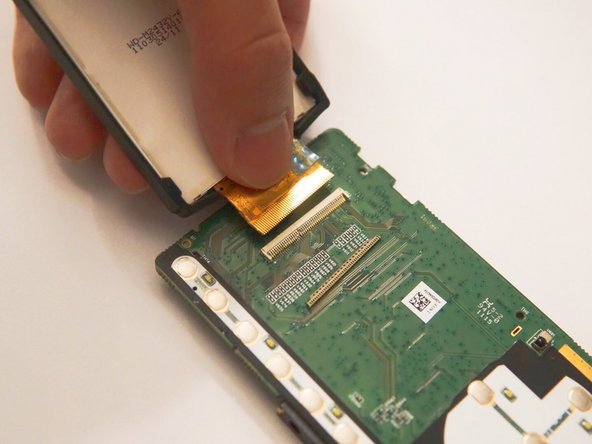
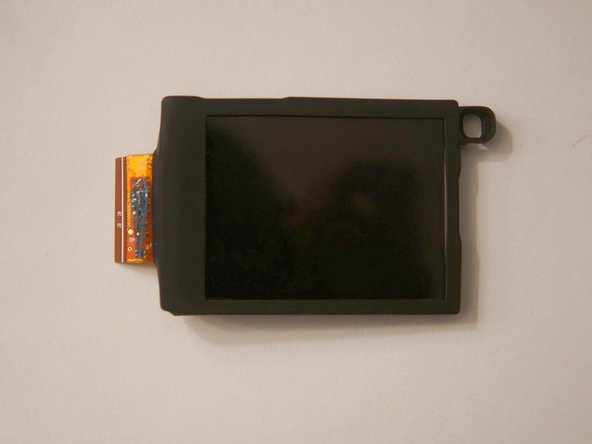
    • Remove the plastic case in front of the socket using the spudger.

    • Hold the screen and gently pull in the direction of the cable to separate screen from the socket.

終わりに

To reassemble your device, follow these instructions in reverse order.

作成者

3人の作成者と共同で作成されました。

Thomas Zhang

メンバー登録日: 10/17/17

107 ポイント

1ガイドが承認済み

チーム

UC Santa Barbara, Team S2-G8, Weedon Fall 2017 UC Santa Barbara, Team S2-G8, Weedon Fall 2017人のメンバー

UCSB-WEEDON-F17S2G8

5 メンバー

4のガイドは作成済み

0 件のコメント

コメントを追加

統計データ:

過去 24時間: 0

過去 7 日: 2

過去 30 日: 5

今までの合計 210