メインコンテンツにスキップ

SiriusXM Onyx Button Replacement

必要な工具と部品

  1. SiriusXM Onyx Button Replacement, Button: 手順 1、 1の画像 1
    • Take the iFixit opening tool and place it between the crevice as shown.

  2. SiriusXM Onyx Button Replacement: 手順 2、 2の画像 1 SiriusXM Onyx Button Replacement: 手順 2、 2の画像 2
    • Apply pressure to the iFixit opening tool, pushing down until the the plastic casing pops off.

  3. SiriusXM Onyx Button Replacement: 手順 3、 2の画像 1 SiriusXM Onyx Button Replacement: 手順 3、 2の画像 2
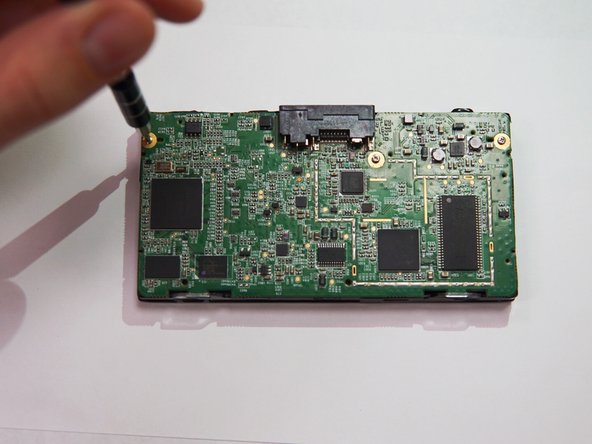
    • The buttons are on the opposite side of the motherboard. To remove the motherboard, use a 0.8~0.9 mm Phillips #00 screwdriver to remove the three screws that attach the motherboard to the front part of the plastic casing.

  4. SiriusXM Onyx Button Replacement: 手順 4、 2の画像 1 SiriusXM Onyx Button Replacement: 手順 4、 2の画像 2
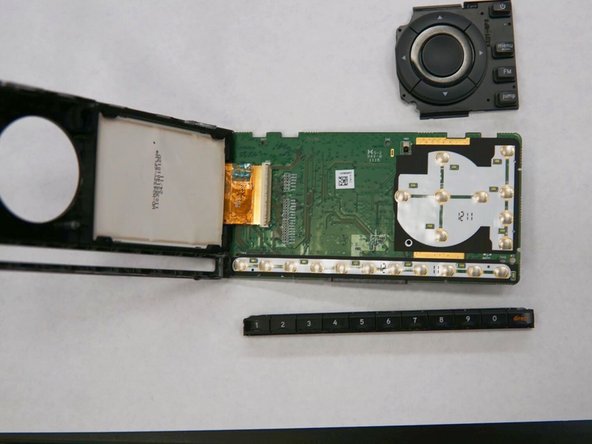
    • The buttons are resting in the corresponding sections of the motherboard, so pull them off.

終わりに

To reassemble your device, follow these instructions in reverse order.

ある他の人がこのガイドを完成しました。

作成者

4人の作成者と共同で作成されました。

Christina Tao

メンバー登録日: 10/17/17

319 ポイント

3のガイドは作成済み

チーム

UC Santa Barbara, Team S2-G8, Weedon Fall 2017 UC Santa Barbara, Team S2-G8, Weedon Fall 2017人のメンバー

UCSB-WEEDON-F17S2G8

5 メンバー

4のガイドは作成済み

0 件のコメント

コメントを追加

統計データ:

過去 24時間: 0

過去 7 日: 0

過去 30 日: 2

今までの合計 226