メインコンテンツにスキップ

Singing Machine Shine Duets Motherboard Replacement

必要な工具と部品

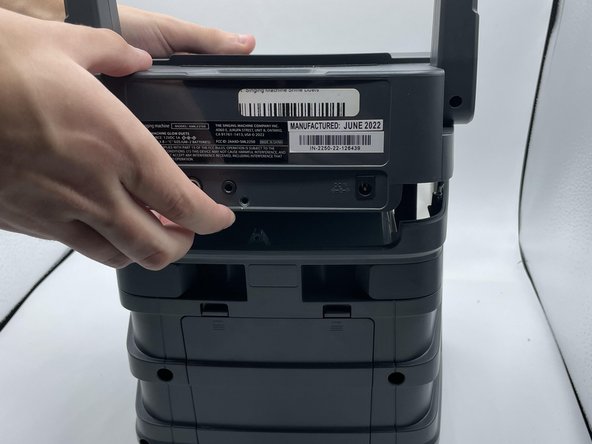
  1. Singing Machine Shine Duets Motherboard Replacement, Singing Machine Shine Duets Shell Dissassembly: 手順 1、 3の画像 1 Singing Machine Shine Duets Motherboard Replacement, Singing Machine Shine Duets Shell Dissassembly: 手順 1、 3の画像 2 Singing Machine Shine Duets Motherboard Replacement, Singing Machine Shine Duets Shell Dissassembly: 手順 1、 3の画像 3
    • Remove the 10 mm screws on either side of the machine using a Phillips #1 screwdriver.

  2. Singing Machine Shine Duets Motherboard Replacement: 手順 2、 3の画像 1 Singing Machine Shine Duets Motherboard Replacement: 手順 2、 3の画像 2 Singing Machine Shine Duets Motherboard Replacement: 手順 2、 3の画像 3
    • Remove the three 8 mm screws with a Phillips #0 screwdriver.

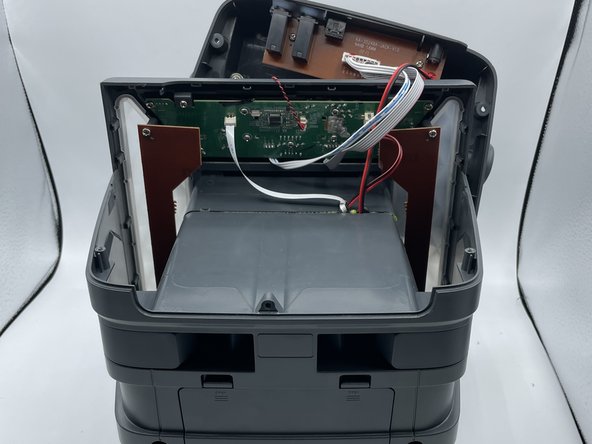
  3. Singing Machine Shine Duets Motherboard Replacement: 手順 3、 3の画像 1 Singing Machine Shine Duets Motherboard Replacement: 手順 3、 3の画像 2 Singing Machine Shine Duets Motherboard Replacement: 手順 3、 3の画像 3
    • Use the opening tool or your hands to carefully pry open the now-loosened top panel.

    • The top portion of the shell is open, and the inside of the device is now accessible.

  4. Singing Machine Shine Duets Motherboard Replacement, Motherboard: 手順 4、 1の画像 1
    • The motherboard is located right behind the control buttons.

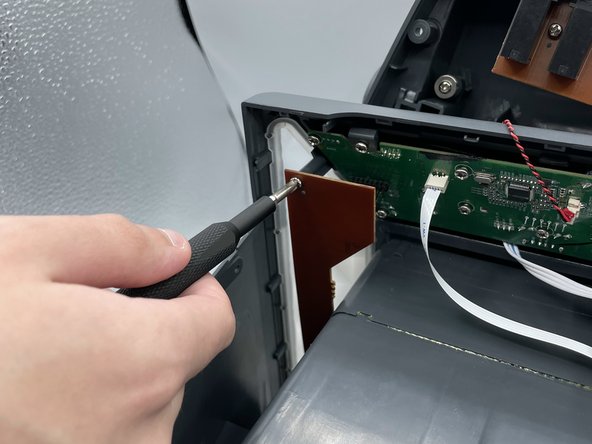
  5. Singing Machine Shine Duets Motherboard Replacement: 手順 5、 2の画像 1 Singing Machine Shine Duets Motherboard Replacement: 手順 5、 2の画像 2
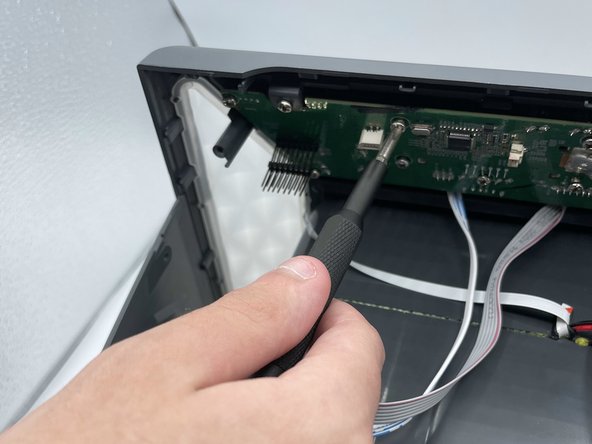
    • Remove the two screws holding the LED board in place.

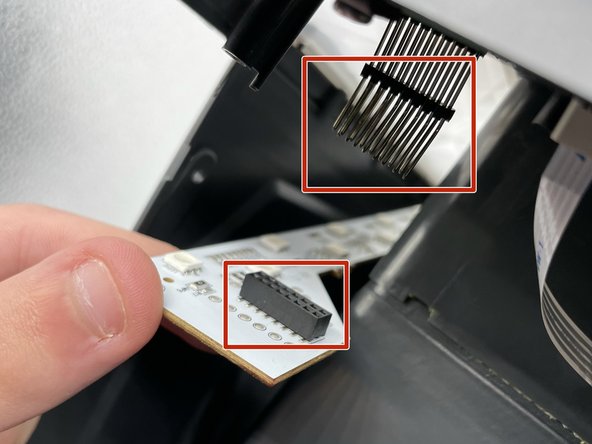
  6. Singing Machine Shine Duets Motherboard Replacement: 手順 6、 2の画像 1 Singing Machine Shine Duets Motherboard Replacement: 手順 6、 2の画像 2
    • Remove both LED boards from their pins.

  7. Singing Machine Shine Duets Motherboard Replacement: 手順 7、 2の画像 1 Singing Machine Shine Duets Motherboard Replacement: 手順 7、 2の画像 2
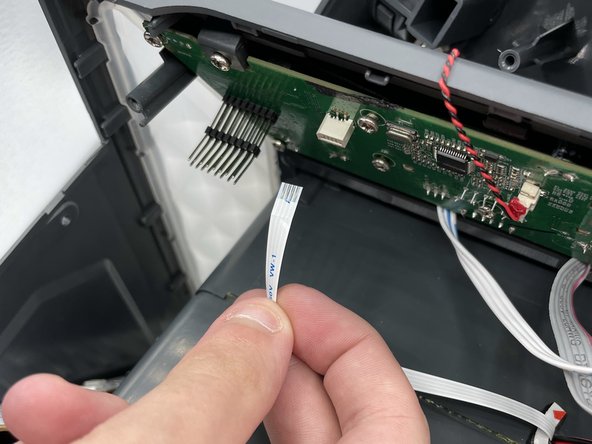
    • Detach the white cable from its connector on the motherboard.

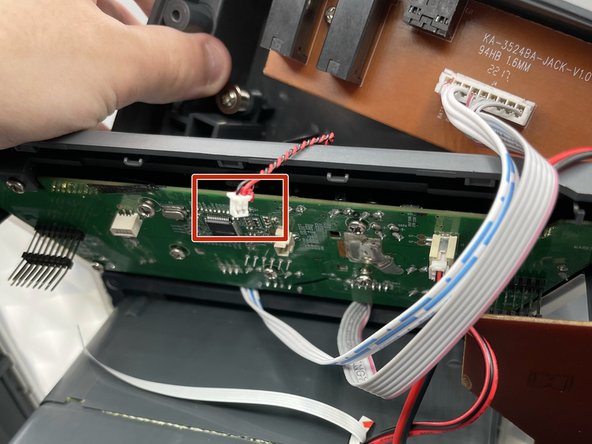
  8. Singing Machine Shine Duets Motherboard Replacement: 手順 8、 2の画像 1 Singing Machine Shine Duets Motherboard Replacement: 手順 8、 2の画像 2
    • Carefully disconnect this red-and-black wire from the motherboard.

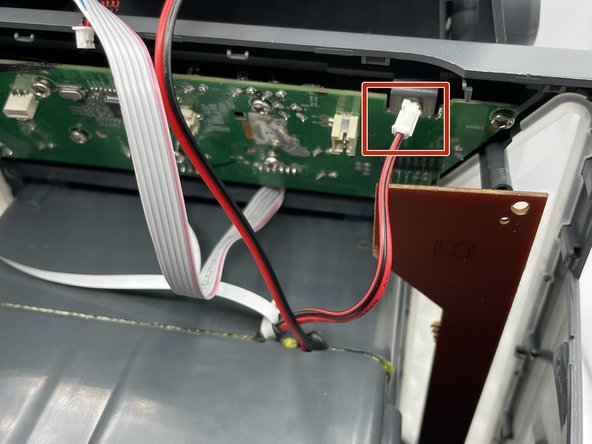
  9. Singing Machine Shine Duets Motherboard Replacement: 手順 9、 2の画像 1 Singing Machine Shine Duets Motherboard Replacement: 手順 9、 2の画像 2
    • Remove the thicker red-and-black wire from its socket on the motherboard.

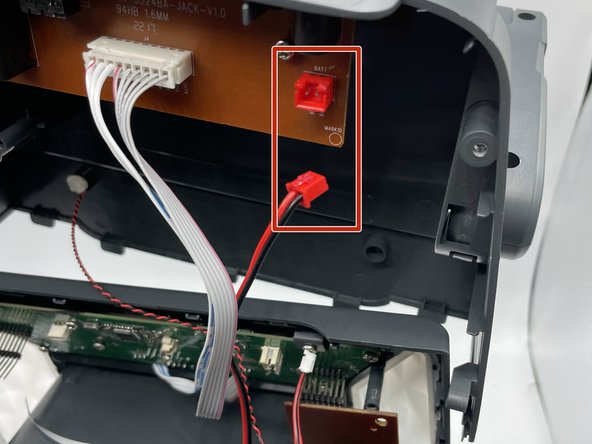
  10. Singing Machine Shine Duets Motherboard Replacement: 手順 10、 3の画像 1 Singing Machine Shine Duets Motherboard Replacement: 手順 10、 3の画像 2 Singing Machine Shine Duets Motherboard Replacement: 手順 10、 3の画像 3
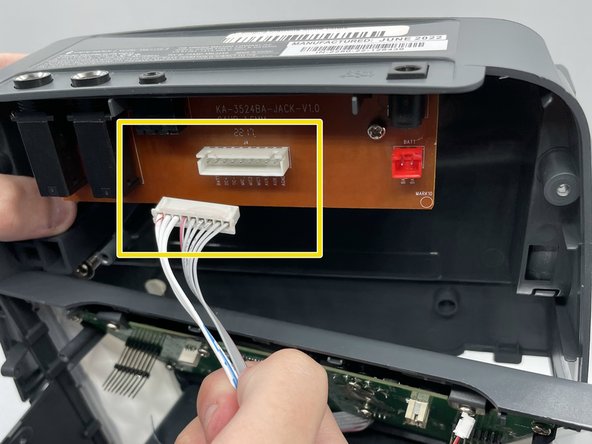
    • Disconnect the red port on the board which holds all of the external plugs

    • Disconnect the white wires from the board.

  11. Singing Machine Shine Duets Motherboard Replacement: 手順 11、 2の画像 1 Singing Machine Shine Duets Motherboard Replacement: 手順 11、 2の画像 2
    • Remove eleven 8 mm screws from the motherboard with a Phillips #0 screwdriver.

  12. Singing Machine Shine Duets Motherboard Replacement: 手順 12、 3の画像 1 Singing Machine Shine Duets Motherboard Replacement: 手順 12、 3の画像 2 Singing Machine Shine Duets Motherboard Replacement: 手順 12、 3の画像 3
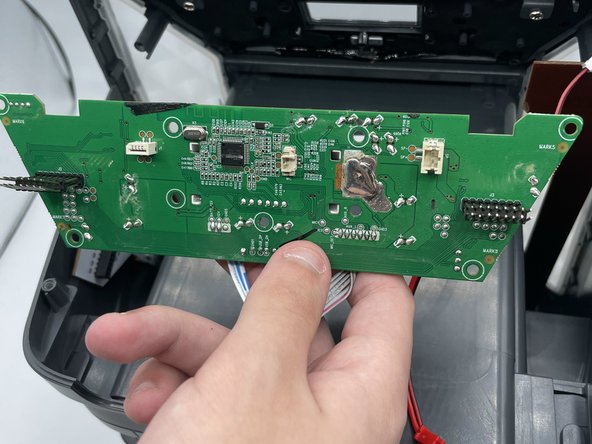
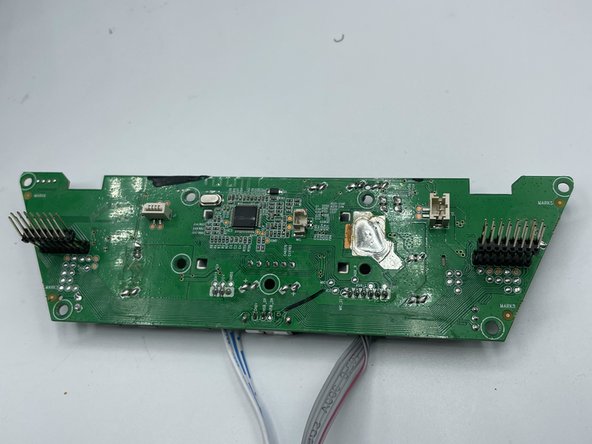
    • Remove the motherboard from the shell.

終わりに

To reassemble your device, follow these instructions in reverse order.

作成者

2人の作成者と共同で作成されました。

Ethan Dodson

メンバー登録日: 02/09/23

533 ポイント

4のガイドは作成済み

チーム

University of North Texas, Team 2-3, Saru Jimmy Spring 2023 University of North Texas, Team 2-3, Saru Jimmy Spring 2023人のメンバー

UNT-SARU JIMMY-S23S2G3

4 メンバー

8のガイドは作成済み

0 件のコメント

コメントを追加

統計データ:

過去 24時間: 0

過去 7 日: 5

過去 30 日: 17

今までの合計 165