メインコンテンツにスキップ

Siemens Surpresso Outlet Valve repair

必要な工具と部品

  1. Siemens Surpresso Outlet Valve repair, Opening the Siemens Surpresso Compact: 手順 1、 1の画像 1
    • Unplug your coffee maker!

    • Remove the water container, the brew group and the drip tray with pomace container.

    • Using a spoon, remove as much of the coffee beans as possible from the coffee bean container.

    • Depending on the model, additional sensors with cables may be installed on the top and side panels. You have to remove these before you can completely remove the housing parts.

  2. Siemens Surpresso Outlet Valve repair: 手順 2、 1の画像 1
    • Remove the two Torx T10 screws on the top.

  3. Siemens Surpresso Outlet Valve repair: 手順 3、 2の画像 1 Siemens Surpresso Outlet Valve repair: 手順 3、 2の画像 2
    • Remove seven T10 Torx screws on the back.

    • The two screws at the bottom of the front can remain.

  4. Siemens Surpresso Outlet Valve repair: 手順 4、 2の画像 1 Siemens Surpresso Outlet Valve repair: 手順 4、 2の画像 2
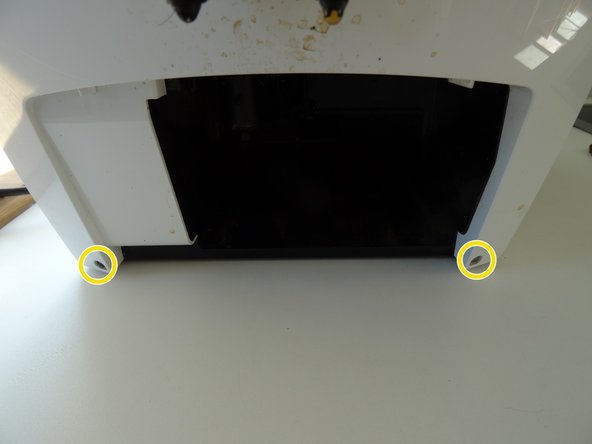
    • Press with a flat-head screwdriver into the openings on the side with the water tank. This releases the latches on the top.

    • Press the flat-head screwdriver into the opening on the side with the brew group. This will release the last notch on the top.

    • Lift the top off.

    • On some models, a cable leads to the sensor on the powder tray. Unplug the connector on this cable first.

  5. Siemens Surpresso Outlet Valve repair: 手順 5、 2の画像 1 Siemens Surpresso Outlet Valve repair: 手順 5、 2の画像 2
    • Slide the side section of the brewing unit about 2 cm to the rear. This sometimes gets stuck and may require some force to remove.

    • Remove the two tabs from the power switch.

    • Take off the side panel with the brew group.

  6. Siemens Surpresso Outlet Valve repair: 手順 6、 1の画像 1
    • Do the same with the panel on the other side.

    • To remove the water tank hose simply pull it of the pump.

    • Remove the side panel.

  7. Siemens Surpresso Outlet Valve repair, Outlet valve: 手順 7、 1の画像 1
    • Look for the outlet valve on the top right of the device.

  8. Siemens Surpresso Outlet Valve repair: 手順 8、 3の画像 1 Siemens Surpresso Outlet Valve repair: 手順 8、 3の画像 2 Siemens Surpresso Outlet Valve repair: 手順 8、 3の画像 3
    • There are three latches securing the valve lid. Carefully lift the lid up using a metal spudger.

    • Lifting the lid exposes a spring, a plunger and its holder, an O-ring and the seal of the plunger. The photo shows clearly the imprint of the valve seat, so the valve doesn't close properly. The plunger tends to break but the spare plunger in the repair kit is made of metal.

    • Note the order and orientation of the parts (photo).

    • Alternatively you can replace the complete valve, it's not too expensive.

終わりに

To reassemble your device, follow these instructions in reverse order.

3 の人々がこのガイドを完成させました。

以下の翻訳者の皆さんにお礼を申し上げます:

de en

100%

これらの翻訳者の方々は世界を修理する私たちのサポートをしてくれています。 あなたも貢献してみませんか?
翻訳を始める ›

作成者

1人の作成者と共同作成されました。

VauWeh

メンバー登録日: 10/19/15

202,869 ポイント

246のガイドは作成済み

チーム

Repair is War on Entropy Repair is War on Entropy人のメンバー

Community

25 メンバー

1,110のガイドは作成済み

0 件のコメント

コメントを追加

統計データ:

過去 24時間: 1

過去 7 日: 4

過去 30 日: 53

今までの合計 5,194