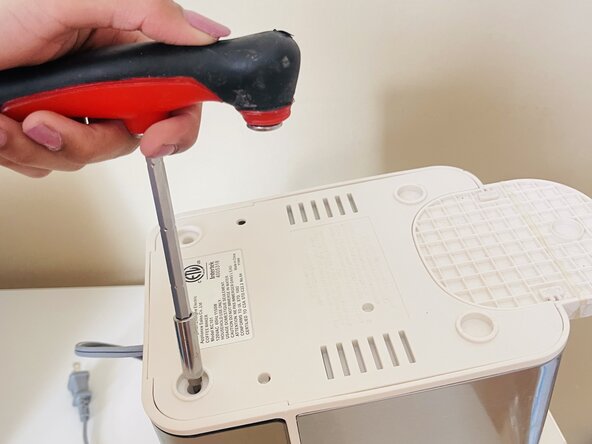
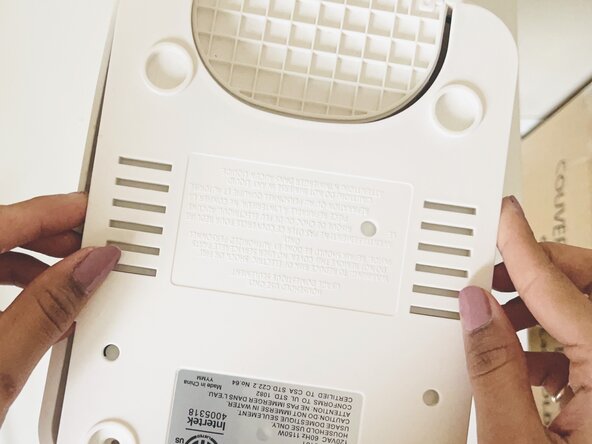
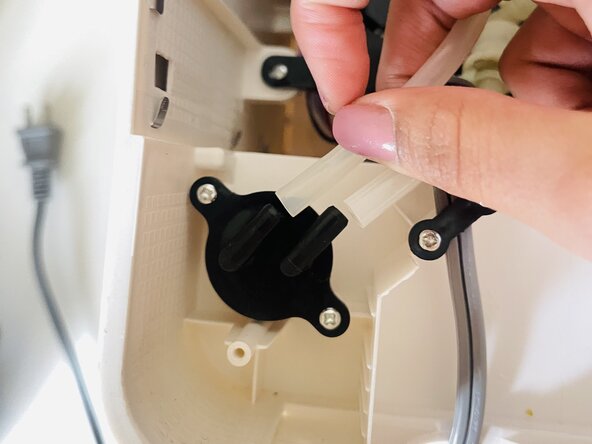
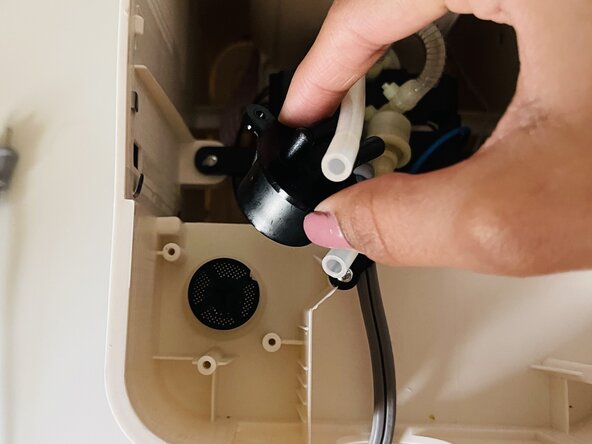
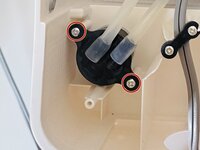
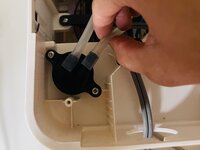
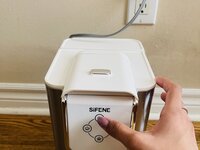
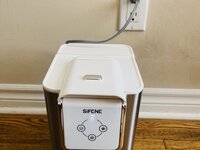
メインコンテンツにスキップ

SiFENE KC101 Nozzle Assembly Replacement

必要な工具と部品

  1. SiFENE KC101 Nozzle Assembly Replacement, Nozzle Assembly: 手順 1、 1の画像 1
    • Disconnect the coffee machine from the power outlet.

    • Wait for the machine to cool completely before beginning disassembly.

  2. SiFENE KC101 Nozzle Assembly Replacement: 手順 2、 3の画像 1 SiFENE KC101 Nozzle Assembly Replacement: 手順 2、 3の画像 2 SiFENE KC101 Nozzle Assembly Replacement: 手順 2、 3の画像 3
    • Use a Phillips #1 screwdriver to remove the two 10 mm screws securing the bottom cover.

    • Carefully lift the bottom cover up and off.

    • Perform the repair in a dry, well-lit environment to ensure safety and visibility.

  3. SiFENE KC101 Nozzle Assembly Replacement: 手順 3、 2の画像 1 SiFENE KC101 Nozzle Assembly Replacement: 手順 3、 2の画像 2
    • Identify the nozzle assembly connecting the water tank to the pump. It is a plastic component with tubing attached, situated to the left of the power cord. ​

    • Gently disconnect the tubing connected to the nozzle assembly. Take care not to damage the tubing.​

    • Mark the tubes with tape or labels to ensure accurate reassembly.

  4. SiFENE KC101 Nozzle Assembly Replacement: 手順 4、 2の画像 1 SiFENE KC101 Nozzle Assembly Replacement: 手順 4、 2の画像 2
    • Remove the two 8 mm Phillips screws securing the nozzle assembly.

    • Carefully remove the nozzle assembly.

    • If you encounter resistance when removing components, double-check for any missed screws or clips.

    • The remainder of the guide details reassembly.

  5. SiFENE KC101 Nozzle Assembly Replacement: 手順 5、 1の画像 1
    • Set the new nozzle assembly in place.

    • Secure it with the two 8 mm Phillips screws.

  6. SiFENE KC101 Nozzle Assembly Replacement: 手順 6、 2の画像 1 SiFENE KC101 Nozzle Assembly Replacement: 手順 6、 2の画像 2
    • Attach the tubing to the new nozzle assembly, ensuring a snug fit to prevent leaks.

  7. SiFENE KC101 Nozzle Assembly Replacement: 手順 7、 1の画像 1
    • Place the top cover back onto the machine.

    • Secure it with the two 10 mm Phillips screws.

    • Ensure all screws are tightened securely but avoid over-tightening to prevent damage.

  8. SiFENE KC101 Nozzle Assembly Replacement: 手順 8、 3の画像 1 SiFENE KC101 Nozzle Assembly Replacement: 手順 8、 3の画像 2 SiFENE KC101 Nozzle Assembly Replacement: 手順 8、 3の画像 3
    • Plug the machine back into the power source.

    • Run a test brew cycle with water to ensure there are no leaks and that the machine is functioning correctly.

終わりに

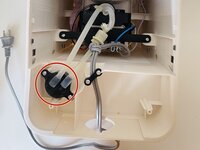
By following these steps, you can successfully replace the nozzle assembly in your SIFENE KC101 Coffee Machine, resolving issues related to water leakage or dispensing. Regular maintenance and timely replacements of faulty components will extend the lifespan of your appliance and ensure consistent performance.

作成者

1人の作成者と共同作成されました。

Yashvi

メンバー登録日: 02/01/25

157 ポイント

1ガイドが承認済み

チーム

York University, Team 5-5, Woodhouse Winter 2025 York University, Team 5-5, Woodhouse Winter 2025人のメンバー

YORK-WOODHOUSE-W25S5G5

2 メンバー

1のガイドは作成済み

0件のガイドコメント

コメントを追加

統計データ:

過去 24時間: 0

過去 7 日: 5

過去 30 日: 9

今までの合計 163