はじめに
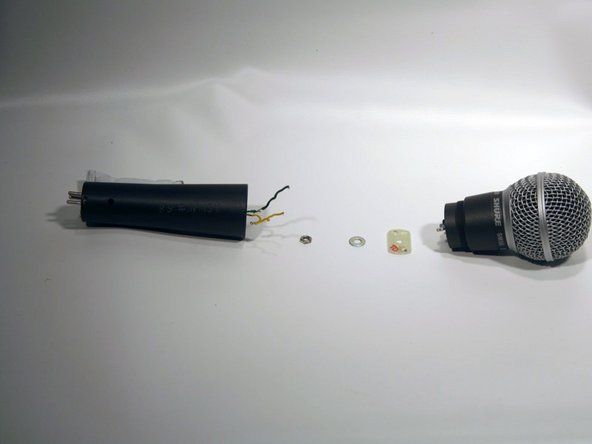
The faceplate connects all of the internal wiring of the microphone. If it is defective (or wires need to be reattached to it), this guide shows how to replace it.
必要な工具と部品


もう少しです!
Follow the steps of the guide in reverse to reassemble the microphone. In order to solder wires back to faceplate use soldering guide.
終わりに
Follow the steps of the guide in reverse to reassemble the microphone. In order to solder wires back to faceplate use soldering guide.
チーム

Cal Poly, Team 7-53, Forte Fall 2012 Cal Poly, Team 7-53, Forte Fall 2012人のメンバー
CPSU-FORTE-F12S7G53
5 メンバー
20のガイドは作成済み
Why should I replace the plate?
Gerrit - 返信
This guide was done as part of the capsule replacement—I don’t think there is any reason to solely replace the plate unless there was corrosion on it.
Daniel Berger - 返信