はじめに
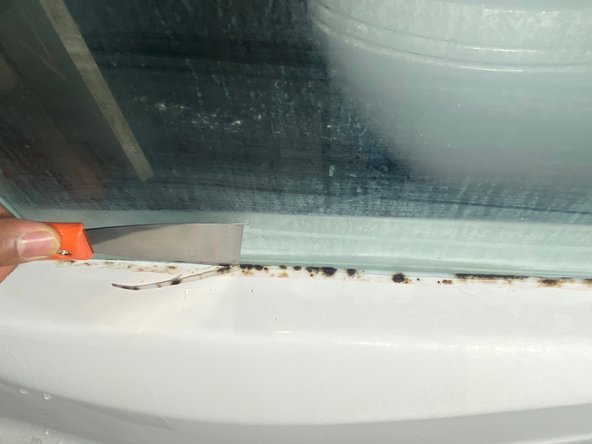
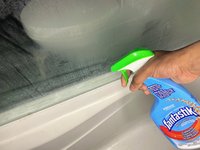
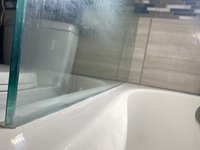
This guide shows how to safely remove an old silicone seal that needs replacing from a glass show door. The seal is prone to moisture and may result in mold over time. When mold is present, like in the picture shown, it would create a very disturbing build up of fungi that is extremely harmful in the air and to see in a shower. The visible black spots of mold that can’t be removed through cleaning chemical and it must be replaced due to safety concerns. Most of the tools used here would need to be purchased from a hardware store and are not common household items. Make sure to be very careful with the glass and not damage either the tub or glass with the tools. While using a knife always be cautious and safe, wearing utility gloves may help.
必要な工具と部品
-
-
この手順で使用する道具:Microfiber Cleaning Cloths$3.99
-
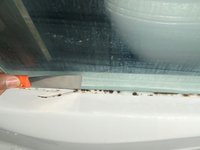
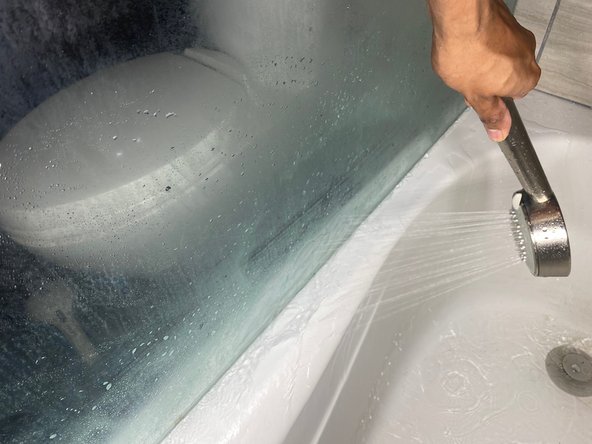
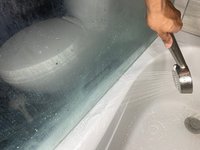
Clean the area with a mold cleaner so that small matter, and particles can be removed. Spray the cleaner, wait about 15 minutes, scrub, and wash thoroughly until all the chemical is gone.
-
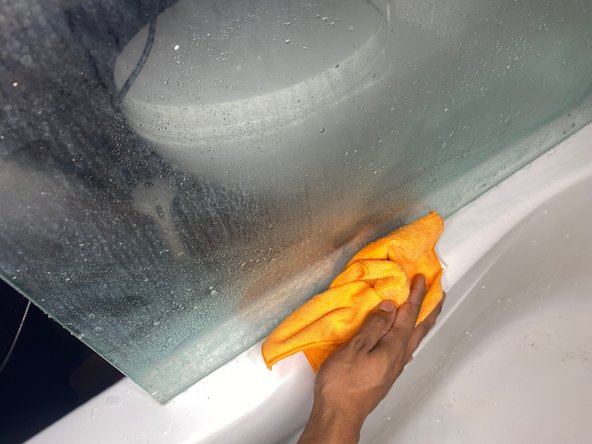
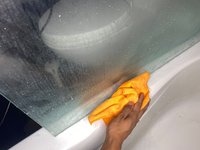
Now wipe the area clean with a microfiber cloth, until it is dry.
-
-
-
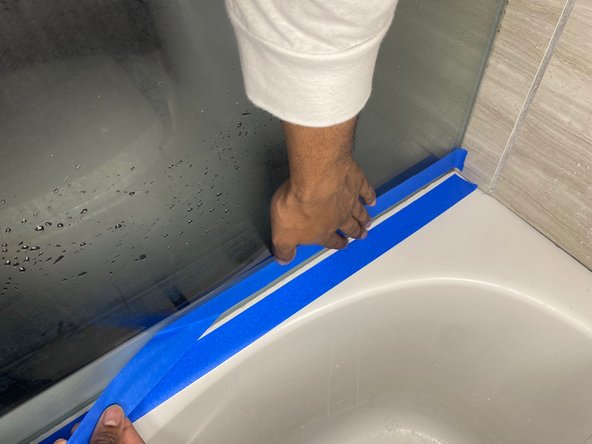
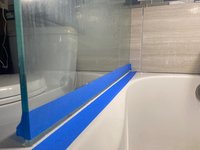
Place the new tube of silicone in the gun, and cut off about a half inch off of the tip. Poke the hole from the tip of the new silicone, with the accessory on the caulking gun.
-
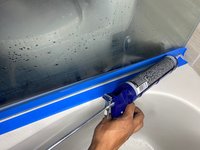
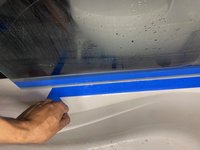
Press slowly until the glue comes out slightly. Start from one end and press into the crack as you run the silicone to the other end in one motion. Use an amount of glue so that it comes out slightly at the corners that you're caulking.
-
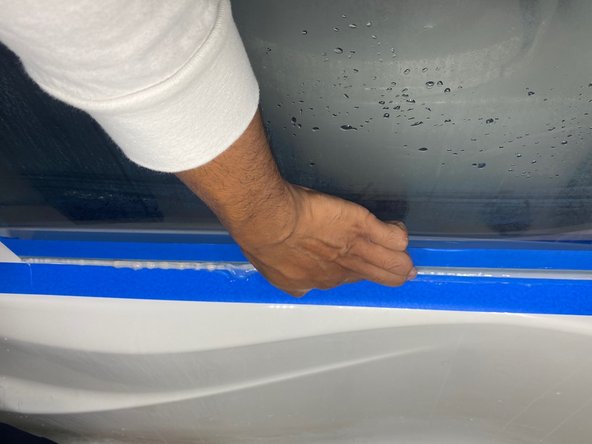
Make sure to put enough glue and not too little, as you will need to run your finger down the glue in one motion to smooth it out. Run your finger only once.
-
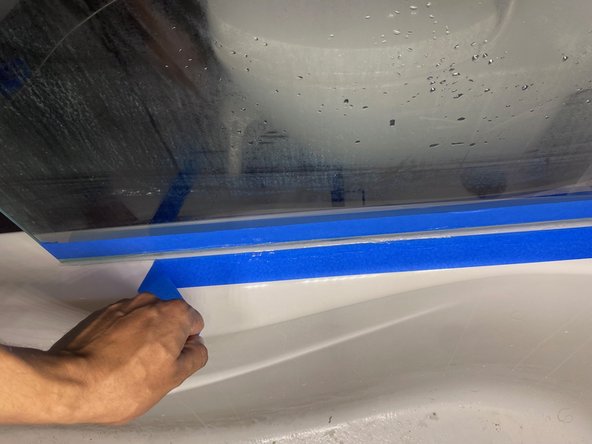
Wait about 10 minutes and remove the tape, so that the glue doesn't fully dry with the tape. The finish will also look cleaner when you remove the tape after caulking.
-


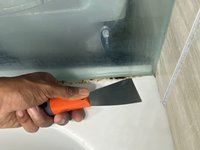
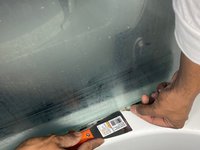

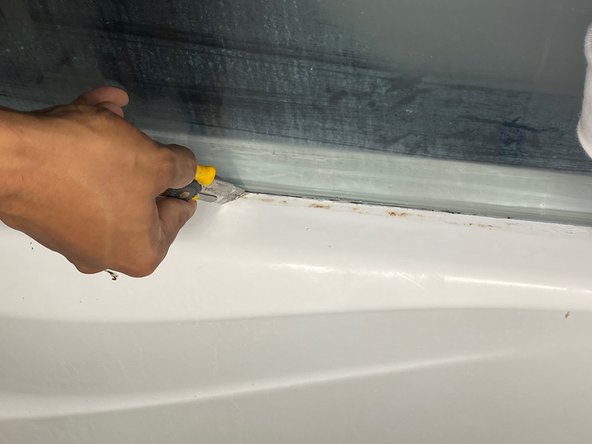

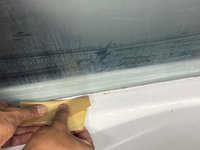


Make sure to be very careful with the glass and not damage with the knife. Using the knife always be cautious and safe, wearing gloves may help.
3 の人々がこのガイドを完成させました。

チーム

York University, Team 1-32, O'Regan Fall 2021 York University, Team 1-32, O'Regan Fall 2021人のメンバー
YORK-O'REGAN-F21S1G32
1 メンバー
1のガイドは作成済み