はじめに
A shower arm is the pipe that connects the shower head to the plumbing inside the wall. Over time, shower arms can become loose, corroded, or damaged, which may lead to leaks, poor water flow, or difficulty attaching a shower head. Replacing a shower arm is a simple repair that can help restore proper water flow and prevent water damage.
This guide will walk you through the steps required to safely remove an old shower arm and install a new one using basic tools. This repair can typically be completed by beginners with little plumbing experience.
Before You Begin:
Turn off the main water and gather the necessary tools. Having these tools nearby will make the process quicker and help prevent damage to the shower arm finish.
必要な工具と部品
-
-
Turn off the main water supply. Turn the wheel clockwise (right) to shut off water (if there is 2 wheels, turn both of them clockwise). Turn it until it stops — do not force it.
 FixBotに聞いてみる
-
-
-
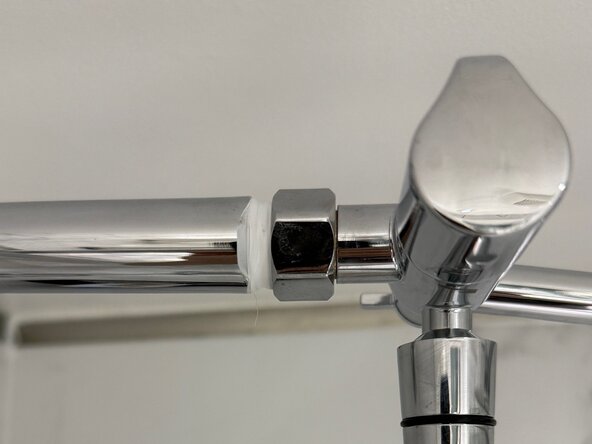
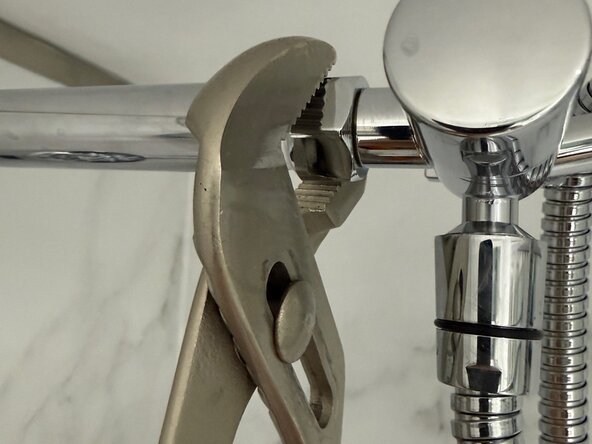
Use an adjustable wrench to loosen the nut that connects the shower head to the shower arm.
-
Turn the nut counterclockwise until the shower head comes off.
-
-
-
-
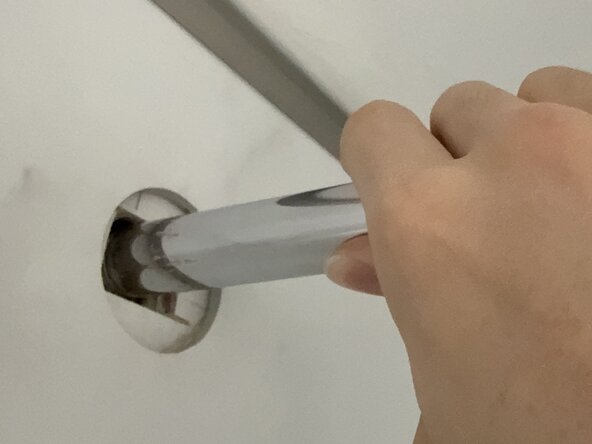
Grip the shower arm with a wrench covered with a cloth or rag to protect the finish and turn it counterclockwise. Continue turning until the shower arm fully unscrews from the wall fitting.
-
-
-
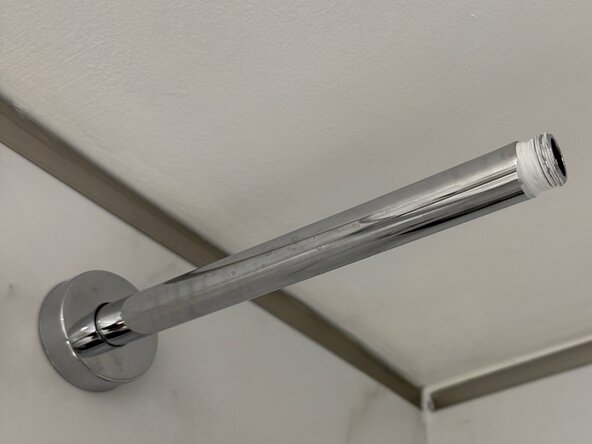
Use a cloth or a rag to remove old plumber’s tape residue or debris from the threaded fitting inside the wall.
-
-
-
Wrap plumber’s tape clockwise 2–4 times around the threaded end of the new shower arm.
-
-
-
Screw the new shower arm clockwise into the wall fitting until it is securely installed.
-
Slide the decorative flange back against the wall.
-
-
-
Reattach the showerhead and use an adjustable wrench to turn the nut clockwise to secure it to the shower arm.
-
-
-
Turn the water supply back on and test the shower for leaks around the connection.
-









After installing the new shower arm and reconnecting the shower head, turn the main water supply back on and test the shower for leaks. If you notice any dripping around the connection, tighten the fittings slightly or apply additional plumber’s tape. Once the connections are secure, your shower arm replacement is complete.
ある他の人がこのガイドを完成しました。

チーム

York University, Team 1-9, Woodhouse Winter 2026 York University, Team 1-9, Woodhouse Winter 2026人のメンバー
YORK-WOODHOUSE-W26S1G9
2 メンバー
1のガイドは作成済み
