はじめに
The user will learn how to:
- Remove the device from the case
- Completely tear down the device
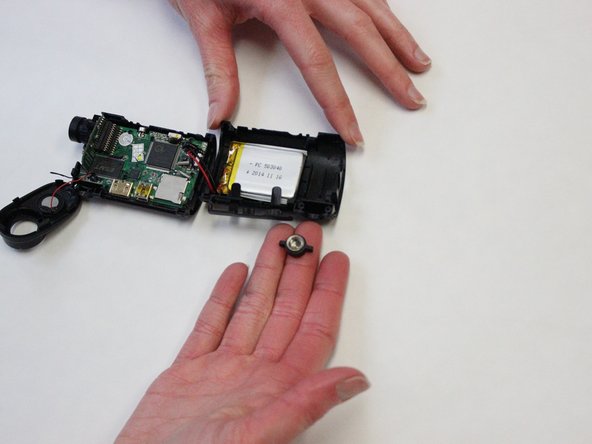
- Locate the tripod nut
- Remove the tripod nut
必要な工具と部品
-
-
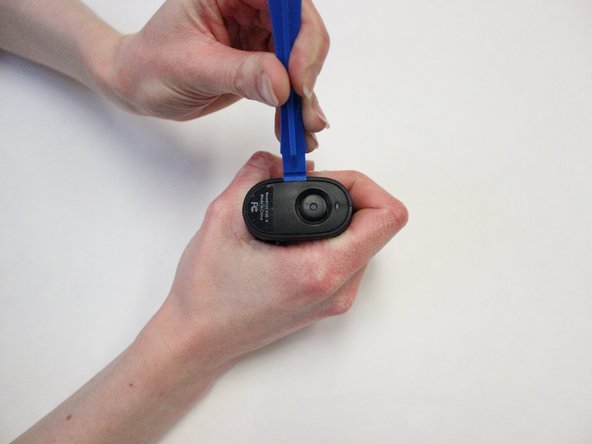
Use your thumb to push down on the lever that says "open" while simultaneously pushing up the latch with your other thumb.
-
-


もう少しです!
To reassemble your device, follow these instructions in reverse order.
終わりに
To reassemble your device, follow these instructions in reverse order.
チーム

University of Kentucky Louisville, Team 1-6, Matravers Spring 2016 University of Kentucky Louisville, Team 1-6, Matravers Spring 2016人のメンバー
LOUISVILLE-MATRAVERS-S16S1G6
4 メンバー
6のガイドは作成済み