はじめに
Outline what you are going to teach someone how to do.
必要な工具と部品
-
-
Remove silver side panels with prying tool by snapping them of the outer casing of the tablet.
-
-
-
Remove 9 screws by unscrewing the ones behind the panels with a bit driver. There are four screws on one side and five on the other. All which need to be removed.
-
-
-
-
Snap the back cover of the tablet off of the front cover, hence removing the tablet’s outer casing. Be cautious when removing it because the speaker wires connect the two casings of the tablet.
-
-
-
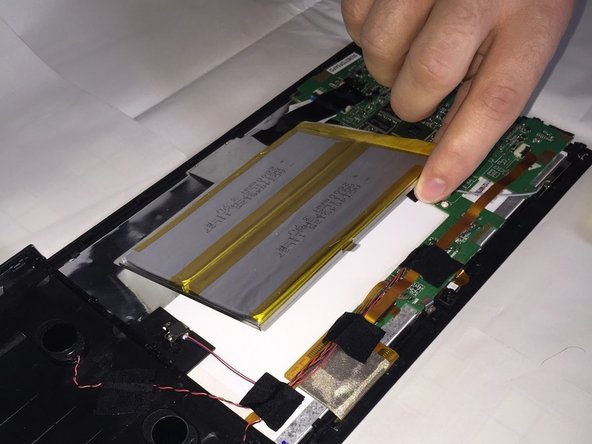
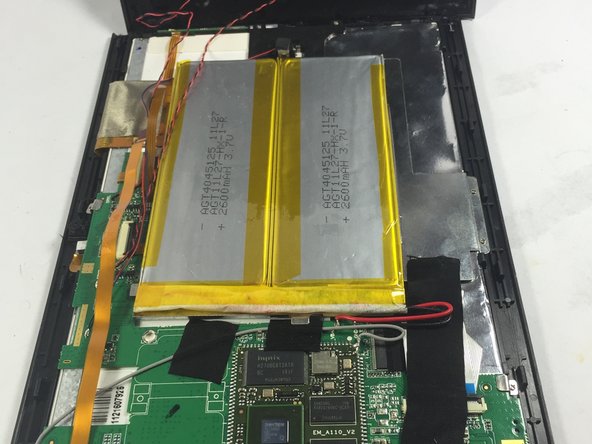
Upon opening the device the battery is clearly visible, on the side of the logic board. It is a silver rectangular shaped battery with yellow tape around the border and is attached to a silver metal plate, which holds the battery in place.
-
-
-
Use a screw driver with a Phillips head to remove the two screws holding the battery in place.
-
-
-
Peel off any tape holding the battery or tray and then find the red and black wires located on the corner of the battery that is soldered to the logic board.
-
Using the wire snippers, cut the defective battery wires as close to the circuit board as possible.
-
Then proceed to lift the battery out of the tablet.
-
-
-
Plug in Soldering iron and wait for it to heat up.If your soldering iron has a dial, adjust the setting somewhere between 15 and 40 Watts .
-
Next position prepped battery wires to the same spot where the previous wires were removed from.
-
Then Touch the soldering iron to the twisted copper wire for about a second to heat the wire.
-
Next, touch the solder to the soldering iron, so that a small amount of solder melts and forms a small bead between the surfaces being connected. (Avoid pooling of solder material by keeping this step between 3-4 seconds)
-
Repeat this step for the second wire. Secure new battery and place it in the position the original battery was in. Secure using the device tape, and screws.
-


To reassemble your device, follow these instructions in reverse order.
To reassemble your device, follow these instructions in reverse order.
チーム

UMass Dartmouth, Team 1-8, Shastany Fall 2014 UMass Dartmouth, Team 1-8, Shastany Fall 2014人のメンバー
UMASSD-SHASTANY-F14S1G8
3 メンバー
2のガイドは作成済み