メインコンテンツにスキップ

このバージョンは誤った内容を含んでいる可能性があります。最新の承認済みスナップショットに切り替えてください。
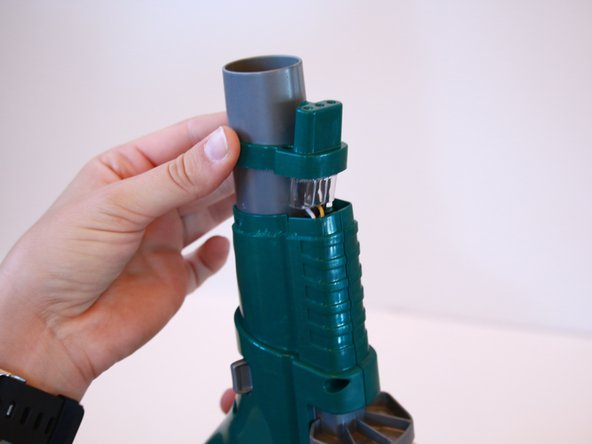
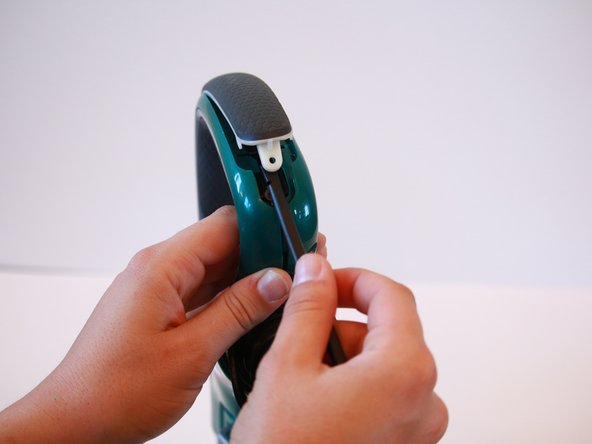
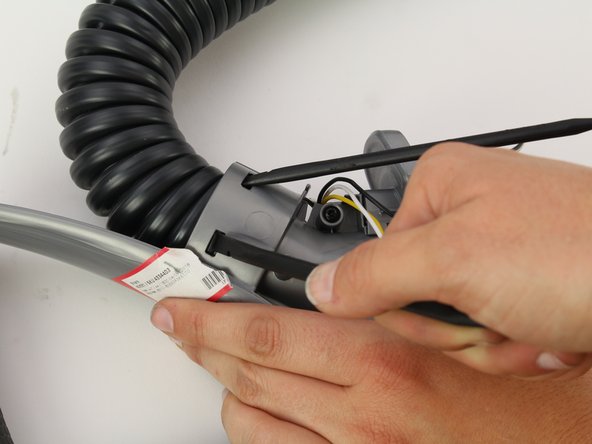
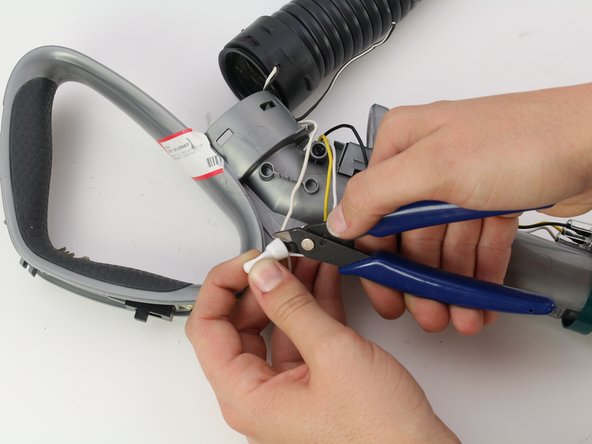
必要な工具と部品

  1. この手順は未翻訳です。 翻訳を手伝う。

    : 手順 1、 2の画像 1 : 手順 1、 2の画像 2
    • Press down on the hose release button and pull away from the vacuum

  2. この手順は未翻訳です。 翻訳を手伝う。

    : 手順 2、 3の画像 1 : 手順 2、 3の画像 2 : 手順 2、 3の画像 3
    • Press down on the wand release button and remove the wand from the vacuum.

  3. この手順は未翻訳です。 翻訳を手伝う。

    : 手順 3、 3の画像 1 : 手順 3、 3の画像 2 : 手順 3、 3の画像 3
    • Press down on the handle release button and pull the wand away from the vacuum.

  4. この手順は未翻訳です。 翻訳を手伝う。

    : 手順 4、 2の画像 1 : 手順 4、 2の画像 2
    • Remove five 13.4 mm screws from the handle with a T20 Torx bit.

  5. この手順は未翻訳です。 翻訳を手伝う。

    : 手順 5、 1の画像 1
    • Using a T20 Torx bit, remove the two 13.4 mm screws from the front of the nozzle.

  6. この手順は未翻訳です。 翻訳を手伝う。

    : 手順 6、 3の画像 1 : 手順 6、 3の画像 2 : 手順 6、 3の画像 3
    • Remove the neck ring by placing a spudger under the brace and lifting outwards.

    • It may be helpful to use a heat gun on the brace and then attempt removing with a spudger.

  7. この手順は未翻訳です。 翻訳を手伝う。

    : 手順 7、 1の画像 1
    • Run the spudger along the center seam of the handle, pulling it apart as you go.

  8. この手順は未翻訳です。 翻訳を手伝う。

    : 手順 8、 2の画像 1 : 手順 8、 2の画像 2
    • Remove the single 13.4 mm screw at the bottom of the handle grip and then lift the grip with a spudger.

  9. この手順は未翻訳です。 翻訳を手伝う。

    : 手順 9、 2の画像 1 : 手順 9、 2の画像 2
    • Remove the single 13.4 mm screw from underneath the handle grip. You are then able to open the handle using a spudger and pulling the pieces apart.

  10. この手順は未翻訳です。 翻訳を手伝う。

    : 手順 10、 2の画像 1 : 手順 10、 2の画像 2
    • Using two spudgers, unclip the hose from the handle.

  11. この手順は未翻訳です。 翻訳を手伝う。

    : 手順 11、 2の画像 1 : 手順 11、 2の画像 2
    • Use wire cutters to clip the white and black wire that connect the hose to the handle.

    • Soldering or wire connectors are necessary for reassembly.

    • Any time you are dealing with electrical components, be sure the device is unplugged.

ゴール

3 の人々がこのガイドを完成させました。

作成者

3人の作成者と共同で作成されました。

Sujey Ruano

メンバー登録日: 10/08/18

706 ポイント

3のガイドは作成済み

チーム

Cal Poly, Team S4-G6, White Fall 2018 Cal Poly, Team S4-G6, White Fall 2018人のメンバー

CPSU-WHITE-F18S4G6

4 メンバー

12のガイドは作成済み

2 件のコメント

Very helpful! I got a sock super stuck. I tried all the conventional methods to get it out but ended up needing to take the hose apart. Excellent instructions that got the job done with no lasting damage.

Jason Woehl - 返信

My Shark Vertex looks suspiciously like this unit. Maybe I should return it before I have problems that require me to do all this!

My first Shark lasted almost 20 years without a hitch. It was finally taken down by a plastic part inside the unit that I have been unable to locate. It would be quite an easy repair save the plastic part securing the handled hose to the body.

Yikes!

Edward Darbonne - 返信

コメントを追加

統計データ:

過去 24時間: 9

過去 7 日: 58

過去 30 日: 230

今までの合計 8,753