この修理ガイドは変更されています。最新の未承認バージョンに切り替えます。
はじめに
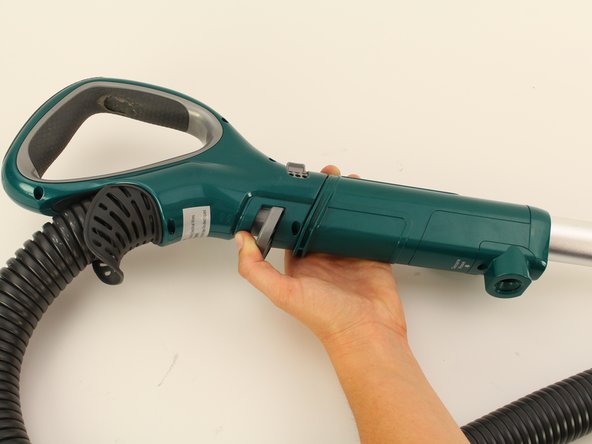
A damaged hose will not allow the vacuum to function properly. This guide will assist in the replacement process. The hose is electrically attached to the other components of the vacuum. Removal of the hose will require electrical components.
必要な工具と部品
-
-
-
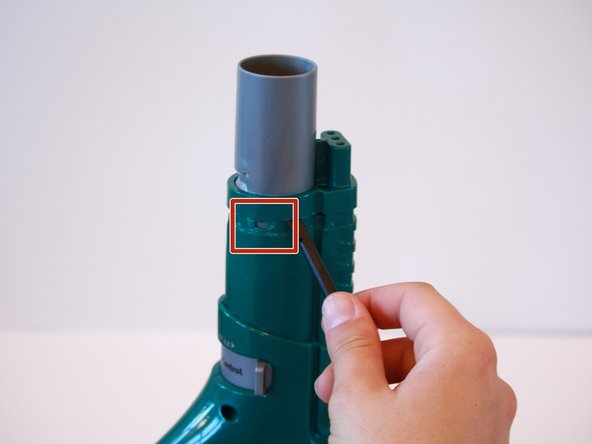
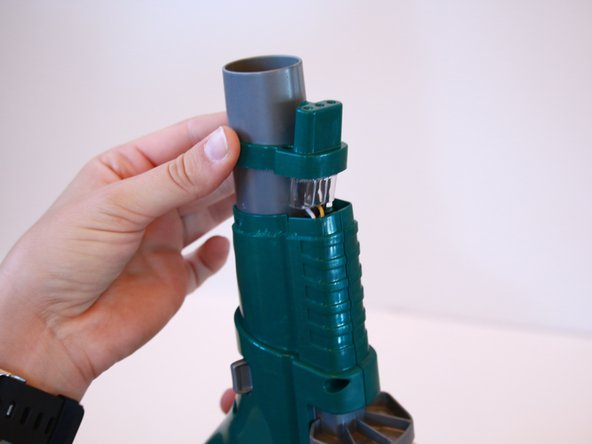
Using a T20 Torx bit, remove the two 13.4 mm screws from the front of the nozzle.
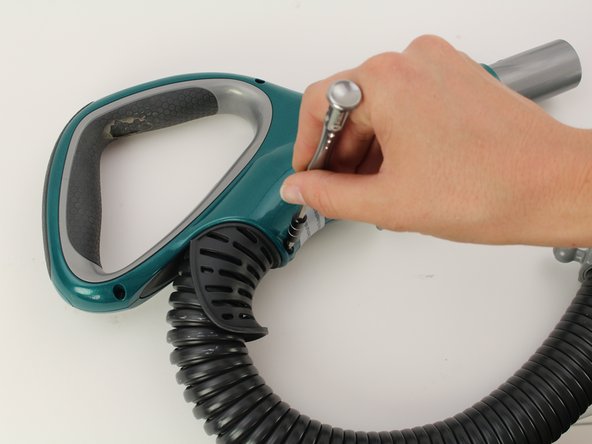
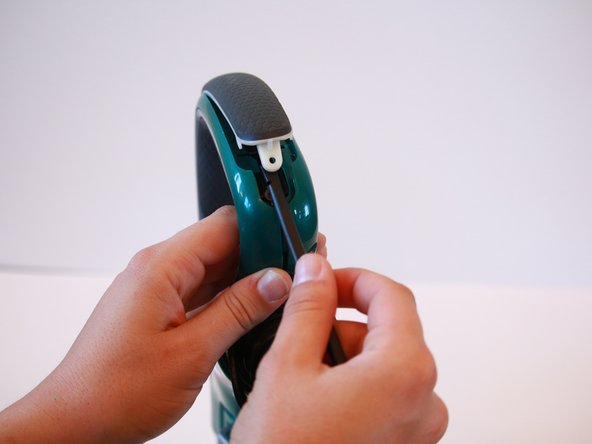
5.1) Remove collar on the bottom of the handle. A heat gun may be needed to release the tabs if the will not realease on thier own.
5.2) Remove both sides of the green cover, starting with the side where you removed the screws, use the spuder to get the sidees apart. There are tabs all the way around and will require some force to get apart. Remove the screw holding the grey handle, under the green tab. The grey textureized grip will come off, along with the sliding tab, when the cover is removed.
-
-
-
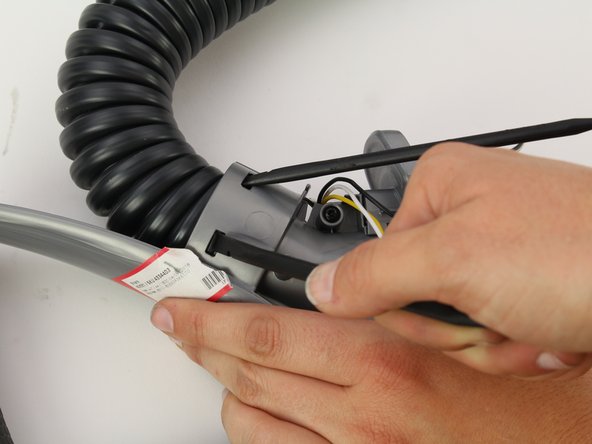
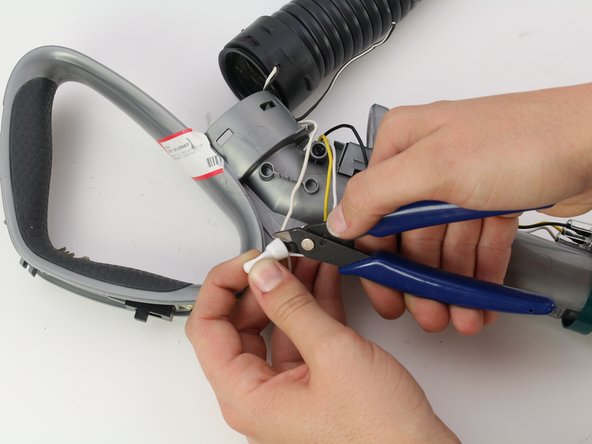
Use wire cutters to clip the white and black wire that connect the hose to the handle.
-


To reassemble your device, follow these instructions in reverse order.
To reassemble your device, follow these instructions in reverse order.
3 の人々がこのガイドを完成させました。
チーム

Cal Poly, Team S4-G6, White Fall 2018 Cal Poly, Team S4-G6, White Fall 2018人のメンバー
CPSU-WHITE-F18S4G6
4 メンバー
12のガイドは作成済み
2 件のコメント
Very helpful! I got a sock super stuck. I tried all the conventional methods to get it out but ended up needing to take the hose apart. Excellent instructions that got the job done with no lasting damage.
My Shark Vertex looks suspiciously like this unit. Maybe I should return it before I have problems that require me to do all this!
My first Shark lasted almost 20 years without a hitch. It was finally taken down by a plastic part inside the unit that I have been unable to locate. It would be quite an easy repair save the plastic part securing the handled hose to the body.
Yikes!