メインコンテンツにスキップ

Shark Navigator Lightweight Upright Head Shell Replacement

必要な工具と部品

  1. Shark Navigator Lightweight Upright Head Shell Replacement, Head Shell: 手順 1、 2の画像 1 Shark Navigator Lightweight Upright Head Shell Replacement, Head Shell: 手順 1、 2の画像 2
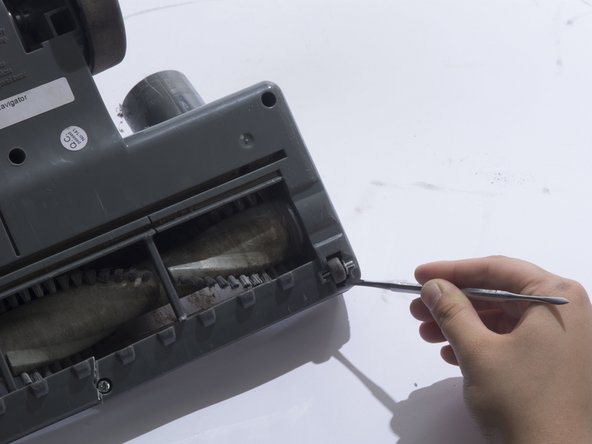
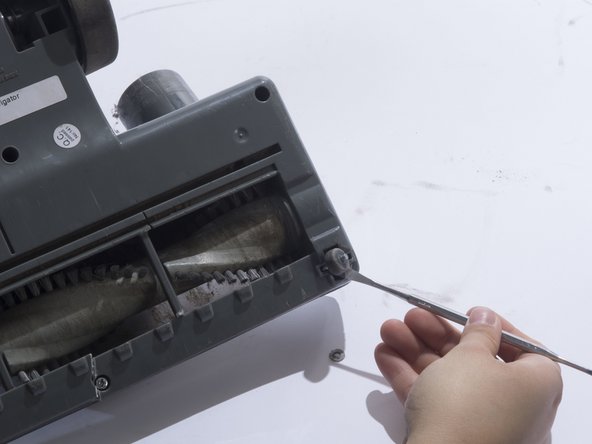
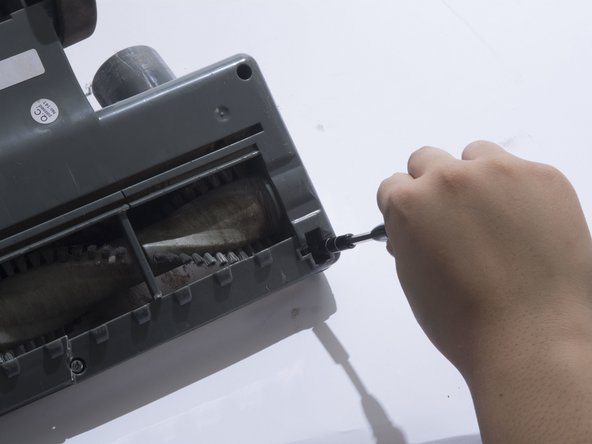
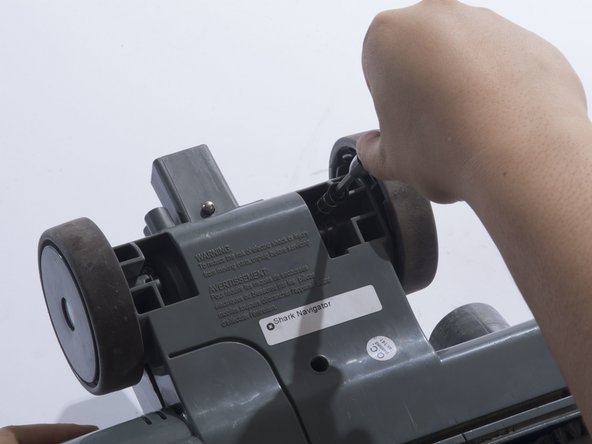
    • Detach the hose connected on the bottom of the vacuum by pulling it out of the casing.

  2. Shark Navigator Lightweight Upright Head Shell Replacement: 手順 2、 2の画像 1 Shark Navigator Lightweight Upright Head Shell Replacement: 手順 2、 2の画像 2
    • Lay the vacuum on its side.

    • Press in the black, rubberish button located on the back of the vacuum to detach the vacuum head from the body.

  3. Shark Navigator Lightweight Upright Head Shell Replacement: 手順 3、 1の画像 1
    • Flip over the vacuum head so the brush head is facing up.

  4. Shark Navigator Lightweight Upright Head Shell Replacement: 手順 4、 3の画像 1 Shark Navigator Lightweight Upright Head Shell Replacement: 手順 4、 3の画像 2 Shark Navigator Lightweight Upright Head Shell Replacement: 手順 4、 3の画像 3
    • Remove the small front wheels with a metal spudger by inserting the metal spudger in front of the wheel and slowly prying up. This will free the wheel and reveal the screw beneath it.

    • Repeat this for the other wheel.

  5. Shark Navigator Lightweight Upright Head Shell Replacement: 手順 5、 2の画像 1 Shark Navigator Lightweight Upright Head Shell Replacement: 手順 5、 2の画像 2
    • Remove the two 18mm screws with a JIS 1 screwdriver.

  6. Shark Navigator Lightweight Upright Head Shell Replacement: 手順 6、 2の画像 1 Shark Navigator Lightweight Upright Head Shell Replacement: 手順 6、 2の画像 2
    • Remove the four 18mm screws located on the top corners and the bottom/middle of the vacuum head using a JIS 1 screwdriver.

  7. Shark Navigator Lightweight Upright Head Shell Replacement: 手順 7、 2の画像 1 Shark Navigator Lightweight Upright Head Shell Replacement: 手順 7、 2の画像 2
    • Remove the two 18mm screws located on the inside of the large wheels using a JIS 1 screwdriver.

  8. Shark Navigator Lightweight Upright Head Shell Replacement: 手順 8、 3の画像 1 Shark Navigator Lightweight Upright Head Shell Replacement: 手順 8、 3の画像 2 Shark Navigator Lightweight Upright Head Shell Replacement: 手順 8、 3の画像 3
    • Remove the plastic cover by prying the plastic cover up using a plastic opening tool.

    • Prying in multiple locations may be necessary to create separation.

終わりに

To reassemble your device, follow these instructions in reverse order.

作成者

3人の作成者と共同で作成されました。

Suzie

メンバー登録日: 10/02/17

527 ポイント

4のガイドは作成済み

チーム

Cal Poly, Team S4-G6, Livingston Fall 2017 Cal Poly, Team S4-G6, Livingston Fall 2017人のメンバー

CPSU-LIVINGSTON-F17S4G6

3 メンバー

12のガイドは作成済み

コメント 1 件

I have been doing exactly what the steps require but have not been able to remove the cover. Each time I am able to release one side the other side snaps back and the fixit tools fall out or fall inside.

Please give me any suggestions to accomplish removing the cover. Thank you.

Diane Snelling - 返信

コメントを追加

統計データ:

過去 24時間: 0

過去 7 日: 2

過去 30 日: 6

今までの合計 942