はじめに
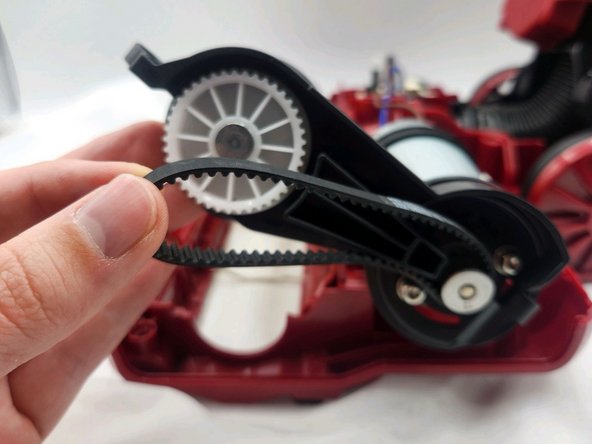
Use this guide to replace your vacuum belt. A vacuum belt may need to be replaced due to wear and tear, damage, or loss of tension.
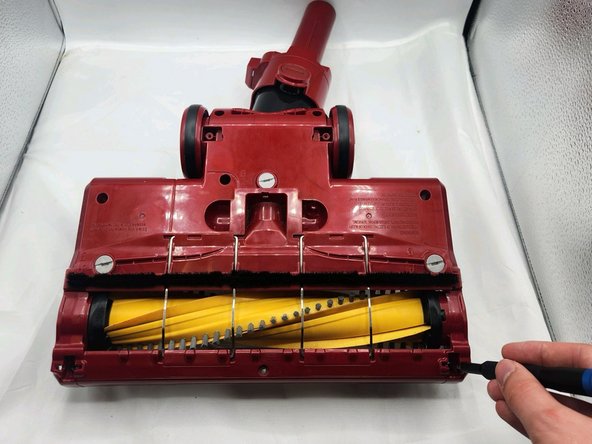
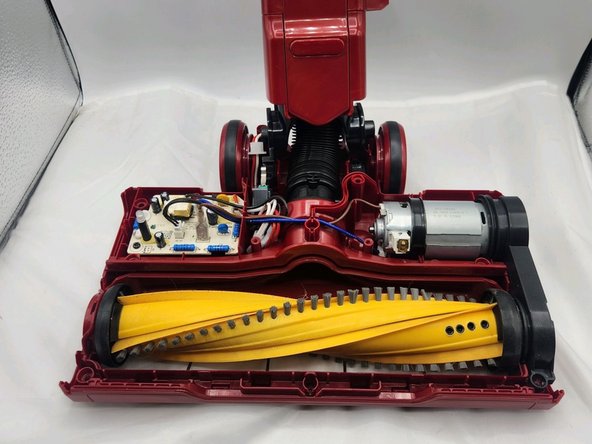
The purpose of a vacuum belt is to transfer power from the motor to the brush roll. This allows the brush roll to spin and agitate the carpet or floor, loosening dirt and debris so that the vacuum can effectively suction it up.
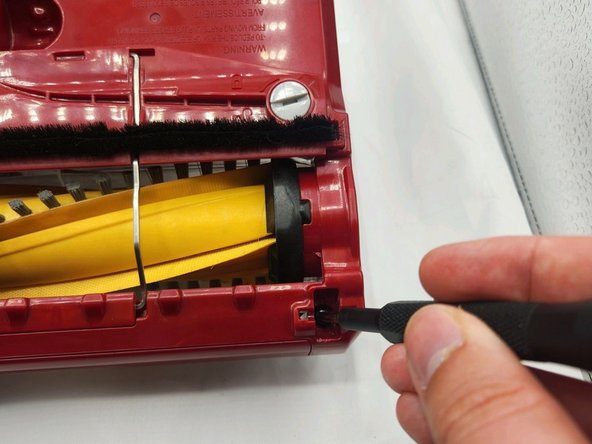
Make sure the vacuum is not connected to power before proceeding.
必要な工具と部品


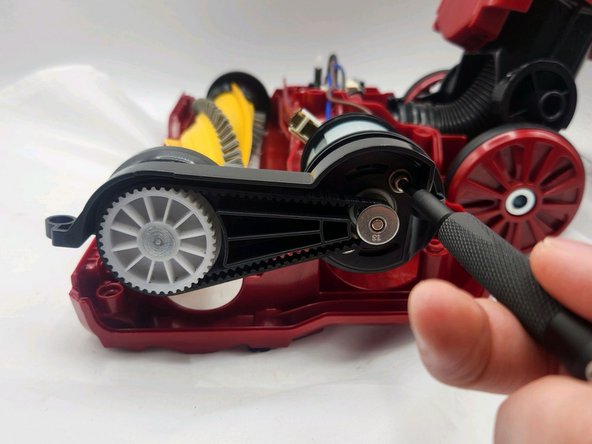
To reassemble your device, follow these instructions in reverse order.
To reassemble your device, follow these instructions in reverse order.

チーム

University of North Texas, Team 3-4, Kilpatrick Spring 2024 University of North Texas, Team 3-4, Kilpatrick Spring 2024人のメンバー
UNT-KILPATRICK-S24S3G4
4 メンバー
5のガイドは作成済み