メインコンテンツにスキップ

Shank Button Replacement

必要な工具と部品

  1. Shank Button Replacement, Shank Button: 手順 1、 3の画像 1 Shank Button Replacement, Shank Button: 手順 1、 3の画像 2 Shank Button Replacement, Shank Button: 手順 1、 3の画像 3
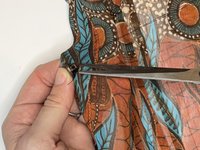
    • Remove your loose button (if necessary).

    • If the button is already missing, remove any loose threads from your garment.

    • Mark where the button was on the garment to hold place (a felt tip pen works fine, just keep the marking small)
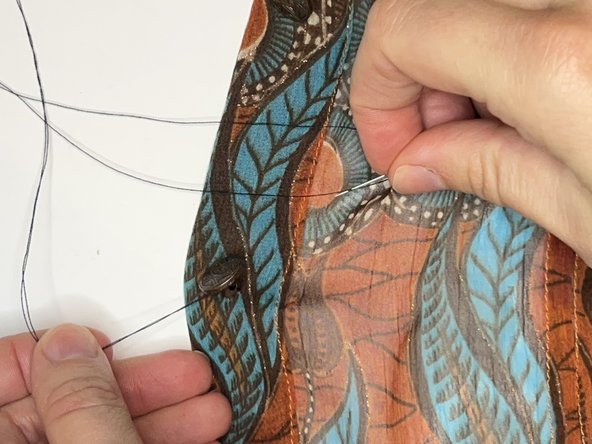
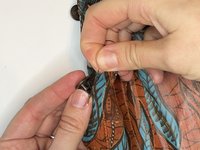
  2. Shank Button Replacement: 手順 2、 3の画像 1 Shank Button Replacement: 手順 2、 3の画像 2 Shank Button Replacement: 手順 2、 3の画像 3
    • Measure out your thread. An easy measuring reference is the length of one arm fully extended.

    • Thread your needle.

    • Pull the thread until two equal parts are on either side of the needle.

    • Tie a knot in the end of your thread (both ends should be tied together creating a double thread).

  3. Shank Button Replacement: 手順 3、 3の画像 1 Shank Button Replacement: 手順 3、 3の画像 2 Shank Button Replacement: 手順 3、 3の画像 3
    • Insert your needles into the marked space where your needle should go on the top side of the garment (that way the button will hide your knot).

    • Pull the thread until the knot rests on the fabric.

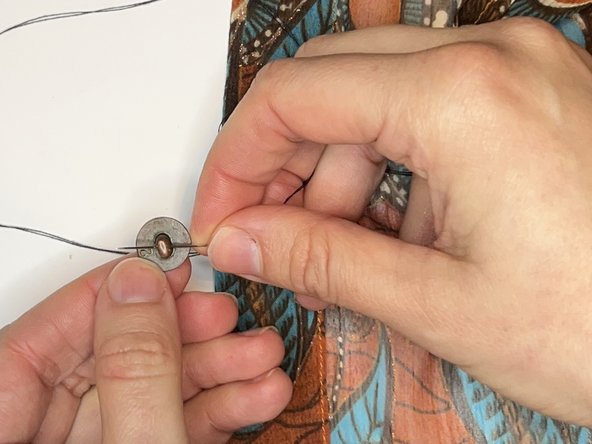
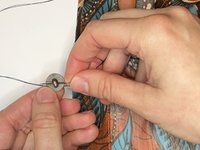
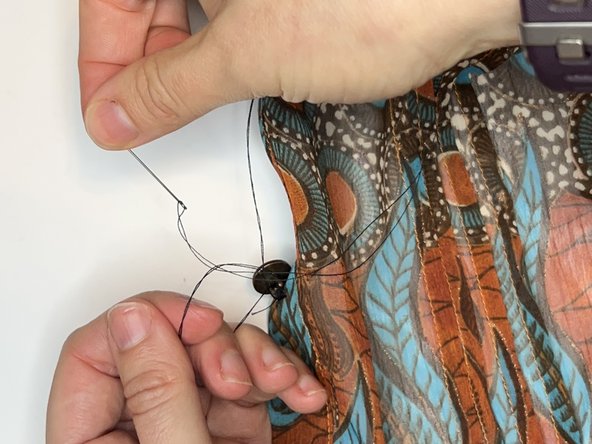
    • Insert your needle into the shank on the back of your button.

    • Pull the thread until the button rests on the fabric.

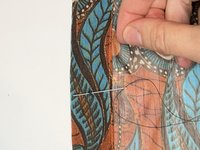
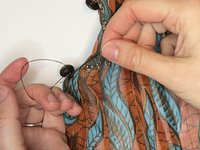
    • Insert the needle back into the same space on your fabric. Repeat the above instructions 5 times or until the button is firmly attached.

  4. Shank Button Replacement: 手順 4、 3の画像 1 Shank Button Replacement: 手順 4、 3の画像 2 Shank Button Replacement: 手順 4、 3の画像 3
    • To tie off your thread, insert the needle back into the fabric near your previous stitches.

    • Pull thread until there is a small loop (do not pull flush with fabric).

    • Insert the needle into the thread loop and pull through.

    • Pull the thread until the loop closes and a knot is formed.

  5. Shank Button Replacement: 手順 5、 3の画像 1 Shank Button Replacement: 手順 5、 3の画像 2 Shank Button Replacement: 手順 5、 3の画像 3
    • Trim any excess thread from the button area.

    • Enjoy your newly repaired item!

ゴール

作成者

1人の作成者と共同作成されました。

Rebekah Kilpatrick

メンバー登録日: 09/20/23

121 ポイント

1ガイドが承認済み

チーム

University of North Texas, Team 1-13, Martin Fall 2023 University of North Texas, Team 1-13, Martin Fall 2023人のメンバー

UNT-MARTIN-F23S1G13

1 メンバー

1のガイドは作成済み

0 件のコメント

コメントを追加

統計データ:

過去 24時間: 2

過去 7 日: 10

過去 30 日: 27

今までの合計 85