はじめに
Learn how to sew a curved seam to give your garments shape and life, not just straight lines. In this guide we’re using contrasting thread for visibility, but when it comes time to do your actual project, you’ll want to use thread that matches the color of your fabric.
必要な工具と部品
-
-
-
Lay the two pieces of fabric with the right sides together.
-
Align the edges you would like to sew. Push out all the wrinkles and smooth the fabric flat.
 FixBotに聞いてみる
-
-
-
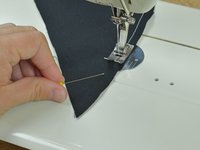
Starting at one end of the seam, match the corners and pin them together.
-
Work your way down the edge to be sewn, pinning the two pieces of fabric together.
-
Continue until you've pinned the two pieces of fabric from corner to corner.
-
-
-
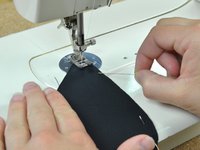
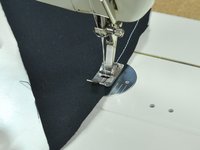
Align the edge of the fabric with the edge of the presser foot, then depress the presser foot.
-
Engage the sewing machine's backstitch function.
-
Depress the pedal slowly. Sew two or three stitches backwards. Release the pedal and disengage the backstitch function.
-
-
-
-
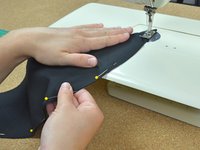
Depress the pedal and sew slowly forward, guiding the fabric with your hands as you go.
-
Keep the fabric aligned to the edge of the presser foot as you sew.
-
Stop before you reach each pin. Pull the pins out, being careful not to misalign the fabric.
-
-
-
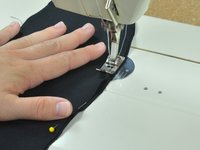
Continue to sew along the curved edge.
-
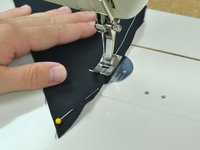
Pull out the last pin and sew up to the fabric's end.
-
When you come to the end of your seam, engage the backstitch function. Sew two or three stitches backwards. Release the backstitch function and sew forward off the fabric.
-
Turn the balance wheel until the needle is up.
-
Lift the presser foot up and clip the threads holding the fabric to the machine as close to the fabric as possible.
-
-
-
Lay out the newly sewn fabric on your work surface.
-
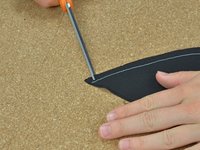
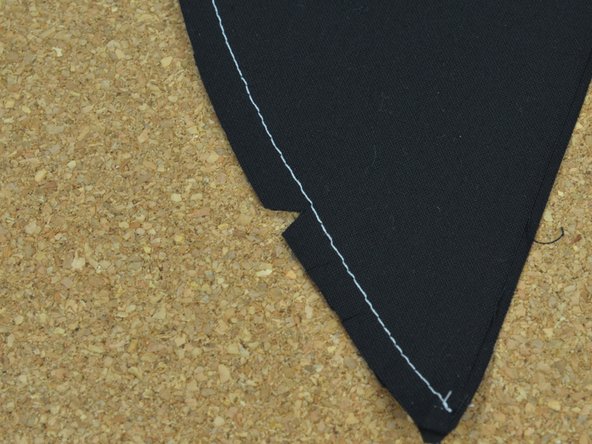
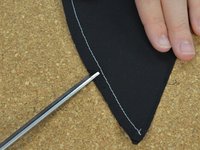
With a pair of fabric scissors, make a series of cuts about 1 cm apart into the raw edge of the seam until the fabric begins to curve. This will ensure that the seam lays flat.
-
-
-
Once the edge of the fabric begins to curve, begin cutting small triangles about every inch along the edge with the point facing towards the seam.
-
Continue cutting small triangles along the length of the fabric.
-
-
-
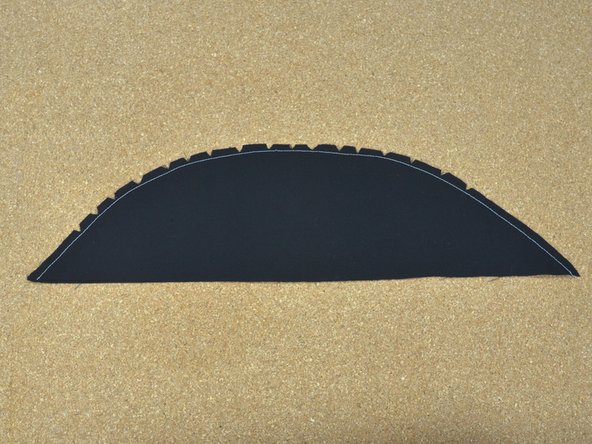
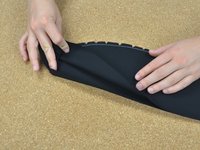
Once you have cut triangles all along the seam, turn the fabric inside out so that the seam is now on the inside.
-
As you turn the fabric inside out, adjust the fabric at the raw edge of the seam to get the smoothest seam possible.
-
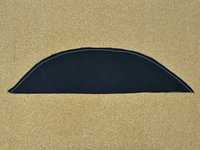
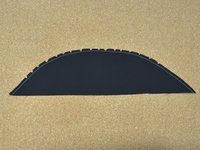
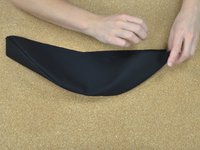
Once your fabric is inside-out and your seam is flat, stand back and admire your beautiful handiwork.
-
-


To reassemble your device, follow these instructions in reverse order.
4 の人々がこのガイドを完成させました。


2件のガイドコメント
How do you sew seamed curves by hand? Also, how do you seam a circle by hand? I'm sorry to ask I just don't have a sewing machine and I wanted to create something before next Saturday.
TBH but you simply do not need to worry about this because with that limited resources and knowledge provided by essaywriters no one will be able to craft such a masterpiece like embroidery patches that match out of that and it's almost here.
Albert Silva - 返信 共有