はじめに
This guide will help you disassemble your Sega Genesis II 6 button controller. You will need a Phillips #00 screwdriver to complete this guide.
This specific model was released in 1992/93, at the same time as the Sega Genesis II. However, it is also compatible with the Sega Genesis I
必要な工具と部品
-
-
Flip the controller upside down.
-
Using a Phillips #00 screwdriver, remove the five screws holding the controller back cover in place.
-
-
-
-
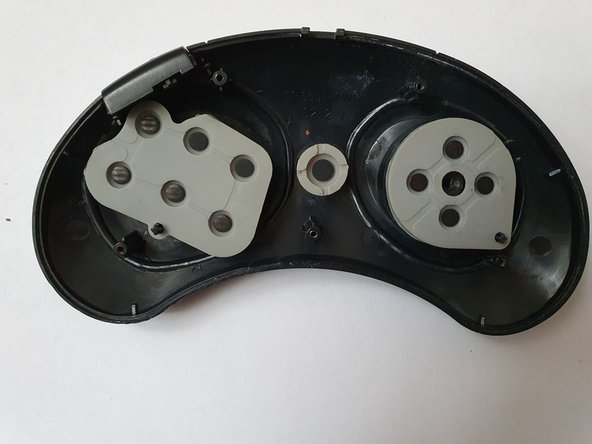
Remove the motherboard from the controller body, after releasing the rubber part that holds the cable in the controller body
-
-
-
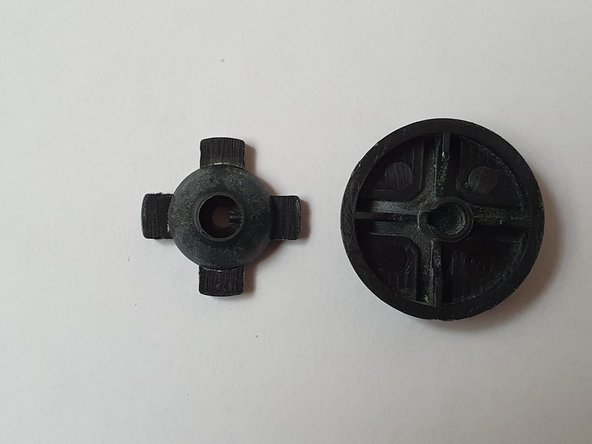
In order to disassemble the directional cross, it is necessary to levergentlypreferably with a plastic Spudger, under the 4 retaining tabs.
-
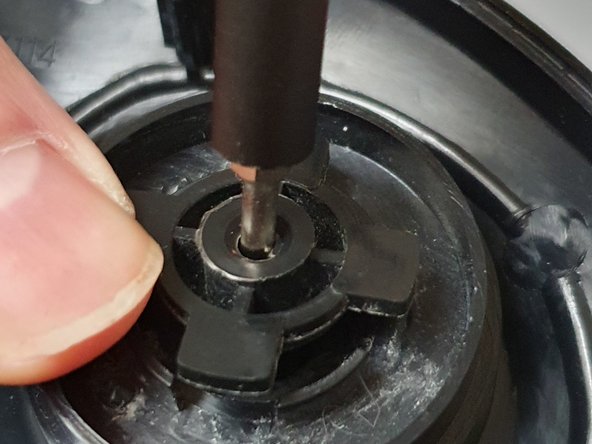
Then, push in the central hole with a fine tool (here a screwdriver), in order to undo the assembly
-
Follow these steps in reverse order to reassemble your device.
Follow these steps in reverse order to reassemble your device.
ある他の人がこのガイドを完成しました。
以下の翻訳者の皆さんにお礼を申し上げます:
100%
tayolaさんは世界中で修理する私たちを助けてくれています! あなたも貢献してみませんか?
翻訳を始める ›


