この翻訳は、ソースガイドの最新の更新を反映していない可能性があります。 翻訳の更新に協力してください。 または ソースガイドを参照してください。
はじめに
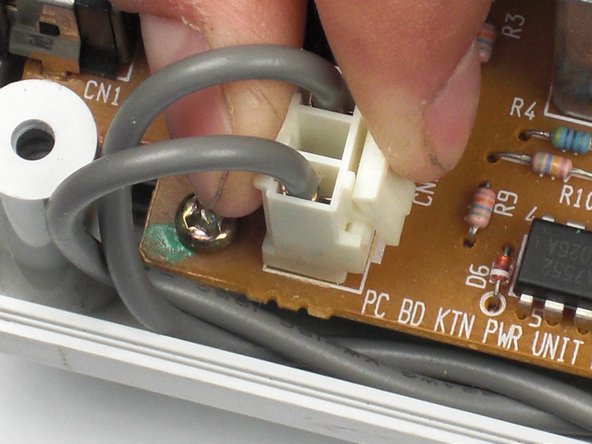
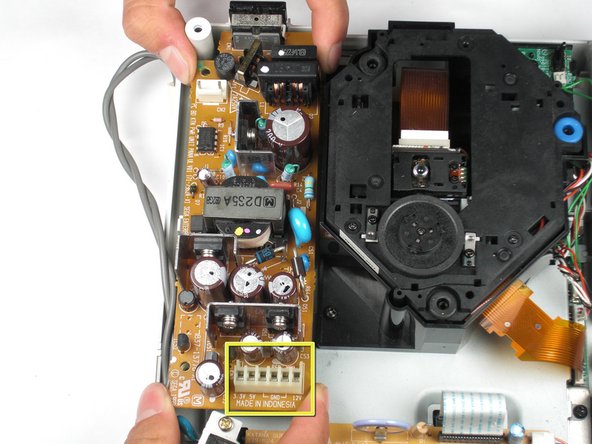
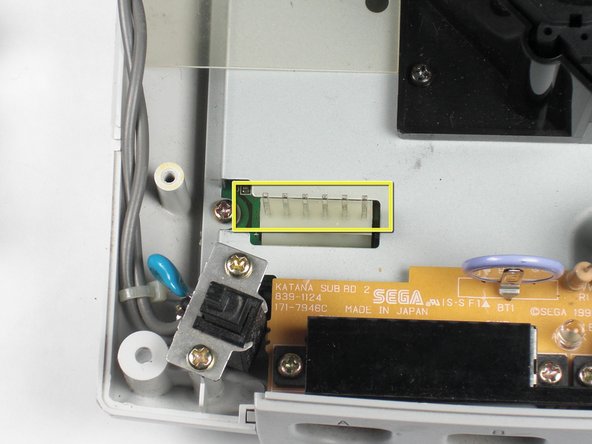
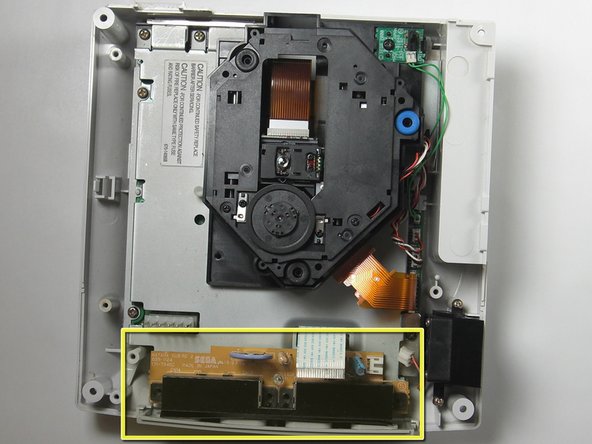
Sega Dreamcastのロジックボードを取り外すガイドです。
必要な工具と部品


もう少しです!
デバイスを再度組み立てるには、この説明書の逆の順番で組み立ててください。
終わりに
デバイスを再度組み立てるには、この説明書の逆の順番で組み立ててください。
21 の人々がこのガイドを完成させました。
チーム

Cal Poly, Team 5-1, Regan Fall 2009 Cal Poly, Team 5-1, Regan Fall 2009人のメンバー
CPSU-REGAN-F09S5G1
5 メンバー
21のガイドは作成済み
コメント 1 件
helpful but my dreamcast had a different logic board and as well as fan and gd-rom so keep that in mind if u see something different in your unit