メインコンテンツにスキップ

Sega CD CD Tray Replacement

必要な工具と部品

  1. Sega CD CD Tray Replacement, Sega CD Plastic Housing Removal: 手順 1、 2の画像 1 Sega CD CD Tray Replacement, Sega CD Plastic Housing Removal: 手順 1、 2の画像 2
    • Using a Phillips head screwdriver remove six screws from the bottom of the console.

    • The six screws are marked.

  2. Sega CD CD Tray Replacement: 手順 2、 1の画像 1
    • Remove the two screws that attach the Genesis' connector to the rest of the console.

    • The two screws are marked in the diagram.

  3. Sega CD CD Tray Replacement: 手順 3、 1の画像 1
    • Slide the lock tab to the left to separate the halves of the console.

  4. Sega CD CD Tray Replacement: 手順 4、 1の画像 1
    • Lift from the left side to remove the top of the case.

  5. Sega CD CD Tray Replacement: 手順 5、 1の画像 1
    • Using the spudger, pry the cover off of the Genesis attachment.

  6. Sega CD CD Tray Replacement: 手順 6、 1の画像 1
    • Lift the top of the case to remove the cover.

  7. Sega CD CD Tray Replacement: 手順 7、 1の画像 1
    • Remove the faceplate by pulling it up, then out.

  8. Sega CD CD Tray Replacement, CD Tray: 手順 8、 2の画像 1 Sega CD CD Tray Replacement, CD Tray: 手順 8、 2の画像 2
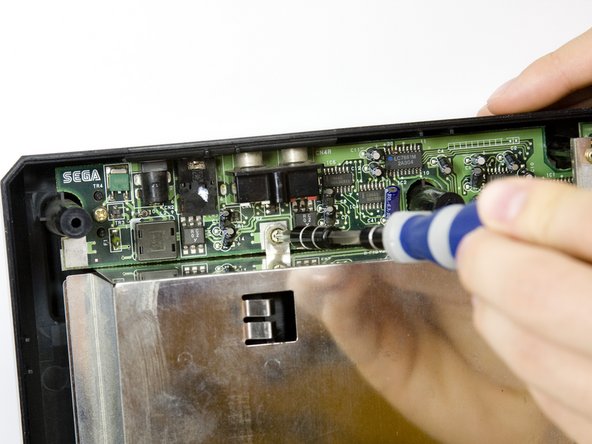
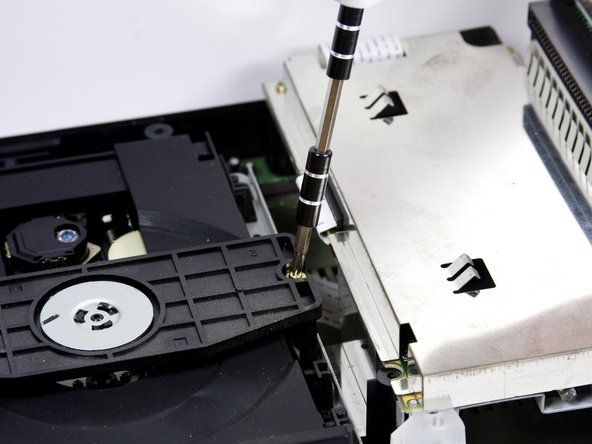
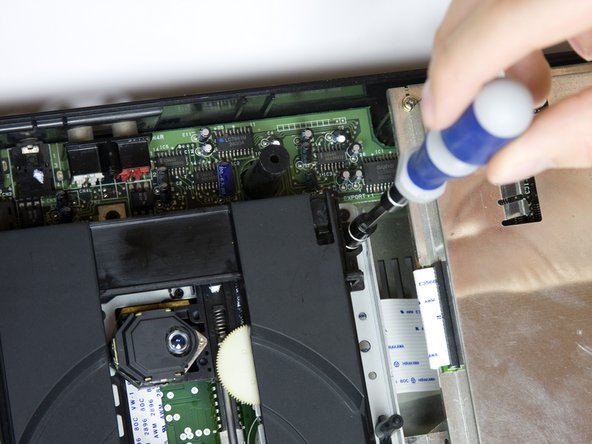
    • Remove metal plate by unscrewing the three screws with the Phillips head screwdriver and then lifting the plate.

    • The three screws are shown on the diagram.

  9. Sega CD CD Tray Replacement: 手順 9、 2の画像 1 Sega CD CD Tray Replacement: 手順 9、 2の画像 2
    • Remove the two screws from the plastic bar.

    • The two screws are shown pictured.

  10. Sega CD CD Tray Replacement: 手順 10、 2の画像 1 Sega CD CD Tray Replacement: 手順 10、 2の画像 2
    • To remove the CD tray

    • Remove the four screws with the Phillips head screwdriver.

  11. Sega CD CD Tray Replacement: 手順 11、 1の画像 1
    • Carefully unplug the wire connected to optical reader.

  12. Sega CD CD Tray Replacement: 手順 12、 2の画像 1 Sega CD CD Tray Replacement: 手順 12、 2の画像 2
    • Remove the four screws on the underside of the CD tray with a small Phillips head screwdriver.

    • The four screws are highlighted on the diagram.

    • The four springs below the circuit board are attached to the screws, so be careful not to lose them when you remove the screws.

  13. Sega CD CD Tray Replacement: 手順 13、 1の画像 1
    • Carefully remove the CD tray from circuit board.

終わりに

To reassemble your device, follow these instructions in reverse order.

ある他の人がこのガイドを完成しました。

作成者

9人の作成者と共同で作成されました。

sskyllin

メンバー登録日: 10/18/10

21 ポイント

2のガイドは作成済み

チーム

Cal Poly, Team 5-14, Maness Fall 2010 Cal Poly, Team 5-14, Maness Fall 2010人のメンバー

CPSU-MANESS-F10S5G14

4 メンバー

12のガイドは作成済み

0 件のコメント

コメントを追加

統計データ:

過去 24時間: 1

過去 7 日: 3

過去 30 日: 45

今までの合計 9,574