メインコンテンツにスキップ
リペアコミュニティに参加 - アカウントの作成

Sansa e260R Front Panel Replacement

必要な工具と部品

  1. Sansa e260R Front Panel Replacement, Rear Case: 手順 1、 1の画像 1
    • Before disassembling the device, make sure it is powered off.

    • Remove the four 1.5mm screws on the back of the device.

    FixBotに聞いてみる
  2. Sansa e260R Front Panel Replacement: 手順 2、 1の画像 1
    • Using a plastic opening tool, lift the metal backing from the front of the device.

    FixBotに聞いてみる
  3. Sansa e260R Front Panel Replacement: 手順 3、 1の画像 1
    • Pull the rear panel off of the Sansa e260R.

    FixBotに聞いてみる
  4. Sansa e260R Front Panel Replacement, Battery: 手順 4、 1の画像 1
    • Grip the bottom of the battery with your thumb and forefinger and pull it away from the device.

    FixBotに聞いてみる
  5. Sansa e260R Front Panel Replacement, Front Panel: 手順 5、 1の画像 1
    • Remove the four 1.5mm screws on the inner casing of the device.

    • These screws are very small and hard to extract from the casing. It may be helpful to use a magnetic screwdriver.

    FixBotに聞いてみる
  6. Sansa e260R Front Panel Replacement: 手順 6、 1の画像 1
    • Flip the device so that the front is facing you.

    • Slide a plastic opening tool between the plastic front cover and the metal back cover of the device.

    FixBotに聞いてみる
  7. Sansa e260R Front Panel Replacement: 手順 7、 2の画像 1 Sansa e260R Front Panel Replacement: 手順 7、 2の画像 2
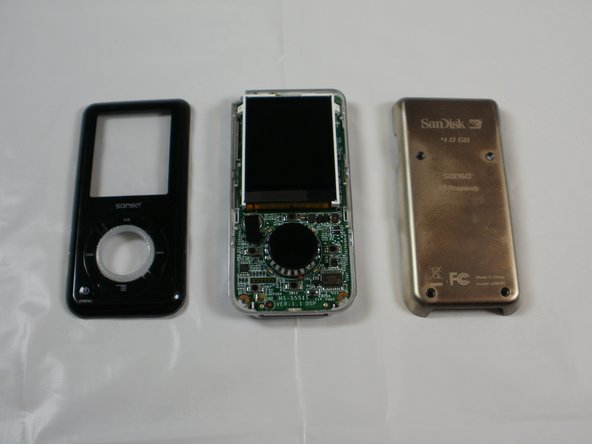
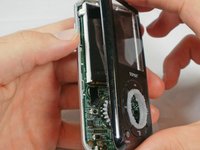
    • Pull the front cover away from the rest of the device.

    FixBotに聞いてみる
終わりに

To reassemble your device, follow these instructions in reverse order.

作成者

5人の作成者と共同で作成されました。

Casey Smith

メンバー登録日: 01/20/12

111 ポイント

3のガイドは作成済み

チーム

Cal Poly, Team 8-15, Maness Winter 2012 Cal Poly, Team 8-15, Maness Winter 2012人のメンバー

CPSU-MANESS-W12S8G15

5 メンバー

5のガイドは作成済み

0件のガイドコメント

コメントを追加

統計データ:

過去 24時間: 1

過去 7 日: 8

過去 30 日: 62

今までの合計 2,256