メインコンテンツにスキップ

Sandisk Sansa m230 Series MP3 Player Headphone Jack Replacement

必要な工具と部品

  1. Sandisk Sansa m230 Series MP3 Player Headphone Jack Replacement, Sandisk Sansa m230 Series mp3 player Teardown: 手順 1、 1の画像 1
    • Remove the battery compartment cover.
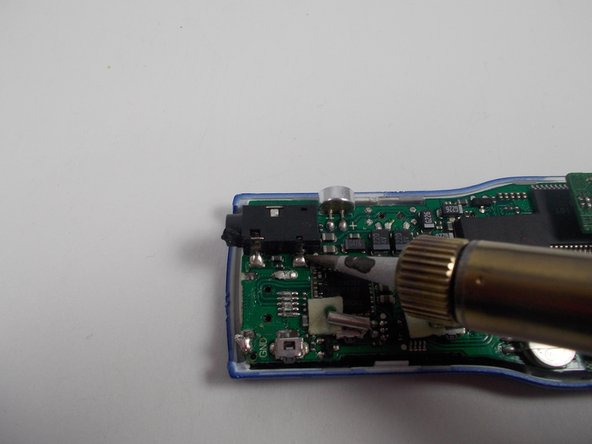
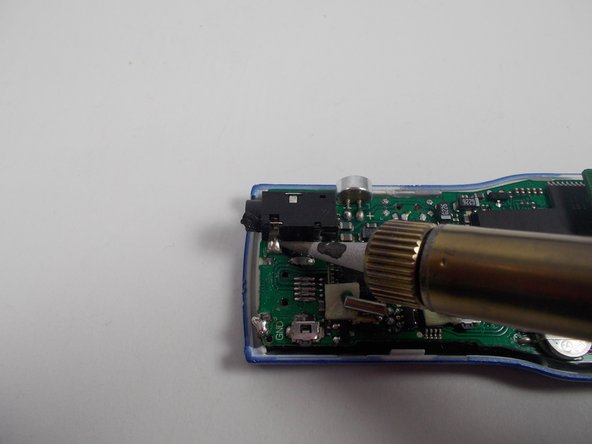
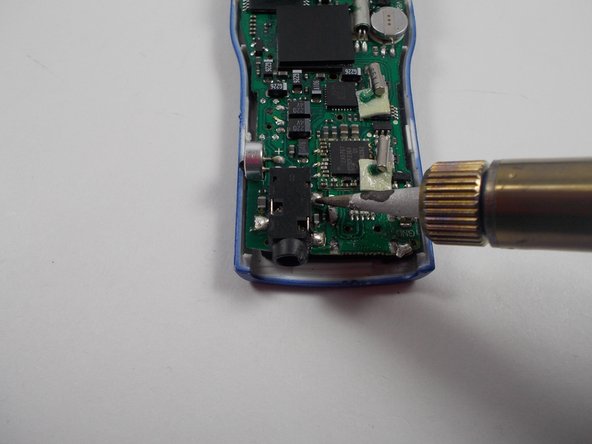
    • Remove the battery.

  2. Sandisk Sansa m230 Series MP3 Player Headphone Jack Replacement: 手順 2、 1の画像 1
    • Locate and remove the screw next to the battery compartment lid.

  3. Sandisk Sansa m230 Series MP3 Player Headphone Jack Replacement: 手順 3、 1の画像 1
    • Locate the interlocking pegs along the seam of the device's casings.

    • Gently pry the pegs apart one at a time, working your way around the case.

    • Be careful when prying apart the pegs: they are made of plastic and may break.

  4. Sandisk Sansa m230 Series MP3 Player Headphone Jack Replacement: 手順 4、 1の画像 1
    • The battery contact springs may prevent the case from separating.

    • Push the battery contact springs down through the hole in the case.

  5. Sandisk Sansa m230 Series MP3 Player Headphone Jack Replacement: 手順 5、 1の画像 1
    • The casing protecting the USB and headphone jacks must be removed.

    • Locate and gently pry apart the two interlocking clips holding it in place.

    • The outer casings may now be removed and the MP3 player should separate.

  6. Sandisk Sansa m230 Series MP3 Player Headphone Jack Replacement: 手順 6、 1の画像 1
    • You now have access to all components found on the inside of the device!

  7. Sandisk Sansa m230 Series MP3 Player Headphone Jack Replacement, Headphone Jack: 手順 7、 1の画像 1
    • Locate the headphone jack on the motherboard.

  8. Sandisk Sansa m230 Series MP3 Player Headphone Jack Replacement: 手順 8、 1の画像 1
    • Ensure the hot end of the soldering iron is elevated on a metal stand when not in use to prevent burns.

    • The solder and soldering iron are very hot! Do not touch unless you are wearing appropriate protective gloves.

  9. Sandisk Sansa m230 Series MP3 Player Headphone Jack Replacement: 手順 9、 3の画像 1 Sandisk Sansa m230 Series MP3 Player Headphone Jack Replacement: 手順 9、 3の画像 2 Sandisk Sansa m230 Series MP3 Player Headphone Jack Replacement: 手順 9、 3の画像 3
    • Use soldering iron to melt the existing solder at the three headphone jack connections.

  10. Sandisk Sansa m230 Series MP3 Player Headphone Jack Replacement: 手順 10、 1の画像 1
    • Remove the faulty headphone jack from the motherboard.

  11. Sandisk Sansa m230 Series MP3 Player Headphone Jack Replacement: 手順 11、 1の画像 1
    • Align the new headphone jack appropriately on the motherboard for soldering.

  12. Sandisk Sansa m230 Series MP3 Player Headphone Jack Replacement: 手順 12、 3の画像 1 Sandisk Sansa m230 Series MP3 Player Headphone Jack Replacement: 手順 12、 3の画像 2 Sandisk Sansa m230 Series MP3 Player Headphone Jack Replacement: 手順 12、 3の画像 3
    • Use the soldering iron and solder to create three stable connections between the motherboard and the headphone jack.

    • Allow the new solder to cool and harden before reassembling the MP3 player.

終わりに

To reassemble your device, follow these instructions in reverse order.

作成者

11人の作成者と共同で作成されました。

James Thorne

メンバー登録日: 11/05/13

638 ポイント

6のガイドは作成済み

チーム

UMass Dartmouth, Team 1-8, Shastany Fall 2013 UMass Dartmouth, Team 1-8, Shastany Fall 2013人のメンバー

UMASSD-SHASTANY-F13S1G8

3 メンバー

6のガイドは作成済み

0 件のコメント

コメントを追加

統計データ:

過去 24時間: 0

過去 7 日: 0

過去 30 日: 1

今までの合計 1,146