この翻訳は、ソースガイドの最新の更新を反映していない可能性があります。 翻訳の更新に協力してください。 または ソースガイドを参照してください。
はじめに
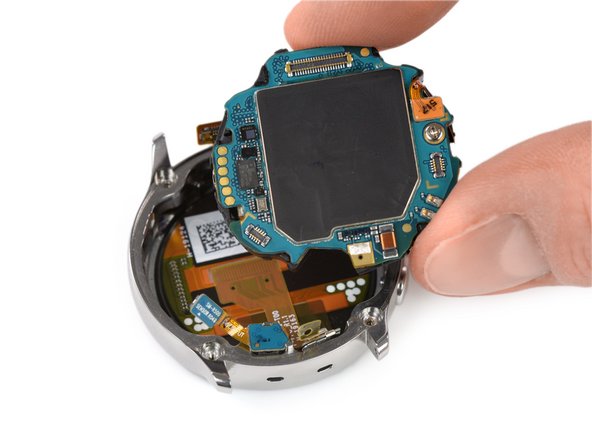
このガイドを参照して、Samsung Watch Activeの壊れたスクリーンアセンブリを交換します。
必要な工具と部品
-
-
Galaxy Watch Activeの電源を切るには、下部のボタンを約3秒間長押しします。短いバイブレーションを感じるはずです。
-
電源オフのマークが表示されたら、画面の中央をタップしてシャットダウンします。より長い振動を感じます。
-
-
-
開口ツールを、プラスチック製のバックカバーとボタン付近のメタル製ハウジングの間に差し込みます。
-
開口ツールの先端を隙間に押し込んで、ハウジングからバックカバーを外します。
Do i need heat for this? i can't get a pry tool in
EDIT: use a Rasor knife in the corner nest to the screw holes and it's a lot easier and less damaging to take off.
-
-
-
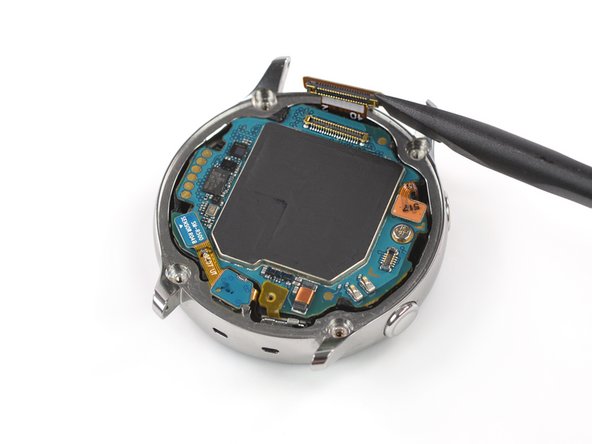
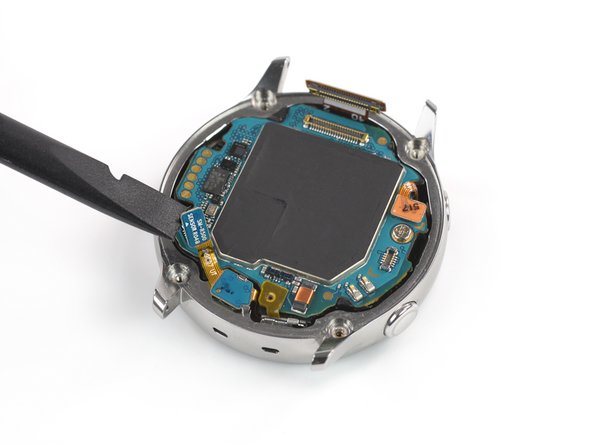
2つのボタン付近のセンサーアレイコネクタにアクセスするために、バックカバーを約2cmゆっくりと持ち上げます。
-
スパッジャーを使って、マザーボードからセンサーアレイの接続を外します。
-
-
-
-
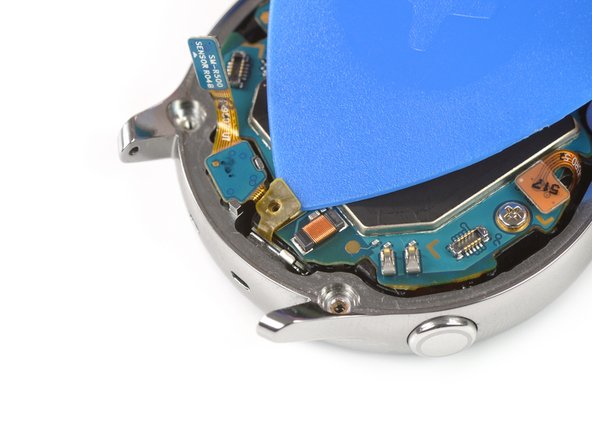
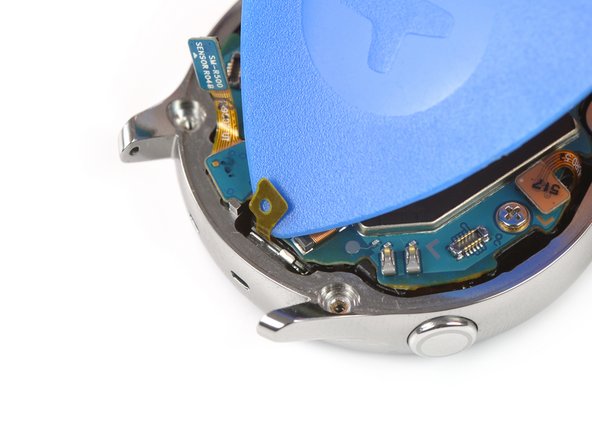
開口ピックを使って、マイクアレイの薄いテープを剥がします。
What can I use if the glue no longer holds?
Just make sure it lays flat and the counterpart on the back cover (the white thing at the bottom in the image of step 5) will press it down and hold it in place.
What can I use to make it lay flat?
Every time I press it down it just pops up again.
-
-
-
マイクと気圧センサーアレイをフレームからゆっくりと取り出します。
This looks like a great guide but you stopped short of removing the face and reattaching it. Isn't there some adhesive needed?
It says the guide is for removing and replacing the screen but it stops seemingly one step before
Anyone know where I can find the last steps or video covering roving the face and replacing it?
Doug Apr 19,2023
Doug Scott - 返信
-


オリジナルのパーツと交換用パーツをよく見比べてください。交換用パーツに付いていない残りのコンポーネントや接着シールなどは、インストールする前に新パーツに移植する必要があります。
このデバイスを再組み立てするには、インストラクションを逆の順番に従って作業を進めてください。
バッテリーの最適化のために、この手順を完了後、新しく搭載したバッテリーの残量を調整してください。 100%まで充電したら、そのままプラグに繋いだまま、少なくとも1時間充電状態にします。それから自動的にシャットダウンするまで放電させて、中断なく一気に100%まで充電してください。
e-wasteを処理する場合は、認可済みリサイクルセンターR2を通じて廃棄してください。
修理が上手く進みませんか? ベーシックなトラブルシューティングを試してみるか、このデバイスのアンサーコミュニティに尋ねて見ましょう。
13 の人々がこのガイドを完成させました。
以下の翻訳者の皆さんにお礼を申し上げます:
40%

Midori Doiさんは世界中で修理する私たちを助けてくれています! あなたも貢献してみませんか?
翻訳を始める ›

チーム

10 件のコメント
These instructions look very good! My screen has several cracks and I want to replace the front module. Do you have any idea where I can order one?
Yes there s one on eBay for $31.76 https://www.google.com/aclk?sa=l&ai=DChc...
My screen was black or showing static. I disassembled and reassembled and now it's back to normal. Might have been a bad internal connection.
Think I have the same issue may have to try opening it. Do you still have it? Is it still good?
this is a rather silly question, but which model is that diode on the LCD panel? I couldn't find the schematics for the screen
This looks like a great guide but you stopped short of removing the face and reattaching it. Isn't there some adhesive needed?
Hello my screen crack/charger not working can you refer.
I've ordered a screen on aliexpress which came with two adhesives, and I'm glad they did, because I messed up with the first one.
I had trouble following the step three, there was nowhere to put the opening tool. I had to use a metal tool instead of the plastic one between the two buttons (put on gloves to avoid injuries). It did slightly scratch the plastic side, but I was able to pop it open and follow the rest of the tutorial.
The mic tape is a mess to put back properly, and I gave up, maybe I needed some tape or glue to put it back on ? Anyway I never use the watch's mic, but I always need a screen :D
Update : the adhesive provided with the spare screen lasted only 2 weeks, and I got the screen glued instead. It' still sticking for now.
I would like it to be fixed and I will need to buy a bumper case for it