メインコンテンツにスキップ

Samsung Series 7XE700T1A Battery Replacement

必要な工具と部品

  1. Samsung Series 7XE700T1A Battery Replacement, Back panel: 手順 1、 1の画像 1
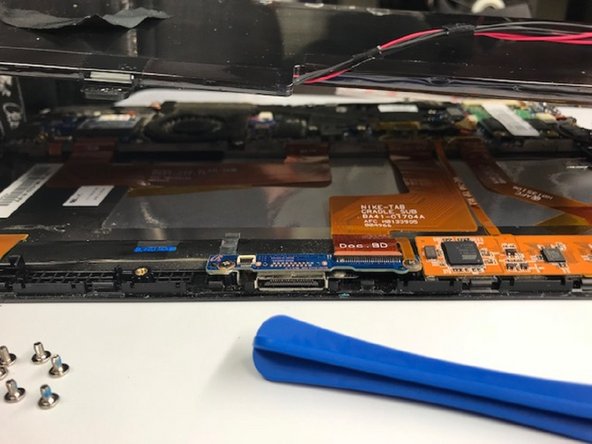
    • Remove the microSD card before attempting to open the device. Wedge the opening tools inside the device and move it around the perimeter (between the black and silver panels, not between the glass and the black panel) until you have loosened the adhesive that is keeping it together.

  2. Samsung Series 7XE700T1A Battery Replacement: 手順 2、 2の画像 1 Samsung Series 7XE700T1A Battery Replacement: 手順 2、 2の画像 2
    • With your hands, open up the back panel, separating it from the tablet.

  3. Samsung Series 7XE700T1A Battery Replacement, Battery: 手順 3、 1の画像 1
    • With the back panel removed, take the tape off the battery restricting it from coming loose.

  4. Samsung Series 7XE700T1A Battery Replacement: 手順 4、 1の画像 1
    • Using the FH000 phillip screwdriver, unscrew the screw that connects the battery to the motherboard, releasing the battery.

  5. Samsung Series 7XE700T1A Battery Replacement: 手順 5、 1の画像 1
    • Lift the clamp that is holding on to the red and black wires by using a spudger.

    • Remove the wires from the clamp.

  6. Samsung Series 7XE700T1A Battery Replacement: 手順 6、 2の画像 1 Samsung Series 7XE700T1A Battery Replacement: 手順 6、 2の画像 2
    • After all the screws are removed, and all wires are detached, lift the battery away from the tablet.

終わりに

To reassemble your device, follow these instructions in reverse order.

作成者

2人の作成者と共同で作成されました。

james

メンバー登録日: 09/25/17

463 ポイント

4のガイドは作成済み

チーム

University of North Texas, Team S3-G7, Thompson Fall 2017 University of North Texas, Team S3-G7, Thompson Fall 2017人のメンバー

UNT-THOMPSON-F17S3G7

4 メンバー

5のガイドは作成済み

0 件のコメント

コメントを追加

統計データ:

過去 24時間: 1

過去 7 日: 7

過去 30 日: 19

今までの合計 1,824