はじめに
After removing the back of the case, the logic board takes only three steps to lift from the device.
必要な工具と部品
-
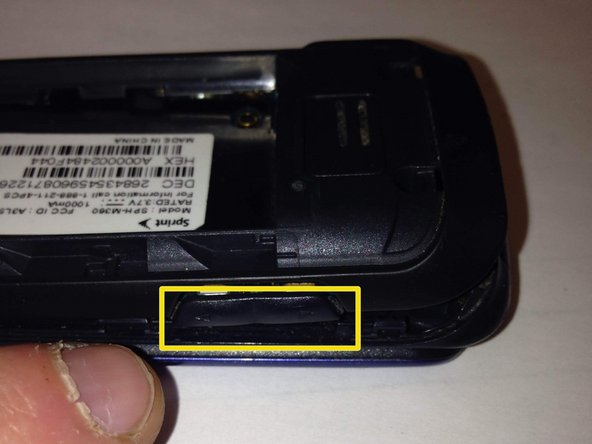
手順1 Remove the back battery panel from the phone.
注意: 手順 1-4 は、作業進行中としてマークされている ガイド から引用されています。
-
Detach the battery cover by sliding the cover down toward the bottom of the phone.
-
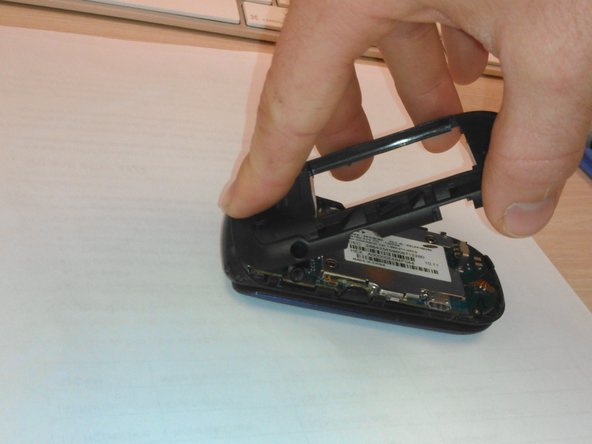
Lift up on the battery cover to complete cover removal.
-
-
-
Use a phillips head (PH) #00 screwdriver to remove four screws connecting the two halves of the case.
-
-
-
-
Using your plastic opening tool, pry under the back case starting with the top as marked by red circle.
-
The volume button and camera button are held in by the back case. Volume button pictured. Camera button opposite.
-
REASSEMBLY ONLY: Replace volume and camera buttons in place. Then, insert the top of the back case FIRST and squeeze together clips as you work toward the bottom of the phone.
-
-
-
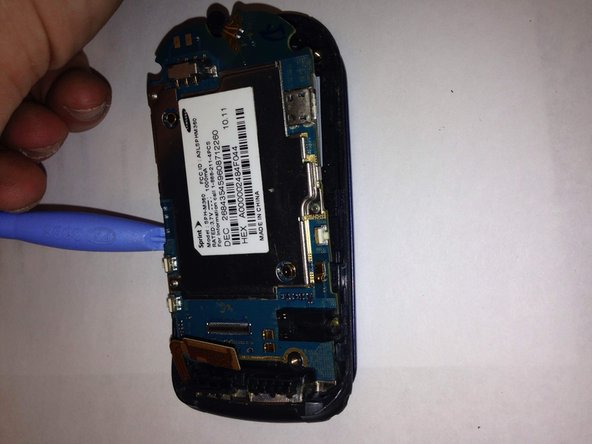
Locate the ribbon at the top right of the logic board.
-
Use the opening tool to lift the ribbon away from the logic board. (Note: the ribbon should lift easily. Try not to use too much force.)
-
The ribbon will remain attached to the top of the case.
-
During reassembly align the gold teeth, and the black plastic ends. Then gently push on the top of the gold ribbon until it lightly clicks in place.
-
-
-
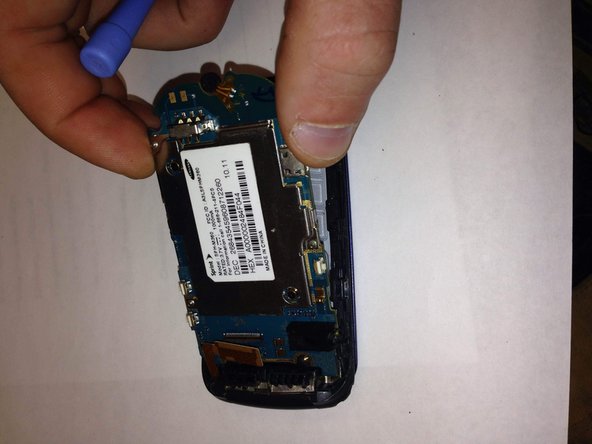
Place the plastic opening tool under the logic board.
-
Using one hand to stabilize the device, use the tool to lift the logic board away from the plastic case. If the board doesn't come up easily, try not to force it as the board may break. Instead, apply even pressure to lift it away gently from the casing. You will need to gently lift at 2-3 locations around the board.
-
-
-
If intending to reuse the logic board, be sure to place it in a space that minimizes contact with dust and dirt.
-


To reassemble your device, follow these instructions in reverse order.
To reassemble your device, follow these instructions in reverse order.
