メインコンテンツにスキップ

Samsung SGH-X105 Earpiece Speaker Replacement

必要な工具と部品

  1. Samsung SGH-X105 Earpiece Speaker Replacement, Battery: 手順 1、 1の画像 1
    • Rotate the phone onto its front side so that the LCD screen is facing away from you.

  2. Samsung SGH-X105 Earpiece Speaker Replacement: 手順 2、 3の画像 1 Samsung SGH-X105 Earpiece Speaker Replacement: 手順 2、 3の画像 2 Samsung SGH-X105 Earpiece Speaker Replacement: 手順 2、 3の画像 3
    • Remove the battery by pressing down on the battery release button while sliding the battery downwards.

  3. Samsung SGH-X105 Earpiece Speaker Replacement, Front & Back Panels: 手順 3、 1の画像 1
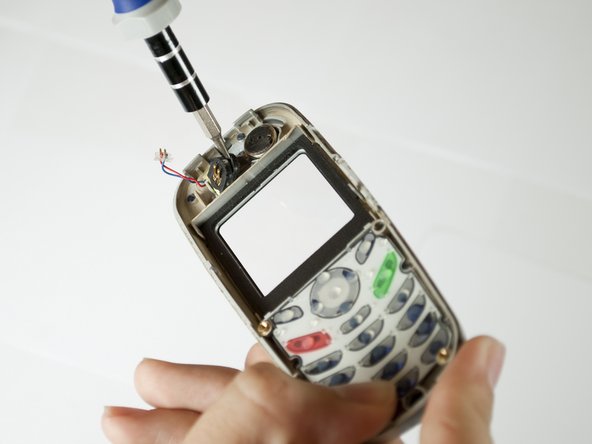
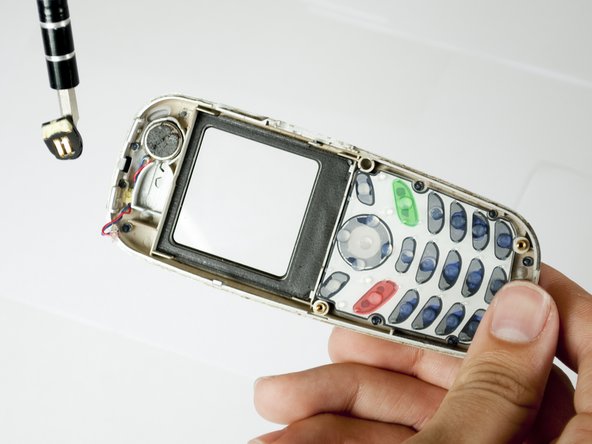
    • Remove the four small black screws that secure the back phone panel using the Phillips #00 screwdriver.

    • Complete removal of screws may not be necessary.

  4. Samsung SGH-X105 Earpiece Speaker Replacement: 手順 4、 3の画像 1 Samsung SGH-X105 Earpiece Speaker Replacement: 手順 4、 3の画像 2 Samsung SGH-X105 Earpiece Speaker Replacement: 手順 4、 3の画像 3
    • Carefully separate the front and back panels by gently prying them apart. Start at the bottom of the phone (near the AC charger input).

    • Volume control button will be unsecured and may fall out as soon as the panels are separated.

    • Gentle force may be required to separate the panels at the top latch.

    • There are two wires connecting the front and back panels. Be careful not to rip these wires out when separating the panels.

  5. Samsung SGH-X105 Earpiece Speaker Replacement: 手順 5、 2の画像 1 Samsung SGH-X105 Earpiece Speaker Replacement: 手順 5、 2の画像 2
    • Using your nails, tweezers, or any precise grabbing tool, pinch the antenna wire connector (clear plastic plug) and pull gently. It should pop out rather easily.

  6. Samsung SGH-X105 Earpiece Speaker Replacement, Earpiece Speaker: 手順 6、 1の画像 1
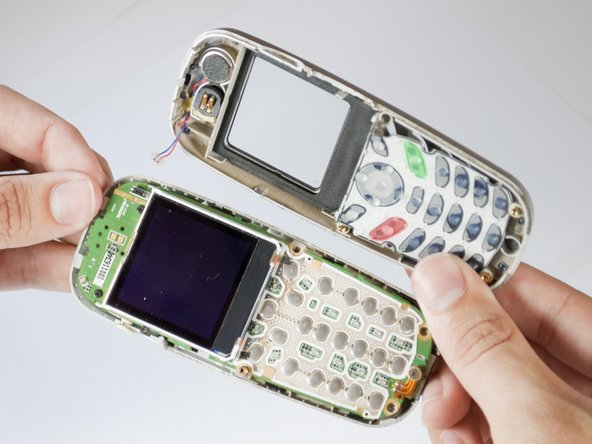
    • Put aside the back panel. You will only be working with the front panel from here on.

  7. Samsung SGH-X105 Earpiece Speaker Replacement: 手順 7、 3の画像 1 Samsung SGH-X105 Earpiece Speaker Replacement: 手順 7、 3の画像 2 Samsung SGH-X105 Earpiece Speaker Replacement: 手順 7、 3の画像 3
    • Using a SL 1.5 flathead screwdriver (or any small prying tool), pry the speaker from the plastic front cover.

    • The earpiece speaker is magnetic so you can use a magnet to remove the earpiece speaker from the plastic front cover once loosened.

    • You can apply your own adhesive to secure your replaced speaker if desired during reassembly.

終わりに

To reassemble your device, follow these instructions in reverse order.

ある他の人がこのガイドを完成しました。

作成者

3人の作成者と共同で作成されました。

Chris Lao

メンバー登録日: 04/15/10

16 ポイント

1ガイドが承認済み

チーム

Cal Poly, Team 28-29, Regan Spring 2010 Cal Poly, Team 28-29, Regan Spring 2010人のメンバー

CPSU-REGAN-S10S28G29

4 メンバー

12のガイドは作成済み

コメント 1 件

Where can I get a replacement speaker?

NickyPhils - 返信

コメントを追加

統計データ:

過去 24時間: 0

過去 7 日: 2

過去 30 日: 2

今までの合計 1,941