はじめに
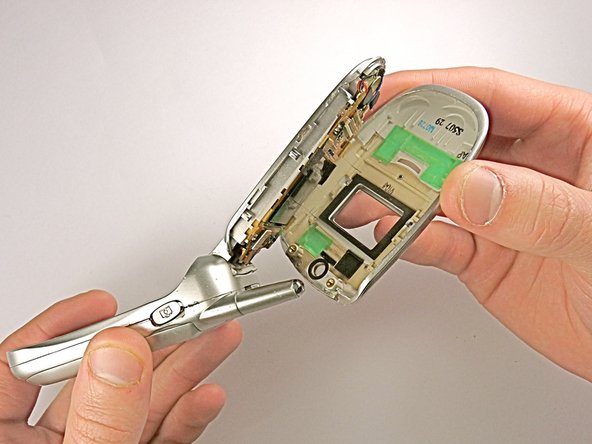
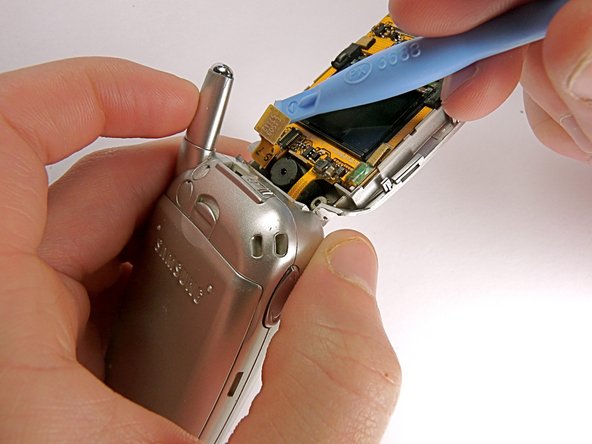
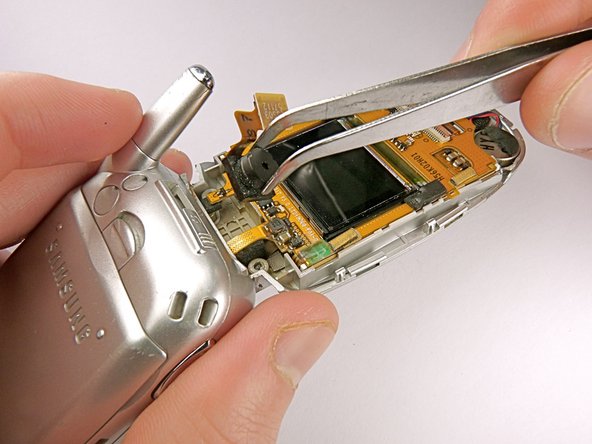
This guide will show you how to replace the camera in your Samsung SGH-E317. This guide will fix the issue if the lens is blurry, has a broken sensor, or cannot capture photos.
Before we start, it is important to know about some problems and how to avoid them. Make sure you have the right tools and a clean, bright workspace to keep your phone safe. It is all about taking your time and not rushing.
Be careful about static electricity, which can hurt your phone's insides. In step 6, when you work with the wires, pay attention to where you align the wedge so you don't break them.
With easy-to-follow instructions and lots of pictures, even if you're new to fixing stuff, you can do it. Pretty soon, your Samsung SGH-E317 camera will be back to normal.
Good luck replacing your Samsung SGH-E317 camera. This guide aims to cautiously disassemble your phone and avoid further damage.
必要な工具と部品
To reassemble your device, follow these instructions in reverse order.
To reassemble your device, follow these instructions in reverse order.


