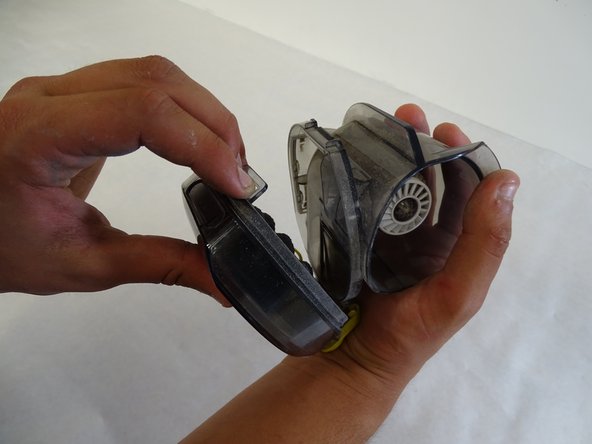
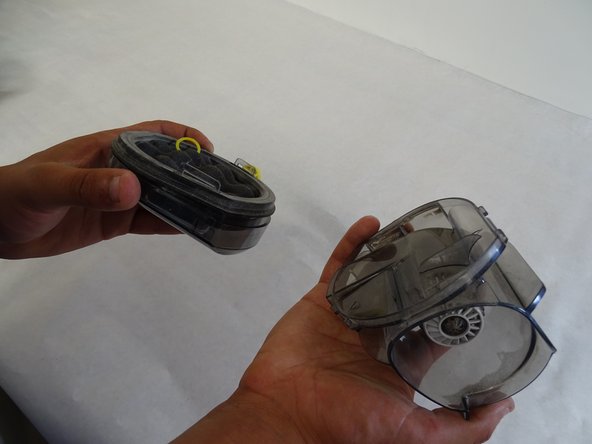
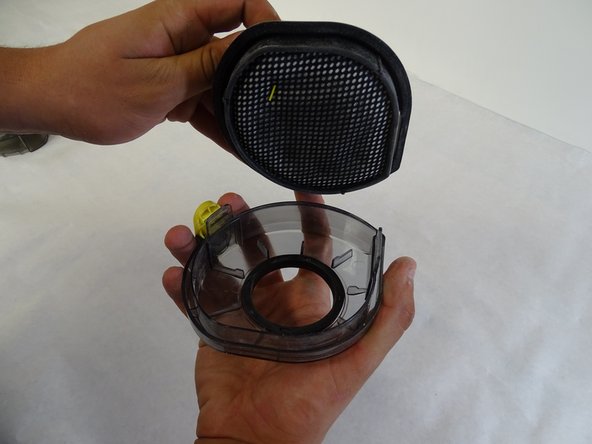
メインコンテンツにスキップ

Samsung POWERbot VR9000 Filter Replacement

  1. Samsung POWERbot VR9000 Filter Replacement, Filter: 手順 1、 2の画像 1 Samsung POWERbot VR9000 Filter Replacement, Filter: 手順 1、 2の画像 2
    • Turn off the emergency switch on the bottom of the power bot.

  2. Samsung POWERbot VR9000 Filter Replacement: 手順 2、 2の画像 1 Samsung POWERbot VR9000 Filter Replacement: 手順 2、 2の画像 2
    • Gently pull up on the dustbin handle to to remove it from the rest of the power bot.

  3. Samsung POWERbot VR9000 Filter Replacement: 手順 3、 2の画像 1 Samsung POWERbot VR9000 Filter Replacement: 手順 3、 2の画像 2
    • Push down on the yellow button to remove the dustbin cover.

  4. Samsung POWERbot VR9000 Filter Replacement: 手順 4、 3の画像 1 Samsung POWERbot VR9000 Filter Replacement: 手順 4、 3の画像 2 Samsung POWERbot VR9000 Filter Replacement: 手順 4、 3の画像 3
    • Separate the dustbin cover from the filter.

  5. Samsung POWERbot VR9000 Filter Replacement: 手順 5、 2の画像 1 Samsung POWERbot VR9000 Filter Replacement: 手順 5、 2の画像 2
    • Pull gently on the yellow tab to remove the filter from the cover.

  6. Samsung POWERbot VR9000 Filter Replacement: 手順 6、 1の画像 1
    • The filter is removed. You can dispose of collected dust or rinse the filter with warm water before replacing.

終わりに

To reassemble your device, follow these instructions in reverse order.

ある他の人がこのガイドを完成しました。

作成者

1人の作成者と共同作成されました。

Josh Brouwer

メンバー登録日: 04/24/17

164 ポイント

1ガイドが承認済み

チーム

Cal Poly, Team S15-G3, Banghart Spring 2017 Cal Poly, Team S15-G3, Banghart Spring 2017人のメンバー

CPSU-BANGHART-S17S15G3

4 メンバー

14のガイドは作成済み

0 件のコメント

コメントを追加

統計データ:

過去 24時間: 0

過去 7 日: 0

過去 30 日: 2

今までの合計 1,179