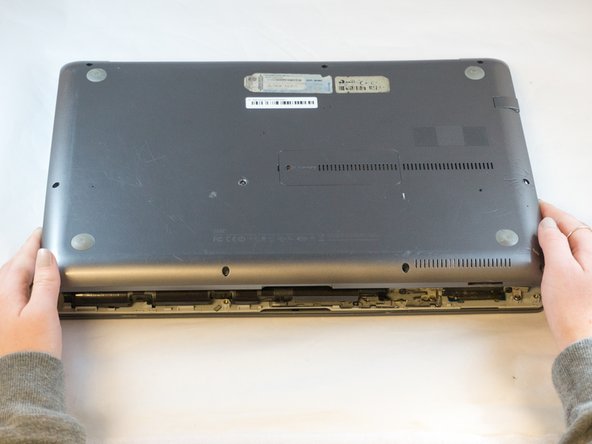
メインコンテンツにスキップ

Samsung NP700Z5AH Display Replacement

必要な工具と部品

  1. Samsung NP700Z5AH Display Replacement, Battery: 手順 1、 1の画像 1
    • Remove the ten 6.6mm Philips#00 screws securing the lower case to the upper case.

  2. Samsung NP700Z5AH Display Replacement: 手順 2、 3の画像 1 Samsung NP700Z5AH Display Replacement: 手順 2、 3の画像 2 Samsung NP700Z5AH Display Replacement: 手順 2、 3の画像 3
    • Using your fingers, pinch the edge of the SD card and pull to remove it.

  3. Samsung NP700Z5AH Display Replacement: 手順 3、 2の画像 1 Samsung NP700Z5AH Display Replacement: 手順 3、 2の画像 2
    • Wedge your fingers in between the upper case and the lower case

    • Gently pull the lower case away from the upper case to remove it

  4. Samsung NP700Z5AH Display Replacement: 手順 4、 2の画像 1 Samsung NP700Z5AH Display Replacement: 手順 4、 2の画像 2
    • Using tweezers or your fingertips, carefully pull on the battery connector to disconnect it from the motherboard.

    • Be sure to pull straight backwards, or you risk damaging the wires.

  5. Samsung NP700Z5AH Display Replacement: 手順 5、 1の画像 1
    • Remove the two 4.4mm Phillips#00 screws from the battery case.

  6. Samsung NP700Z5AH Display Replacement: 手順 6、 2の画像 1 Samsung NP700Z5AH Display Replacement: 手順 6、 2の画像 2
    • Place your fingers on the corner sections of the battery.

    • Lift to remove the battery.

    • If you choose to use tools to remove the battery be careful not to damage it. A damaged lithium-ion battery may leak dangerous chemicals and/or catch fire. Use only plastic pry tools.

  7. Samsung NP700Z5AH Display Replacement, Display: 手順 7、 2の画像 1 Samsung NP700Z5AH Display Replacement, Display: 手順 7、 2の画像 2
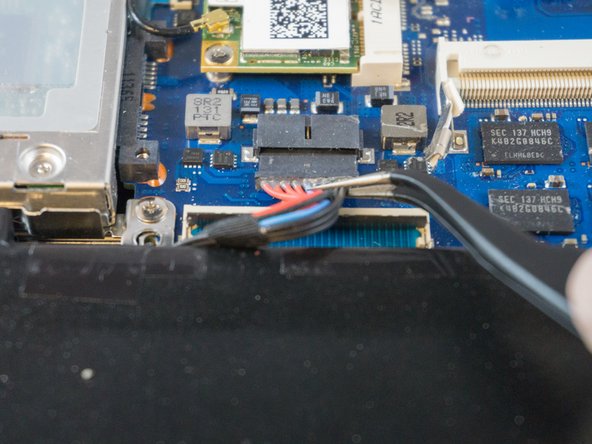
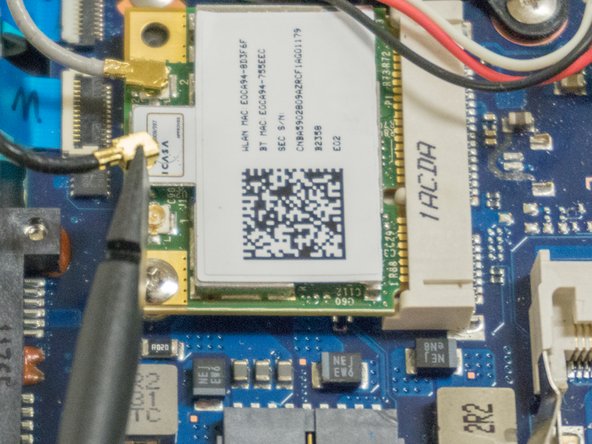
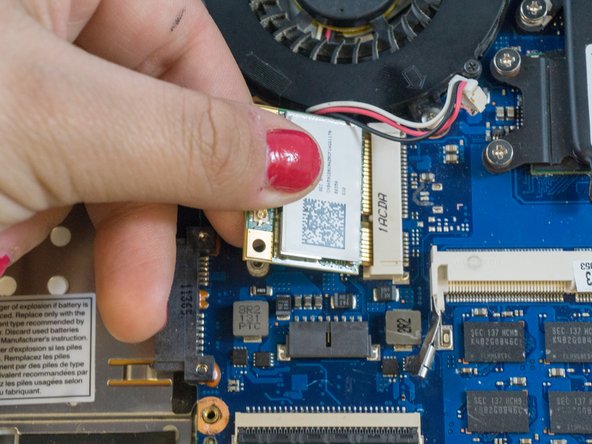
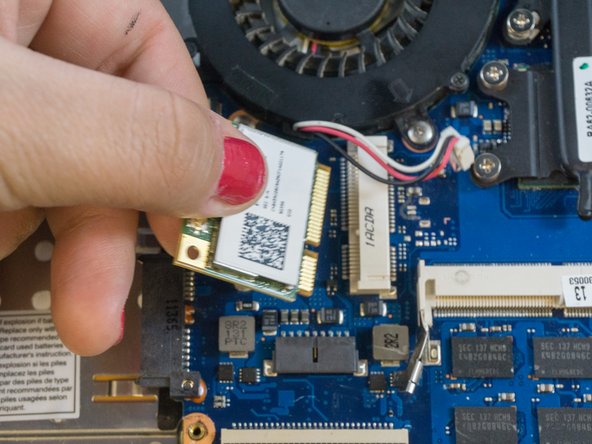
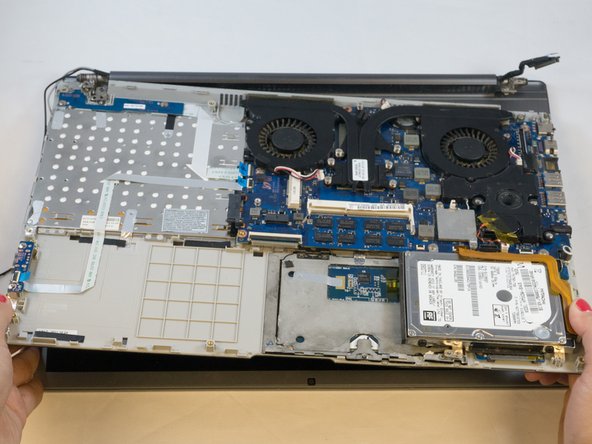
    • Place the tip of the spudger under the metal caps of the black and grey coaxial connectors and pry upwards to disconnect them.

    • After they are disconnected, un-thread the coaxial connectors from around the fan.

    • To reinstall, hold the connectors in place and gently press them straight down. The connectors "snap" into their sockets much like the metal snaps on a jacket.

  8. Samsung NP700Z5AH Display Replacement: 手順 8、 3の画像 1 Samsung NP700Z5AH Display Replacement: 手順 8、 3の画像 2 Samsung NP700Z5AH Display Replacement: 手順 8、 3の画像 3
    • Using the Phillips#00, remove the single 3.5mm screw from the wireless card.

    • Grasp the edges of the wireless card with your fingers and pull straight backwards to remove it.

  9. Samsung NP700Z5AH Display Replacement: 手順 9、 2の画像 1 Samsung NP700Z5AH Display Replacement: 手順 9、 2の画像 2
    • Using the Phillips#00, remove the six 4.5mm screws from the corner brackets holding the display to the inner case.

  10. Samsung NP700Z5AH Display Replacement: 手順 10、 3の画像 1 Samsung NP700Z5AH Display Replacement: 手順 10、 3の画像 2 Samsung NP700Z5AH Display Replacement: 手順 10、 3の画像 3
    • Using your fingers, grasp the edges of the inner case then lift and pull away to separate it from the display.

終わりに

To reassemble your device, follow these instructions in reverse order.

作成者

2人の作成者と共同で作成されました。

Erik

メンバー登録日: 09/27/17

871 ポイント

6のガイドは作成済み

チーム

0 件のコメント

コメントを追加

統計データ:

過去 24時間: 0

過去 7 日: 1

過去 30 日: 5

今までの合計 835