メインコンテンツにスキップ

Samsung NP540U3C-A02UB RAM Replacement

必要な工具と部品

  1. Samsung NP540U3C-A02UB RAM Replacement, Hard Drive: 手順 1、 1の画像 1
    • Turn off the laptop before beginning disassembly and unplug it from the power cord.

    • Place the laptop flat with its bottom facing up.

  2. Samsung NP540U3C-A02UB RAM Replacement: 手順 2、 2の画像 1 Samsung NP540U3C-A02UB RAM Replacement: 手順 2、 2の画像 2
    • Remove one 4 mm Phillips #00 screw labeled "HDD Memory".

  3. Samsung NP540U3C-A02UB RAM Replacement: 手順 3、 3の画像 1 Samsung NP540U3C-A02UB RAM Replacement: 手順 3、 3の画像 2 Samsung NP540U3C-A02UB RAM Replacement: 手順 3、 3の画像 3
    • Gently release the 3 clips holding the HDD cover with the plastic opening tool.

    • Remove the HDD cover from the device.

  4. Samsung NP540U3C-A02UB RAM Replacement: 手順 4、 2の画像 1 Samsung NP540U3C-A02UB RAM Replacement: 手順 4、 2の画像 2
    • Remove the four 6 mm Phillips #00 screws attaching the hard drive to the case.

  5. Samsung NP540U3C-A02UB RAM Replacement: 手順 5、 2の画像 1 Samsung NP540U3C-A02UB RAM Replacement: 手順 5、 2の画像 2
    • Using the plastic opening tool, push the hard drive connector clip upwards in order to release the cable.

  6. Samsung NP540U3C-A02UB RAM Replacement: 手順 6、 2の画像 1 Samsung NP540U3C-A02UB RAM Replacement: 手順 6、 2の画像 2
    • Remove the hard drive from the case.

  7. Samsung NP540U3C-A02UB RAM Replacement, RAM: 手順 7、 3の画像 1 Samsung NP540U3C-A02UB RAM Replacement, RAM: 手順 7、 3の画像 2 Samsung NP540U3C-A02UB RAM Replacement, RAM: 手順 7、 3の画像 3
    • Remove the following screws holding the case together:

    • 6x 4mm Phillips #00 screws.

    • 3x 6mm Phillips #00 screws.

  8. Samsung NP540U3C-A02UB RAM Replacement: 手順 8、 2の画像 1 Samsung NP540U3C-A02UB RAM Replacement: 手順 8、 2の画像 2
    • Using the opening tool, remove the two rubber pads just above the hard drive cover.

  9. Samsung NP540U3C-A02UB RAM Replacement: 手順 9、 2の画像 1 Samsung NP540U3C-A02UB RAM Replacement: 手順 9、 2の画像 2
    • Remove the two 4mm Phillips #00 screws formerly concealed by the pads.

  10. Samsung NP540U3C-A02UB RAM Replacement: 手順 10、 1の画像 1
    • Using the plastic opening tool, gently lift and remove the back cover.

    • There are clips along the edges of the back cover that hold it in place. Be careful not to break these.

  11. Samsung NP540U3C-A02UB RAM Replacement: 手順 11、 3の画像 1 Samsung NP540U3C-A02UB RAM Replacement: 手順 11、 3の画像 2 Samsung NP540U3C-A02UB RAM Replacement: 手順 11、 3の画像 3
    • Lift up the white instruction guide with your hand to expose the RAM module underneath.

    • Using the plastic opening tool or your hand, peel off the yellow tape.

    • Using the plastic opening tool or your hand, gently remove the black cover that lays on top of the RAM.

  12. Samsung NP540U3C-A02UB RAM Replacement: 手順 12、 1の画像 1
    • Additional RAM can be added or removed on top of the 4 GB RAM that comes with the laptop.

    • The new RAM chip slides on top in-between the brackets.

    • The 4 GB RAM that initially comes with the laptop can not be removed.

終わりに

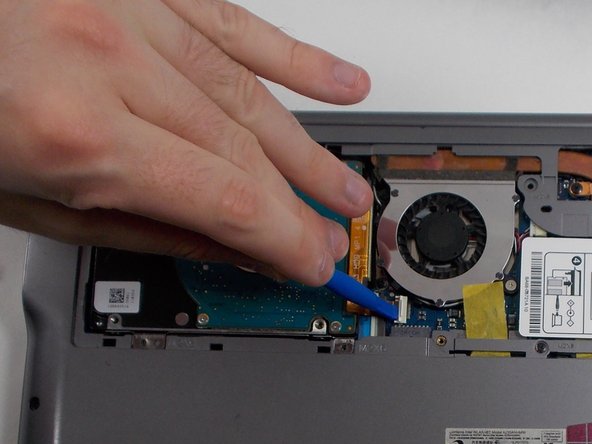
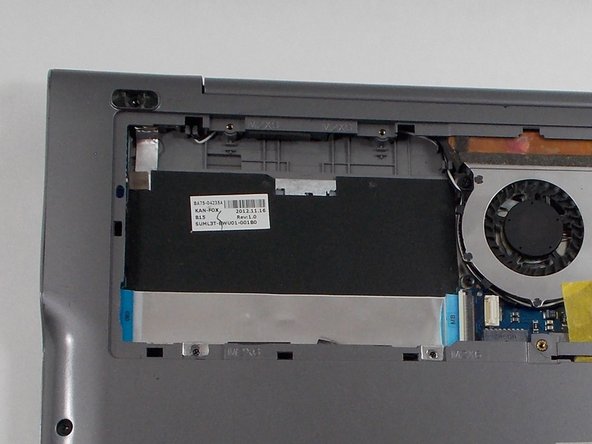
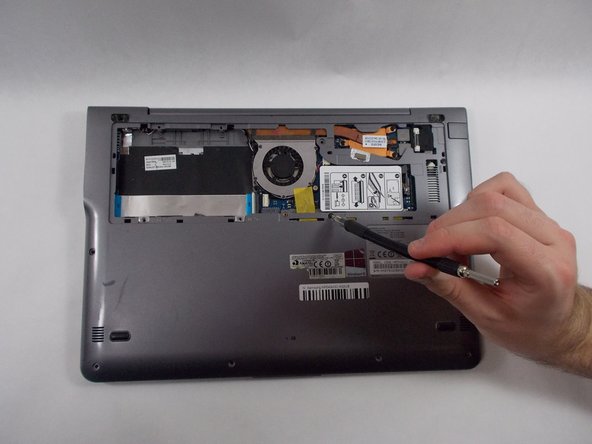
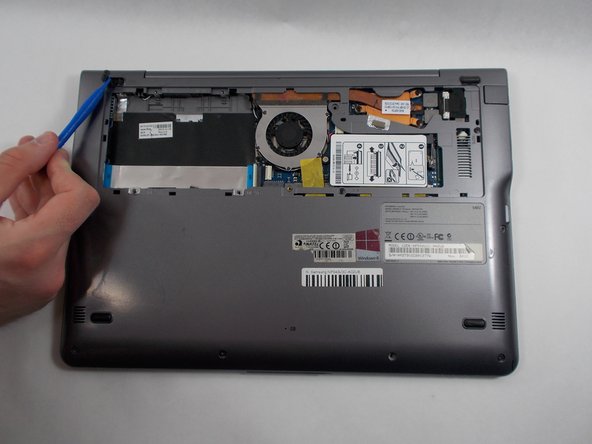
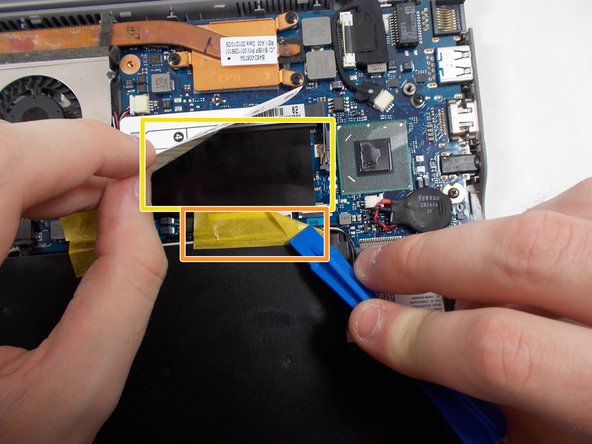
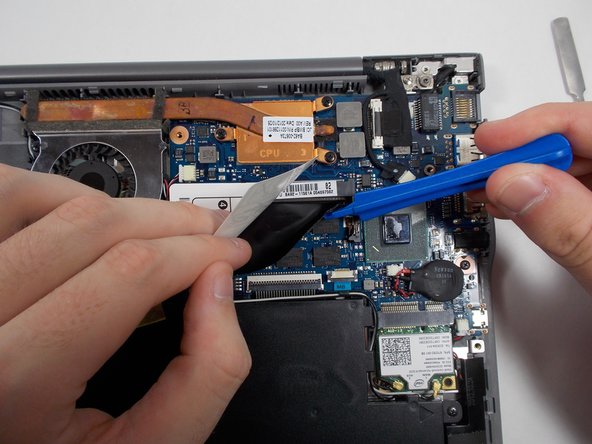
To reassemble your device, follow these instructions in reverse order.

作成者

2人の作成者と共同で作成されました。

Colby Bolger

メンバー登録日: 03/28/22

277 ポイント

2のガイドは作成済み

チーム

UMass Dartmouth, Team C-1, Gurgel Spring 2022 UMass Dartmouth, Team C-1, Gurgel Spring 2022人のメンバー

UMASSD-GURGEL-S22SCG1

4 メンバー

6のガイドは作成済み

0 件のコメント

コメントを追加

統計データ:

過去 24時間: 1

過去 7 日: 5

過去 30 日: 9

今までの合計 201