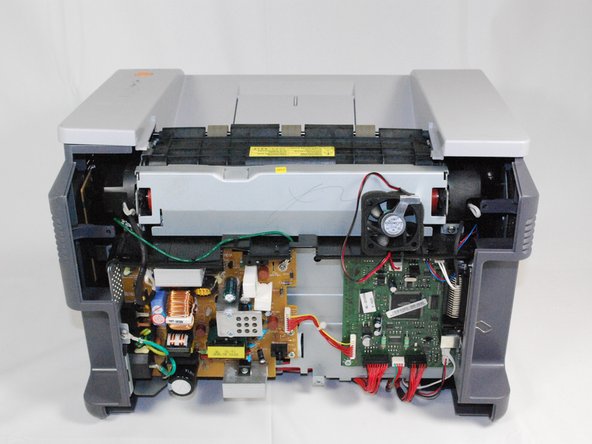
メインコンテンツにスキップ

Samsung ML2510 Rear Cooling Fan Replacement

必要な工具と部品

  1. Samsung ML2510 Rear Cooling Fan Replacement, Removing Samsung ML2510 Back Panel: 手順 1、 3の画像 1 Samsung ML2510 Rear Cooling Fan Replacement, Removing Samsung ML2510 Back Panel: 手順 1、 3の画像 2 Samsung ML2510 Rear Cooling Fan Replacement, Removing Samsung ML2510 Back Panel: 手順 1、 3の画像 3
    • Remove the top hinged panel by taking out the pins at the bottom of this panel.

  2. Samsung ML2510 Rear Cooling Fan Replacement: 手順 2、 1の画像 1
    • Using a Phillips #2 screwdriver, remove the four screws on the back of the printer.

  3. Samsung ML2510 Rear Cooling Fan Replacement: 手順 3、 3の画像 1 Samsung ML2510 Rear Cooling Fan Replacement: 手順 3、 3の画像 2 Samsung ML2510 Rear Cooling Fan Replacement: 手順 3、 3の画像 3
    • Gently lift the top panel while simultaneously pulling off the back panel.

    • Before pulling out the back panel entirely, make sure to remove the rear cooling fan from its slot.

  4. Samsung ML2510 Rear Cooling Fan Replacement, Rear Cooling Fan: 手順 4、 2の画像 1 Samsung ML2510 Rear Cooling Fan Replacement, Rear Cooling Fan: 手順 4、 2の画像 2
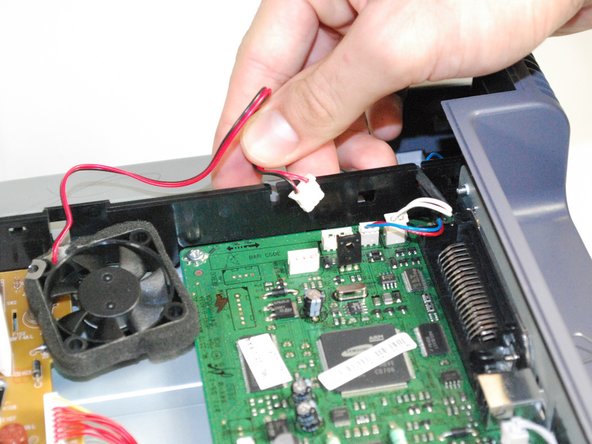
    • Once the fan is detached, unplug the fan from the circuit board.

    • Slide the fan's wiring through the anchored slit.

  5. Samsung ML2510 Rear Cooling Fan Replacement: 手順 5、 1の画像 1
    • With the new fan, thread the wiring through the old fan's slit.

    • Reconnect the fan by plugging it back into the circuit board.

    • Reattach the back panel following these instructions in reverse order.

ゴール

作成者

6人の作成者と共同で作成されました。

bbaustin

メンバー登録日: 10/12/11

268 ポイント

6のガイドは作成済み

チーム

Cal Poly, Team 17-18, Regan Fall 2011 Cal Poly, Team 17-18, Regan Fall 2011人のメンバー

CPSU-REGAN-F11S17G18

4 メンバー

12のガイドは作成済み

コメント 1 件

My printer is in this state currently. What is the type of fan (brand/specs) that needs to be installed? And perhaps also, where does one obtain such a fan?

Bax Bagatelli - 返信

コメントを追加

統計データ:

過去 24時間: 0

過去 7 日: 3

過去 30 日: 6

今までの合計 3,337