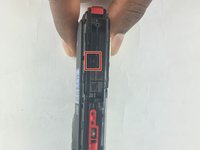
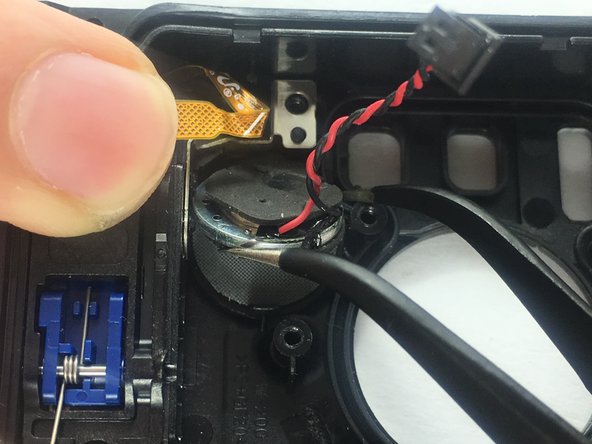
メインコンテンツにスキップ

Samsung HMX-W200 Speaker Replacement

必要な工具と部品

  1. Samsung HMX-W200 Speaker Replacement, Outer Case: 手順 1、 1の画像 1
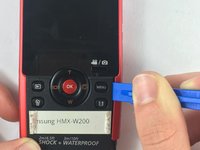
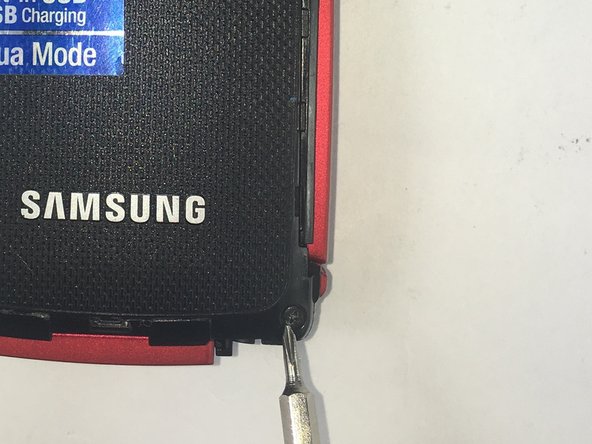
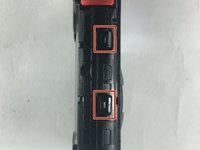
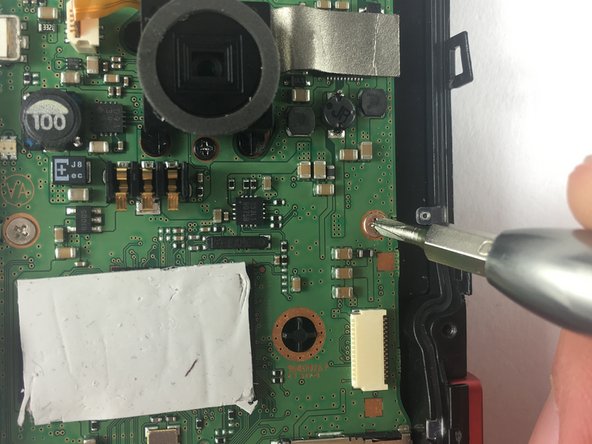
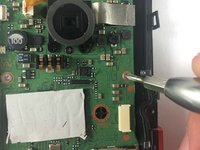
    • Remove the 5.00mm screw on the right of the LCD display towards the bottom of the device by using a Phillips #00 screwdriver.

  2. Samsung HMX-W200 Speaker Replacement: 手順 2、 3の画像 1 Samsung HMX-W200 Speaker Replacement: 手順 2、 3の画像 2 Samsung HMX-W200 Speaker Replacement: 手順 2、 3の画像 3
    • Use the plastic opening tool to separate and remove the bottom red casing. Do this by, pushing the tool into the seam and prying up the red casing as you move along the edges.

    • Make sure to separate all the corners before removing the red casing.

  3. Samsung HMX-W200 Speaker Replacement: 手順 3、 2の画像 1 Samsung HMX-W200 Speaker Replacement: 手順 3、 2の画像 2
    • Using the plastic opening tool, separate and pull away the red casing on the right of the LCD screen.

    • Make sure to separate all the corners before removing the red casing.

  4. Samsung HMX-W200 Speaker Replacement: 手順 4、 2の画像 1 Samsung HMX-W200 Speaker Replacement: 手順 4、 2の画像 2
    • To access the HDMI slot, move slider towards the bottom of the casing on the other side of the camcorder. The lid casing will lift up upon doing so.

    • After accessing the HDMI slot you will find a 5.00mm screw. Using a Phillips #00 screwdriver, remove the screw.

  5. Samsung HMX-W200 Speaker Replacement: 手順 5、 2の画像 1 Samsung HMX-W200 Speaker Replacement: 手順 5、 2の画像 2
    • Using the plastic opening tool, separate and pull away the red casing to the left of the LCD screen.

    • Make sure to separate all the corners before removing the red casing.

  6. Samsung HMX-W200 Speaker Replacement: 手順 6、 2の画像 1 Samsung HMX-W200 Speaker Replacement: 手順 6、 2の画像 2
    • Remove the six 5.00mm screws by using a Phillips #00 screwdriver.

  7. Samsung HMX-W200 Speaker Replacement: 手順 7、 3の画像 1 Samsung HMX-W200 Speaker Replacement: 手順 7、 3の画像 2 Samsung HMX-W200 Speaker Replacement: 手順 7、 3の画像 3
    • Lift the two plastic tabs on the left side of the LCD screen and the single one on the right side on the black casing to open the device.

  8. Samsung HMX-W200 Speaker Replacement: 手順 8、 1の画像 1
    • Separate the front and back casing.

  9. Samsung HMX-W200 Speaker Replacement, Motherboard: 手順 9、 1の画像 1
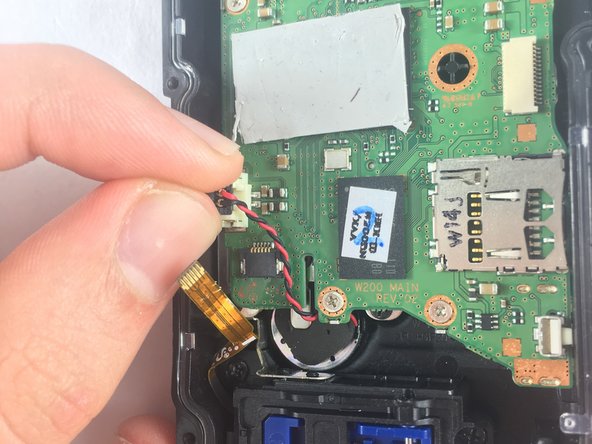
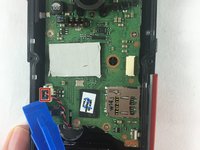
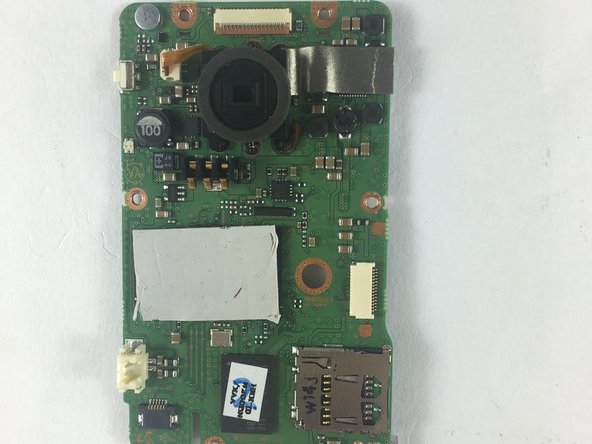
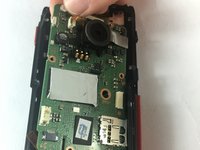
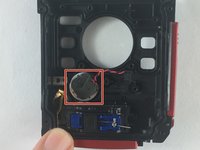
    • Once inside the device, find the half that contains the motherboard of the device.

  10. Samsung HMX-W200 Speaker Replacement: 手順 10、 1の画像 1
    • Use precision tweezers to gently pull out the USB connection from the motherboard.

  11. Samsung HMX-W200 Speaker Replacement: 手順 11、 2の画像 1 Samsung HMX-W200 Speaker Replacement: 手順 11、 2の画像 2
    • Remove the audio connector from the motherboard (red and black cables).

    • Using the plastic opening tool, lift the connectors from all sides before pulling it with your fingers.

    • Do not pull off the connectors by the cables. This could damage the connection from the speaker to the motherboard.

  12. Samsung HMX-W200 Speaker Replacement: 手順 12、 2の画像 1 Samsung HMX-W200 Speaker Replacement: 手順 12、 2の画像 2
    • Use precision tweezers to remove the connector joining the LCD and the motherboard.

  13. Samsung HMX-W200 Speaker Replacement: 手順 13、 2の画像 1 Samsung HMX-W200 Speaker Replacement: 手順 13、 2の画像 2
    • Remove the six 2.00mm screws with Phillips #00 screwdriver.

  14. Samsung HMX-W200 Speaker Replacement: 手順 14、 3の画像 1 Samsung HMX-W200 Speaker Replacement: 手順 14、 3の画像 2 Samsung HMX-W200 Speaker Replacement: 手順 14、 3の画像 3
    • Lift motherboard from top left side and pull away gently.

  15. Samsung HMX-W200 Speaker Replacement, Speaker: 手順 15、 2の画像 1 Samsung HMX-W200 Speaker Replacement, Speaker: 手順 15、 2の画像 2
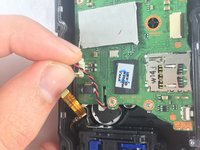
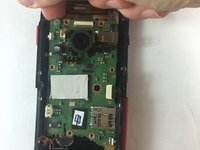
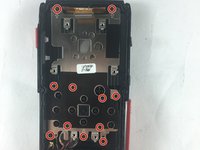
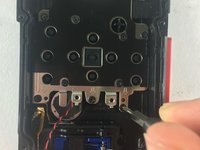
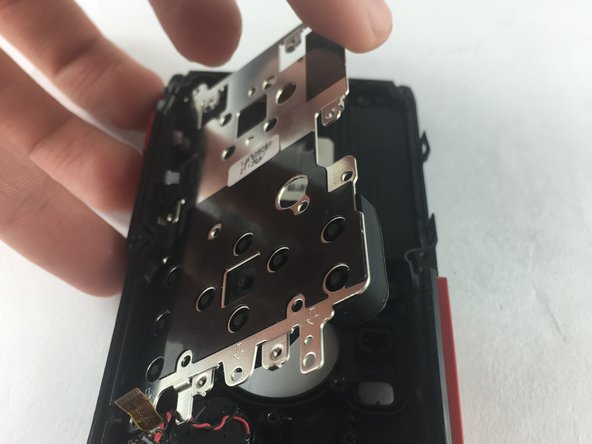
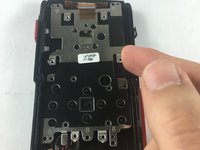
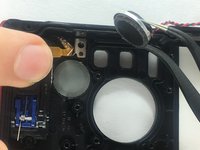
    • Under the motherboard there is a metal plate that has to be removed.

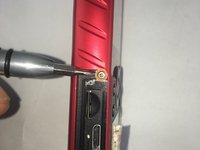
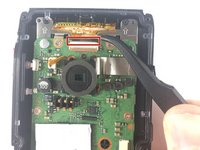
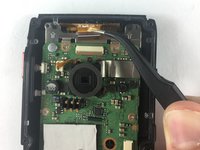
    • Use a Phillips head #00 screwdriver to remove eleven 5mm screws.

  16. Samsung HMX-W200 Speaker Replacement: 手順 16、 2の画像 1 Samsung HMX-W200 Speaker Replacement: 手順 16、 2の画像 2
    • Lift the metal plate by pushing it up from the top right edge of the plate.

  17. Samsung HMX-W200 Speaker Replacement: 手順 17、 3の画像 1 Samsung HMX-W200 Speaker Replacement: 手順 17、 3の画像 2 Samsung HMX-W200 Speaker Replacement: 手順 17、 3の画像 3
    • Use precision tweezers to remove the speaker from the casing.

    • It will be a bit difficult because the speaker is glued to the casing.

    • Be sure to only pull the speaker and not the white screen under it. This screen is what allows the speaker to be waterproof and if it gets damaged, the device will no longer be waterproof.

終わりに

To reassemble your device, follow these instructions in reverse order.

作成者

3人の作成者と共同で作成されました。

Haya Barakat

メンバー登録日: 10/04/16

521 ポイント

5のガイドは作成済み

チーム

USF Tampa, Team 3-6, Sullivan Fall 2016 USF Tampa, Team 3-6, Sullivan Fall 2016人のメンバー

USFT-SULLIVAN-F16S3G6

4 メンバー

13のガイドは作成済み

0 件のコメント

コメントを追加

統計データ:

過去 24時間: 0

過去 7 日: 0

過去 30 日: 0

今までの合計 108