はじめに
This guide will provide a step by step procedure for installing the internal antenna.
必要な工具と部品
-
-
-
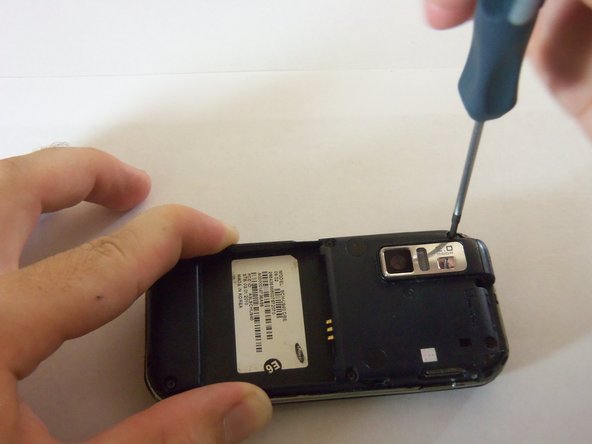
Using a Phillips #00 screwdriver, remove the six 4mm screws holding the back case together.
-
-
-
Use a plastic opening tool to pry the case off. To do this, find a gap on any side of the phone, top preferably, and slip the tip of the tool in the gap.
-
Now use moderate strength and slowly maneuver the tool around the outside until the case becomes loose.
-
Using your fingers, take the case off.
-
-
-
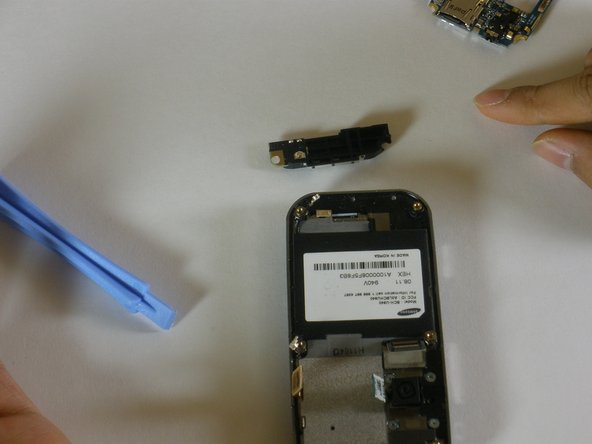
The antenna is located on the bottom of the phone. It is the small rectangular shaped object sticking out on one of the ends.
-
Use a plastic opening tool to prop the antenna out. To do so, slip the tip of the tool on one of the edges of the antenna. Use moderate pressure to pry the antenna out.
-


To reassemble your device, follow these instructions in reverse order.
To reassemble your device, follow these instructions in reverse order.
チーム

Cal Poly, Team 3-12, Regan Fall 2011 Cal Poly, Team 3-12, Regan Fall 2011人のメンバー
CPSU-REGAN-F11S3G12
4 メンバー
14のガイドは作成済み