メインコンテンツにスキップ

Samsung Galaxy Tab E 9.6 Verizon Back Camera Replacement

必要な工具と部品

  1. Samsung Galaxy Tab E 9.6 Verizon Back Camera Replacement, Back Camera: 手順 1、 1の画像 1
    • Make sure the device is turned off.

    • Using the plastic opening tool, start in the center and wedge the angled tip between the plastic back and the scree.

    • Try to pressure it, wedge it back and forth.

    • Do not wedge the plastic opening tool directly on top of the power buttons and headphone buttons.

  2. Samsung Galaxy Tab E 9.6 Verizon Back Camera Replacement: 手順 2、 2の画像 1 Samsung Galaxy Tab E 9.6 Verizon Back Camera Replacement: 手順 2、 2の画像 2
    • Once the bottom edge has been loosened, use the suction tool to pull it.

    • The second picture shows the internal portion of the tablet once the back cover is removed.

  3. Samsung Galaxy Tab E 9.6 Verizon Back Camera Replacement: 手順 3、 2の画像 1 Samsung Galaxy Tab E 9.6 Verizon Back Camera Replacement: 手順 3、 2の画像 2
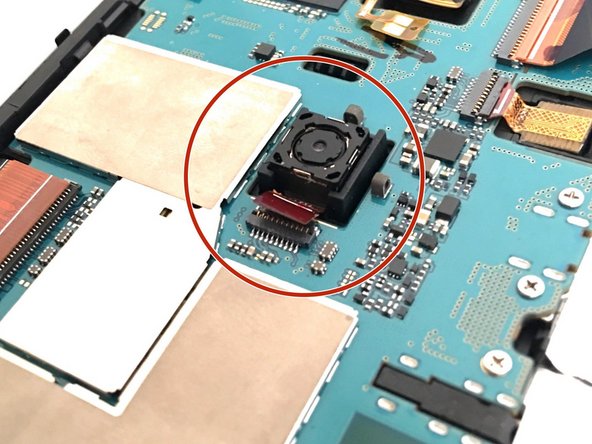
    • The first picture shows the location of back camera.

    • Disconnect the rectangular connection from the back camera to the motherboard.

  4. Samsung Galaxy Tab E 9.6 Verizon Back Camera Replacement: 手順 4、 2の画像 1 Samsung Galaxy Tab E 9.6 Verizon Back Camera Replacement: 手順 4、 2の画像 2
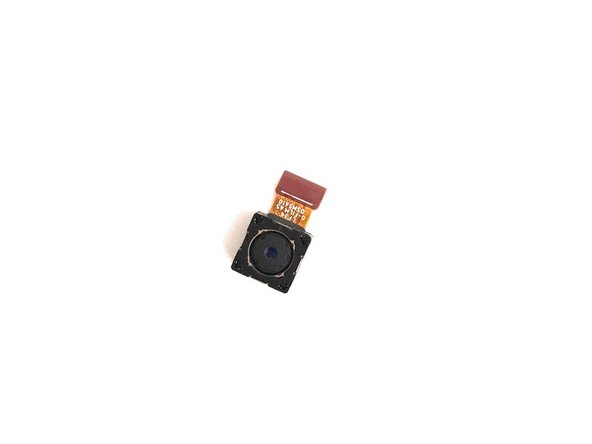
    • The picture illustrates what the device should look like once the back camera is removed.

終わりに

To reassemble your device, follow these instructions in reverse order.

作成者

1人の作成者と共同作成されました。

Tingting Liu

メンバー登録日: 09/28/16

25 ポイント

1ガイドが承認済み

チーム

USF Tampa, Team 1-4, Cagle Fall 2016 USF Tampa, Team 1-4, Cagle Fall 2016人のメンバー

USFT-CAGLE-F16S1G4

3 メンバー

14のガイドは作成済み

0 件のコメント

コメントを追加

統計データ:

過去 24時間: 0

過去 7 日: 2

過去 30 日: 9

今までの合計 1,228