はじめに
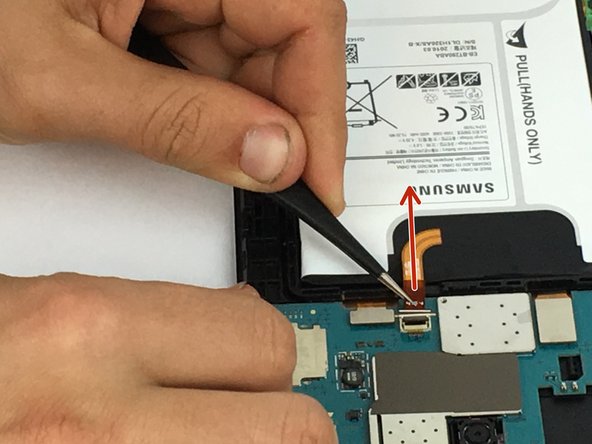
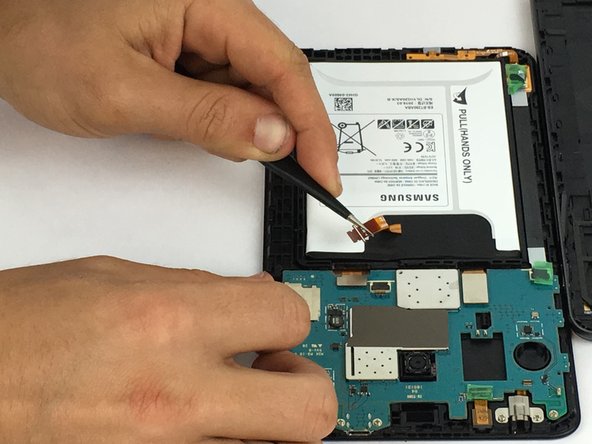
During all steps, handle every component with care as they are very delicate electronic parts.
必要な工具と部品
-
-
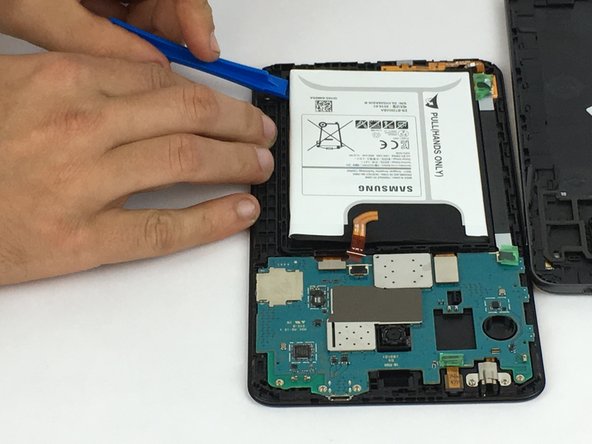
Using the plastic opening tool, starting at any corner on the tablet, insert the tool between the back panel and the front panel.
-
Slide tool around the tablet to unlock the panels from one another.
-
-


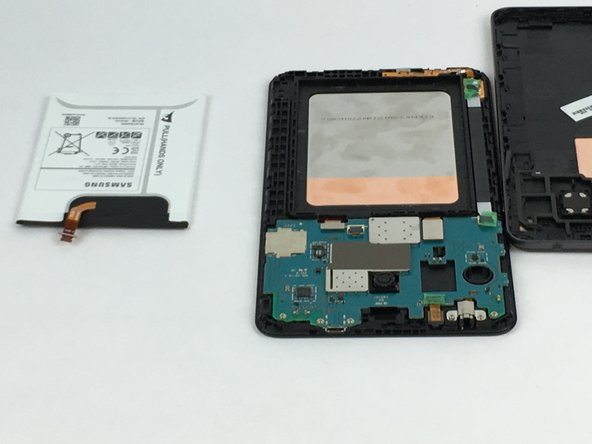
To reassemble your device, follow these instructions in reverse order.
To reassemble your device, follow these instructions in reverse order.
14 の人々がこのガイドを完成させました。

チーム

USF Tampa, Team 5-4, Passmore Spring 2017 USF Tampa, Team 5-4, Passmore Spring 2017人のメンバー
USFT-PASSMORE-S17S5G4
3 メンバー
8のガイドは作成済み
4 件のコメント
The OEM battery in my device expanded and pushed the screen from the housing. I had to temporarily separate the screen from the housing while leaving the connectors in their sockets while I pried the front housing from the back to reveal the battery. Once the front and back of the chassis were separated, I reattached the screen to the front housing and continued with the procedure. A heat gun made the process much easier by loosening the tape between the screen and housing, but was not necessary to lift the battery or separate the front from the back of the chassis.
Dan Murphy - 返信
Bought a new battery, replaced as said, but seems like new battery is dead. How does one boost it? If I plug into charge, it almost seems like te sceen "flashes" but doesnt come on or show charge bar. Please help.