メインコンテンツにスキップ

Samsung Galaxy Tab 3 8.0 Display Assembly - Touch screen & LCD Display Replacement

必要な工具と部品

ビデオの概要

  1. Samsung Galaxy Tab 3 8.0 Display Assembly - Touch screen & LCD Display Replacement, Display Assembly - Touch screen & LCD Display: 手順 1、 3の画像 1 Samsung Galaxy Tab 3 8.0 Display Assembly - Touch screen & LCD Display Replacement, Display Assembly - Touch screen & LCD Display: 手順 1、 3の画像 2 Samsung Galaxy Tab 3 8.0 Display Assembly - Touch screen & LCD Display Replacement, Display Assembly - Touch screen & LCD Display: 手順 1、 3の画像 3
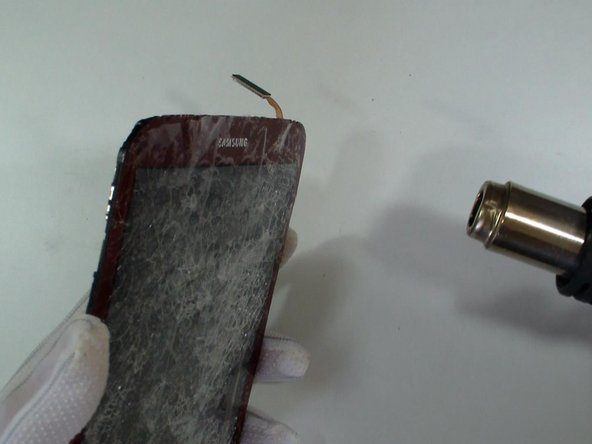
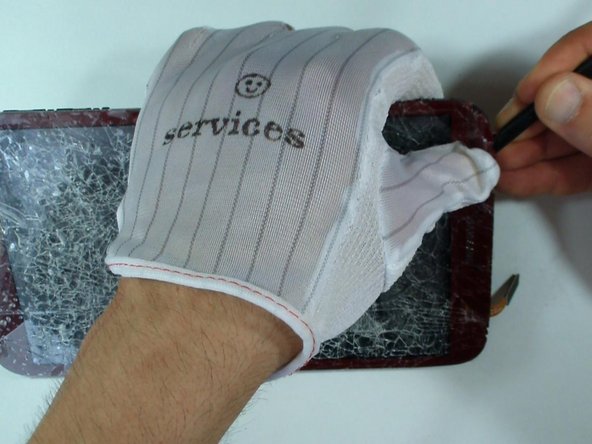
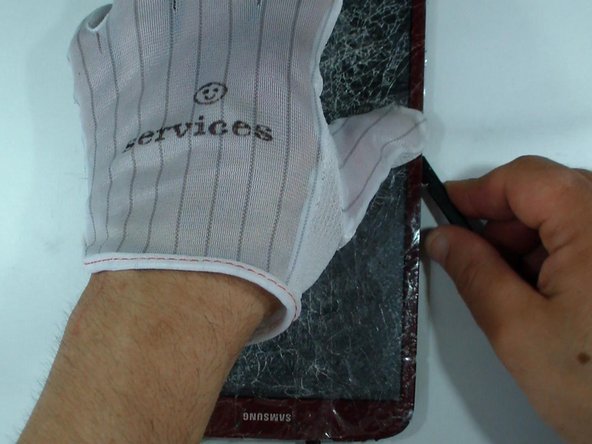
    • Put the scotch tape in order not to scatter pieces of glass.

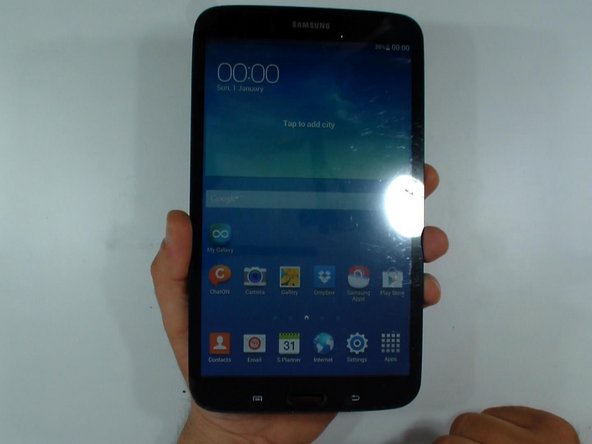
    • Remove any memory card and SIM card (if the tablet is 3G version).

  2. Samsung Galaxy Tab 3 8.0 Display Assembly - Touch screen & LCD Display Replacement, Battery / Back Cover: 手順 2、 3の画像 1 Samsung Galaxy Tab 3 8.0 Display Assembly - Touch screen & LCD Display Replacement, Battery / Back Cover: 手順 2、 3の画像 2 Samsung Galaxy Tab 3 8.0 Display Assembly - Touch screen & LCD Display Replacement, Battery / Back Cover: 手順 2、 3の画像 3
    • Using plastic tools remove the back / battery cover.

    • Be careful with the Power and Volume buttons.

  3. Samsung Galaxy Tab 3 8.0 Display Assembly - Touch screen & LCD Display Replacement: 手順 3、 1の画像 1
    • Before doing anything, disconnect the battery.

  4. Samsung Galaxy Tab 3 8.0 Display Assembly - Touch screen & LCD Display Replacement, Micro USB Charging Port / Dock with Flex Cable: 手順 4、 3の画像 1 Samsung Galaxy Tab 3 8.0 Display Assembly - Touch screen & LCD Display Replacement, Micro USB Charging Port / Dock with Flex Cable: 手順 4、 3の画像 2 Samsung Galaxy Tab 3 8.0 Display Assembly - Touch screen & LCD Display Replacement, Micro USB Charging Port / Dock with Flex Cable: 手順 4、 3の画像 3
    • This step is only if you want to replace the micro USB port flex cable.

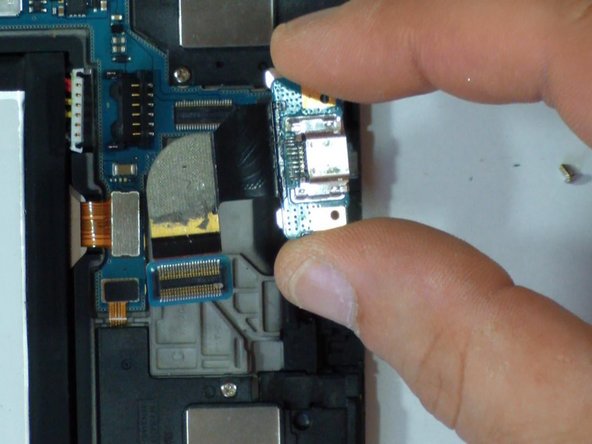
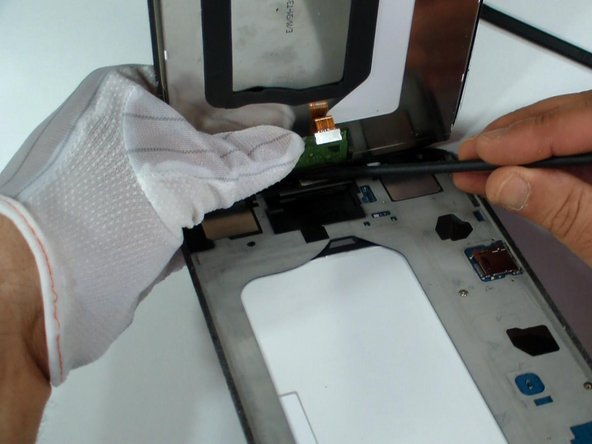
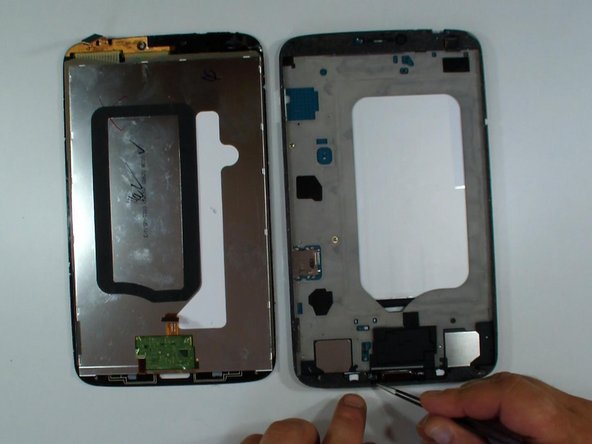
    • Remove the two screws and disconnect the charging port flex cable from the main board.

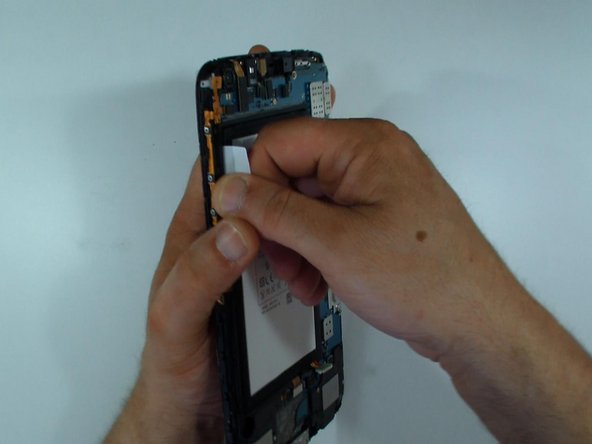
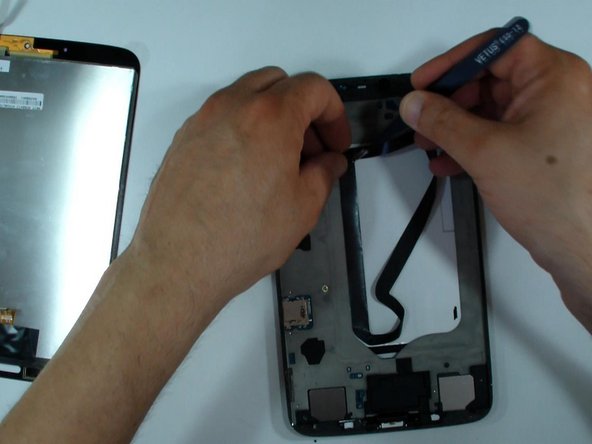
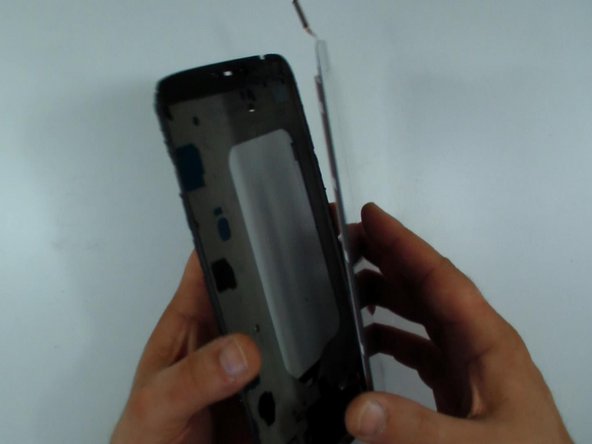
    • Use a plastic tool to unstick the flex cable from the middle frame.

  5. Samsung Galaxy Tab 3 8.0 Display Assembly - Touch screen & LCD Display Replacement, Battery: 手順 5、 3の画像 1 Samsung Galaxy Tab 3 8.0 Display Assembly - Touch screen & LCD Display Replacement, Battery: 手順 5、 3の画像 2 Samsung Galaxy Tab 3 8.0 Display Assembly - Touch screen & LCD Display Replacement, Battery: 手順 5、 3の画像 3
    • This step is for only if you want to change the battery.

    • The battery is stuck to the middle panel.

    • Use the white sticker to remove it.

  6. Samsung Galaxy Tab 3 8.0 Display Assembly - Touch screen & LCD Display Replacement, Components 1: 手順 6、 3の画像 1 Samsung Galaxy Tab 3 8.0 Display Assembly - Touch screen & LCD Display Replacement, Components 1: 手順 6、 3の画像 2 Samsung Galaxy Tab 3 8.0 Display Assembly - Touch screen & LCD Display Replacement, Components 1: 手順 6、 3の画像 3
    • 2x loudspeackers

    • Power & Volume buttons flex cable

    • Audio jack flex cable

  7. Samsung Galaxy Tab 3 8.0 Display Assembly - Touch screen & LCD Display Replacement, Components 2: 手順 7、 2の画像 1 Samsung Galaxy Tab 3 8.0 Display Assembly - Touch screen & LCD Display Replacement, Components 2: 手順 7、 2の画像 2
    • Front camera

    • Wi-Fi antenna

  8. Samsung Galaxy Tab 3 8.0 Display Assembly - Touch screen & LCD Display Replacement: 手順 8、 3の画像 1 Samsung Galaxy Tab 3 8.0 Display Assembly - Touch screen & LCD Display Replacement: 手順 8、 3の画像 2 Samsung Galaxy Tab 3 8.0 Display Assembly - Touch screen & LCD Display Replacement: 手順 8、 3の画像 3
    • Use a heat gun or hair dryer and warm the touch screen glass. This will make the adhesive more flexible and the separation easier.

    • Use a gloves to avoid any injurys from glass.

    • Do not rush.

  9. Samsung Galaxy Tab 3 8.0 Display Assembly - Touch screen & LCD Display Replacement: 手順 9、 3の画像 1 Samsung Galaxy Tab 3 8.0 Display Assembly - Touch screen & LCD Display Replacement: 手順 9、 3の画像 2 Samsung Galaxy Tab 3 8.0 Display Assembly - Touch screen & LCD Display Replacement: 手順 9、 3の画像 3
    • Beware for the menu buttons flex cable.

  10. Samsung Galaxy Tab 3 8.0 Display Assembly - Touch screen & LCD Display Replacement: 手順 10、 2の画像 1 Samsung Galaxy Tab 3 8.0 Display Assembly - Touch screen & LCD Display Replacement: 手順 10、 2の画像 2
    • Always test the new spare part before final installation.

  11. Samsung Galaxy Tab 3 8.0 Display Assembly - Touch screen & LCD Display Replacement: 手順 11、 3の画像 1 Samsung Galaxy Tab 3 8.0 Display Assembly - Touch screen & LCD Display Replacement: 手順 11、 3の画像 2 Samsung Galaxy Tab 3 8.0 Display Assembly - Touch screen & LCD Display Replacement: 手順 11、 3の画像 3
    • Transfer the black tape from the old display. It keeps the distance the display from the battery and protects it from overheat.

    • If the adhesive tape is not in good condition you must install a new one.

  12. Samsung Galaxy Tab 3 8.0 Display Assembly - Touch screen & LCD Display Replacement: 手順 12、 2の画像 1 Samsung Galaxy Tab 3 8.0 Display Assembly - Touch screen & LCD Display Replacement: 手順 12、 2の画像 2
    • Start with reassembling.

    • .

    • .

    • .

    • .

    • .

    • .

    • Did you do it successfully.

終わりに

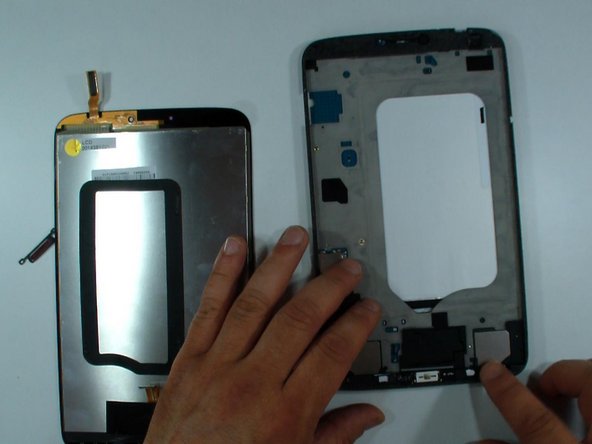
To reassemble your device, follow these instructions in reverse order.

18 の人々がこのガイドを完成させました。

作成者

3人の作成者と共同で作成されました。

ZFix

メンバー登録日: 12/09/13

191,055 ポイント

330のガイドは作成済み

チーム

Master Techs Master Techs人のメンバー

Community

322 メンバー

2,506のガイドは作成済み

コメント 1 件

Awesome guide, was so easy to replace complete LCD digitiser and glass all in one unit.

capinneemo - 返信

コメントを追加

統計データ:

過去 24時間: 0

過去 7 日: 6

過去 30 日: 25

今までの合計 25,150