メインコンテンツにスキップ

Samsung Galaxy Tab 2 7.0 Camera Replacement

必要な工具と部品

  1. Samsung Galaxy Tab 2 7.0 Camera Replacement, Camera: 手順 1、 1の画像 1
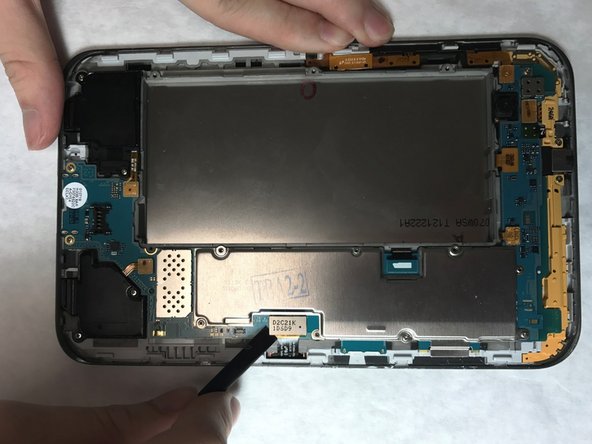
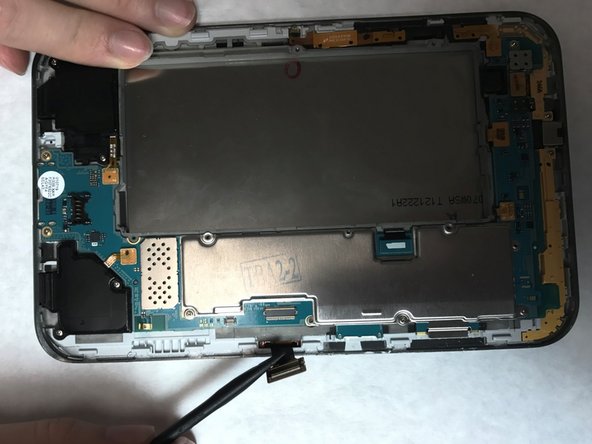
    • Using a nylon spudger or a flat plastic opening tool, pry open the back of the device.

    • It is easiest to begin this process by starting at the micro SD card insert, as shown in the pictures.

  2. Samsung Galaxy Tab 2 7.0 Camera Replacement: 手順 2、 1の画像 1
    • Using a phillips head screwdriver, remove the 6 4mm screws holding the battery on the device.

    • Remove the battery, and set it aside.

  3. Samsung Galaxy Tab 2 7.0 Camera Replacement: 手順 3、 1の画像 1
    • Using a phillips head screwdriver, remove the 6 4mm screws holding the motherboard in the device.

  4. Samsung Galaxy Tab 2 7.0 Camera Replacement: 手順 4、 3の画像 1 Samsung Galaxy Tab 2 7.0 Camera Replacement: 手順 4、 3の画像 2 Samsung Galaxy Tab 2 7.0 Camera Replacement: 手順 4、 3の画像 3
    • Locate the 8 flex cables attached to the motherboard.

    • Using a nylon spudger, gently detach each flex cable from the motherboard.

    • Be careful when detaching flex cables. Excessive force and sharp objects have the potential to damage these components.

    • Lift the motherboard from the device and set it aside.

  5. Samsung Galaxy Tab 2 7.0 Camera Replacement: 手順 5、 1の画像 1
    • Locate the camera towards the top of the device.

    • Use a nylon spudger to gently lift the camera and remove it from the device.

終わりに

To reassemble your device, follow these instructions in reverse order.

2 の人々がこのガイドを完成させました。

作成者

4人の作成者と共同で作成されました。

Katija Tarailo

メンバー登録日: 03/02/17

460 ポイント

3のガイドは作成済み

チーム

IUPUI, Team S3-G1, Harley Spring 2017 IUPUI, Team S3-G1, Harley Spring 2017人のメンバー

IUPUI-HARLEY-S17S3G1

4 メンバー

3のガイドは作成済み

0 件のコメント

コメントを追加

統計データ:

過去 24時間: 0

過去 7 日: 1

過去 30 日: 4

今までの合計 649