この翻訳は、ソースガイドの最新の更新を反映していない可能性があります。 翻訳の更新に協力してください。 または ソースガイドを参照してください。
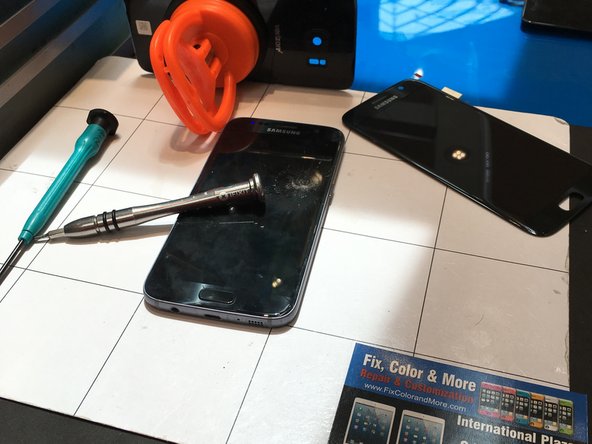
はじめに
この修理はさほど難しくありません。とてもシンプルな作業ですが、唯一大変なことは背面カバーを壊さないで取り外すことです。
Samsung Galaxy S7 のスクリーンを交換しますが、同時に古いスクリーンを売ることもできます。
必要な工具と部品
ビデオの概要
-
-
プレート裏側に留められた接着剤を温めて柔らかくします。私は60度に設定した電気ヒートパッドを使用しました。あるいはヒートガンも使用できますが、個人的にはあまり好きではありません。ヒートガンを使用する際は、火傷をしやすいので特に注意してください。ヒートガンを片手で持ちながら電話の上に載せますが、長く載せてしまうとダメージを与えてしまいます。
-
-
-
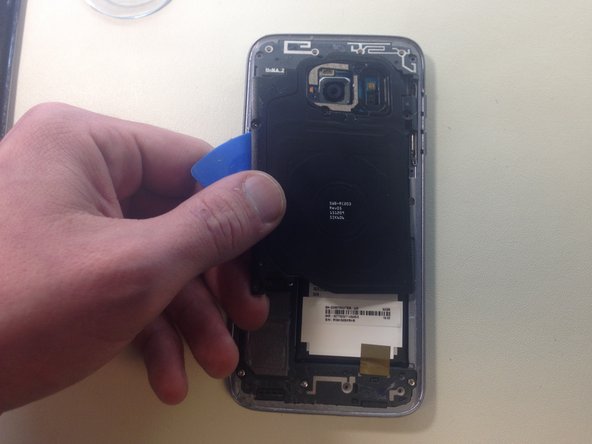
デバイス本体裏側のプレートの下半分に吸盤カップを取り付けてプレートの下側端から持ち上げます。あまり力を入れないようにご注意ください。
-
裏側のプレートに十分なスペースが開いたら、ギターピックをプレートの下に差し込みます。ギターのピックを電話本体のコーナー全体にスライドして接着剤を剥がします。
-
裏側プレートを取り出します。
-
-
-
#00プラスネジ用ドライバービットを使って、プラスチックカバー、ラウドスピーカー、NFCアンテナを固定している11本のネジを外します。
-
ギターピックを引き続き使用して、軽く留められた接着剤を剥がしながら、上部二枚のプラスチックプレートとNFCアンテナを取り出します。
-
ご注意:接着剤が強力に留められている場合は、少し熱を当てて接着剤を緩めます。
-
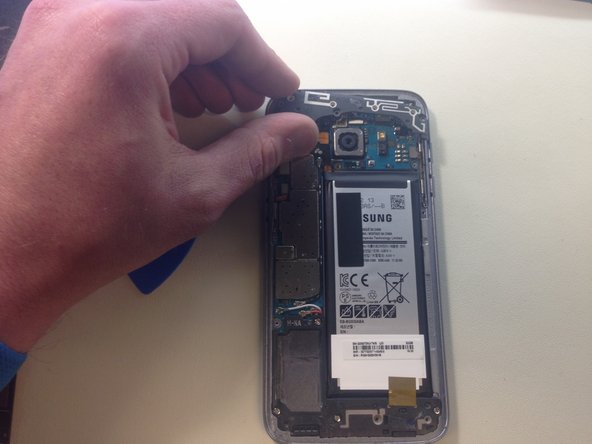
ラウドスピーカーアセンブリを取り出します。バッテリーに留められたゴールド/銅製テープの小さいパーツを剥がす必要があります。
-
-
-
-
プラスチック製スパッジャーの先端を使って、白と赤色のアンテナケーブルの接続を基板から外します。
-
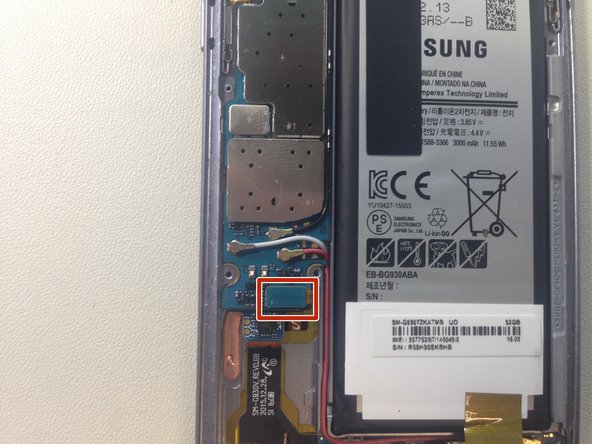
SIMカード取り出し用ツールを使用して、SIMカード/SDカードトレイ(2番目の画像を参照)取り出します。このトレイは基板の裏側に付けられています。この作業をしないで基板を外してしまうとダメージを与えてしまいます。
-
-
-
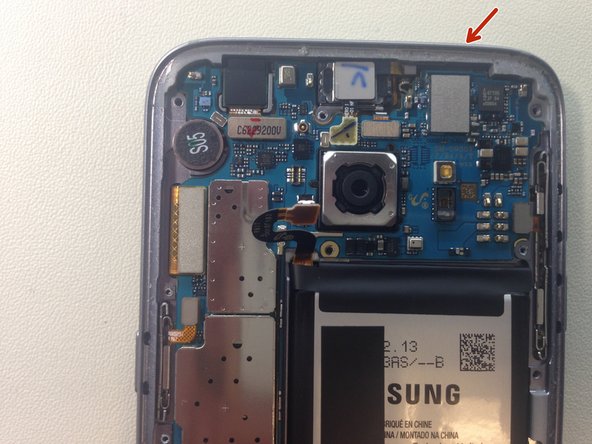
丁寧に基板を電話の上部からバッテリー側に向けて持ち上げます。基板を完全に外さないでください。
-
ご注意:基板を持ち上げたら正面カメラが電話本体から外れることがあります。静電気防止マットの上に保管してください。
-
スパッジャーの平面側先端を使って、USBドーターボードの接続を基板の裏から外します。
-
基板を取り出して、静電気防止マットの上に保管します。
-
-
-
スクリーンと電話本体ベゼルの間にギターピックを差し込みます。この作業前に接着剤を緩めるために熱を当てる必要があります。
-
必要に応じて、小サイズの吸盤カップを使用してスクリーンを持ち上げ、ギターピックを差し込んでください。
-
ゆっくりとギターピックを電話本体外側の周囲にスライドさせて、スクリーンに留められた接着剤を剥がします。
-
電話の両サイドと下側をスライドする際は特にご注意ください。正しく作業をしなければスクリーンのフレックスケーブルにダメージを与えてしまいます。
-
また、LCD周辺の作業もご注意ください。ギターピックがLCDの裏側でスライドされているか確認してください。そしてギターピックをできるだけ水平の状態に保ってください。
-
スクリーンを外します。
-
-
-
古い液晶ディスプレイを保管しておきましょう。もしガラスのみが壊れている場合はディスプレイを売ることができます。
-
始めはカミソリの刃を少しずつ差し込み、そのあと、ビジネスカードやプラスチックカードに変えてください。
-
-
-
フレームとディスプレイの間にカードを差し込み、ゆっくりと下部に向けてスライドします。
Is it still water resistant after repair
depends on ur adhesive
-


デバイスを再組み立てする際は、これらのインストラクションを逆の順番に従って作業を進めてください。
デバイスを再組み立てする際は、これらのインストラクションを逆の順番に従って作業を進めてください。
50 の人々がこのガイドを完成させました。
以下の翻訳者の皆さんにお礼を申し上げます:
88%

Midori Doiさんは世界中で修理する私たちを助けてくれています! あなたも貢献してみませんか?
翻訳を始める ›

36 件のコメント
Can just the glass be replaced do is it fused together somehow?
it could if you get the lcd out with broken glass out one piece then using heat plate separate the glass very thin so it be hard to save lcd
Brian -
The Eternal question: is it still waterproof after screen replacement?
no it wont because you will break the seal that originally came from samsung
Brian -
Is it still water resistant
no it wont be water resistance any more
Brian -
Appreciate the effort, but this guide is severely lacking. There is little to no guidance about it.
sorry this my first guide and i did it so other repair people get idea because ifixit at the time had no guides at all so that is why i did a quick one as i was repairing the phone
Brian -
Samsung Galaxy does not use an LCD its an OLED
thank you for sharing your info oled but if you on ebay or anywhere they sell as lcd but thank you again for correcting me but you should correct the other people too 1 million sellers that referred as lcd
Brian -
I accidently cut the ribbon cable to the digitizer. ...ouch. Do you sell the digitizer assembly for the Galaxy S7 edge as well as the sealant for the back of the phone like you do above for the regular Galaxy S7 for 169.95 as well as the rear cover adhesive for the S7 edge...probably same adhesive. I read many article and if I had followed your article I would not have cut the ribbon cable....Good article. Thank you, rexblisard@yahoo.com
rexblisard - 返信
you welcome and sorry i dont sell parts i just do repairs
Brian -
Did it work fine after that?
yes it did no complaints from the customer
Brian -
Omg. just say thx for the effort and the guide...he wasted hes time..if this guide doesn't help you..then take ur phone to a repair shop..if u already repaired ANY waterproof mobiles..u would know how to open it and deal with it..and this guide would only help to identify components and avoid posible mistakes like cutting a ribbon or damaging something inside...
I really thank you for your time....i just got mad when i saw ppls coments...
thank you for understanding
Brian -
Why take the back all apart if only wanting to change the screen???? Can't I just take the screen off an put new one on??? Really don't see the point of taking back off and a few boards as well ?
because the cable connects in the back so if you don't open the back you can not plug the lcd cable with the motherboard
Brian -
Lol the one guide on iFixit where OP doesn't completely hold your hand and everyone gets all upset.
I think it was a dope guide. Helped me catch all the tiny ribbon cable connections - I totally would've missed one without this.
Although, yeah, it seems like you really only need to disconnect the display cable from the daughterboard to get the display off.
thank you i hope it was some help
Brian -
i apologize for asking a repeat question but I do not see answers - Is it possible to replace just the glass for this phone? i have cracked glass and a working digitizer. another electronics outlet sold me a glass replacement kit but no instructions. All the vieos i’ve been watching and the forums/guides I’ve read all discuss replacing the entire front(digitizer/glass).
is it possible to replace just the glass? if so, can it be done without removing all the parts from the back? since technically I won't need to plug in to the motherboard?
Its possible but very hard to do i tried few times just changing the glass i end up breaking the screen but on youtube you have some people that are able remove just the glass with bussiness cards.. chances are 20% can get just the glass out withought breaking lcd unless you have freezing mashine thats a different story..good luck
I’m not sure what everyone is complaining about… this seems like a great tutorial and you show exactly what to remove. My first time taking a phone apart and this is incredibly helpful Thank-you for taking time to post!
thank you appreciate your feedback
Brian -